

Best Video Settings for Hybrid Cameras (Complete Beginner to Pro Guide)
*Some links in this article are affiliate links. If you purchase through them, it helps support my work at no extra cost to you.
==========
Last Updated: August 2026
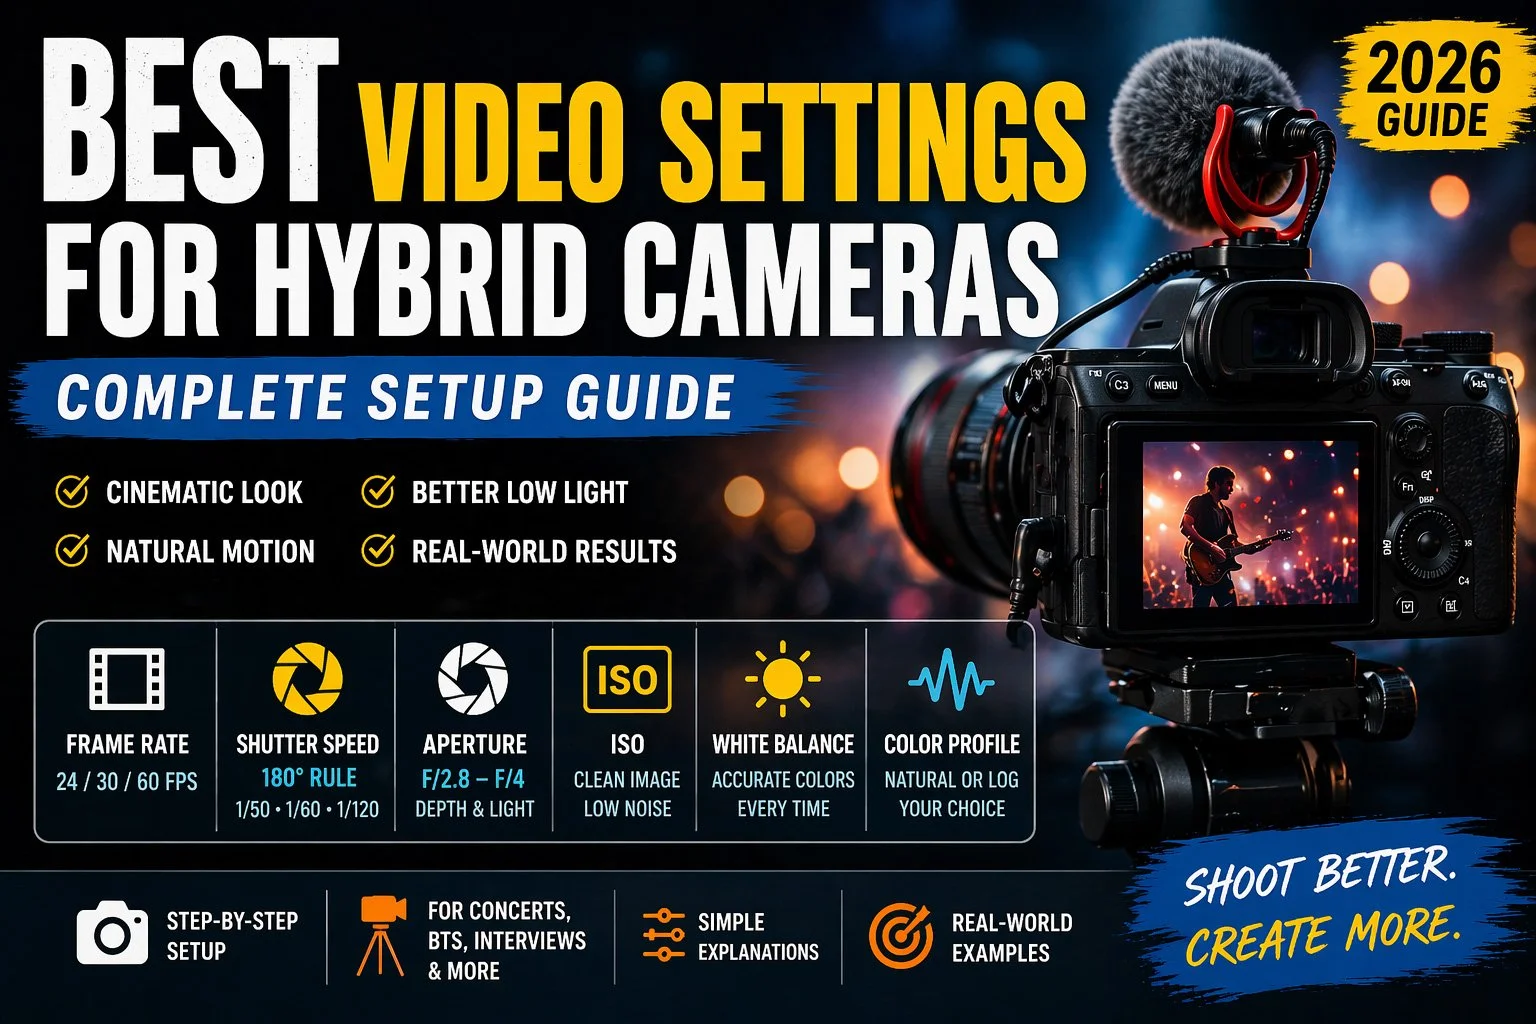
Modern hybrid cameras are capable of producing incredible video quality, but simply switching your camera into video mode won't guarantee professional-looking results.
The settings you choose have a far greater impact than most people realize.
Incorrect frame rates can make motion feel unnatural. The wrong shutter speed creates choppy footage. Poor autofocus settings lead to constant focus hunting, while improper exposure can leave your video noisy, flat, or impossible to recover during editing.
The good news is that most of these problems are easy to fix once you understand how the core video settings work together.
Whether you're filming concerts, weddings, sporting events, travel videos, YouTube content, documentaries, or behind-the-scenes footage, this guide will help you build a reliable video setup that produces consistent results in almost any shooting situation.
Rather than memorizing random camera settings, you'll learn why each setting matters so you can confidently adapt to changing lighting conditions and different subjects.
Why Video Settings Matter More Than Camera Gear
One of the biggest misconceptions among new videographers is that better-looking footage requires a more expensive camera.
While newer hybrid cameras certainly offer advantages, even professional equipment can produce disappointing results when the settings aren't configured correctly.
Likewise, many entry-level mirrorless cameras are capable of producing excellent video when they're set up properly.
Your camera settings determine:
Motion quality
Exposure
Depth of field
Noise levels
Autofocus behavior
Color consistency
Dynamic range
Overall cinematic appearance
Learning these fundamentals will improve your footage far more than upgrading your camera body every few years.
The Five Settings That Control Almost Everything
Every video setup revolves around five primary settings.
Once these are working together, everything else becomes much easier.
| Setting | Controls | Starting Point |
|---|---|---|
| Frame Rate | Motion style | 24fps or 30fps |
| Shutter Speed | Motion blur | 1/50 (24fps), 1/60 (30fps) |
| Aperture | Light & depth of field | Widest practical aperture |
| ISO | Exposure | Lowest practical value |
| White Balance | Color consistency | Manual whenever possible |
Frame Rate
Controls: Motion style
Starting Point: 24fps or 30fps
Shutter Speed
Controls: Motion blur
Starting Point: 1/50 (24fps), 1/60 (30fps)
Aperture
Controls: Light & depth of field
Starting Point: Widest practical aperture
ISO
Controls: Exposure
Starting Point: Lowest practical value
White Balance
Controls: Color consistency
Starting Point: Manual whenever possible
Think of these as the foundation for every video shoot, regardless of the subject.
Choosing the Right Frame Rate
Frame rate determines how many individual images your camera records every second.
Although every camera offers multiple frame rate options, most videographers spend the majority of their time using one of three:
24 FPS
Best for:
Cinematic storytelling
Commercial work
Interviews
Travel films
Documentary filmmaking
Advantages:
Natural cinematic motion
Maximum light per frame
Excellent low-light performance
30 FPS
Best for:
YouTube
General content creation
Weddings
Events
Business videos
Advantages:
Slightly smoother motion
Natural appearance
Easy workflow
60 FPS
Best for:
Sports
Action
Slow-motion footage
Fast movement
Advantages:
Smooth playback
Excellent slow-motion flexibility
Tradeoffs:
Requires faster shutter speeds
Lets in less light
Less forgiving in dark environments
For most creators, 24fps or 30fps should be your default choice.
Related Guide:
Shutter Speed: The Setting That Makes Video Look Professional
If there's one setting that separates cinematic footage from amateur-looking video, it's shutter speed.
Unlike photography, shutter speed isn't primarily used to control exposure.
Instead, it controls motion blur.
For natural-looking motion, follow the 180-degree shutter rule:
24fps → 1/50 second
30fps → 1/60 second
60fps → 1/125 second
These settings preserve realistic motion while avoiding the harsh, jittery appearance created by excessively fast shutter speeds.
One of the biggest mistakes beginners make is increasing shutter speed to reduce brightness. While it may solve the exposure problem, it also removes natural motion blur and creates stiff, distracting footage.
If your video is too bright, an ND filter—not a faster shutter speed—is usually the correct solution.
Related Guides:
Aperture and Depth Of Field
Your aperture affects two major aspects of your video:
How much light reaches the sensor
How much of the scene appears in focus
A wide aperture (such as f/1.8 or f/2.8) allows significantly more light into the camera, making it especially useful for:
Concerts
Weddings
Indoor events
Low-light filming
Wide apertures also create pleasing background blur that helps isolate your subject.
Smaller apertures (such as f/8 or f/11) increase depth of field and keep more of the scene sharp, making them useful for landscapes, architecture, and certain documentary situations.
Choose your aperture based on both the lighting and the creative look you're trying to achieve.
ISO: Don't Be Afraid of It
ISO is often misunderstood.
Many beginners become obsessed with keeping ISO as low as possible, even if it means underexposing their footage.
In reality, slightly noisy footage is usually preferable to severely underexposed footage.
Modern hybrid cameras handle high ISO remarkably well.
Instead of chasing the lowest possible ISO, prioritize:
Correct exposure
Clean highlights
Visible shadow detail
A properly exposed clip at ISO 6400 often looks better than an underexposed clip at ISO 1600 that's brightened during editing.
Understanding when—and how—to increase ISO is a key part of becoming a better videographer.
👉 Learn low light handling:
Concert Photography Low Light Tips
Manual vs Auto Settings
Hybrid cameras offer excellent automatic features, but they still benefit from manual control in many situations.
A practical starting point looks like this:
Manual
Frame rate
Shutter speed
Aperture
White balance
Auto (when appropriate)
ISO (with limits)
Continuous autofocus
Subject detection
This combination gives you consistent results while still allowing the camera to adapt to changing lighting conditions.
As you gain experience, you'll naturally begin taking more manual control over your exposure and focus.
Matching Settings to Your Shooting Style
There's no single "best" video setup.
The ideal settings depend entirely on what you're filming.
A concert photographer has different priorities than a travel filmmaker.
A wedding videographer works differently than someone creating YouTube tutorials.
Throughout the rest of this guide, we'll look at how to configure your hybrid camera for real-world shooting scenarios, including concerts, events, travel, interviews, outdoor filming, and low-light environments.
By understanding how each setting works together, you'll be able to adapt quickly instead of relying on guesswork.
Autofocus: Your Most Important Video Assist
Modern hybrid cameras have dramatically improved autofocus performance, but the default settings aren't always the best choice.
Small adjustments to autofocus behavior can mean the difference between smooth, reliable tracking and frustrating focus hunting.
For most situations, start with:
Continuous Autofocus (AF-C / Servo AF)
Face and Eye Detection enabled
Subject Tracking enabled
Moderate or slightly slower focus transition speed
Lower tracking sensitivity to prevent jumping between subjects
This setup works well for:
Concerts
Weddings
Events
Travel videos
Behind-the-scenes content
General handheld filming
If you're filming a locked-off interview or static product shot, manual focus may provide more consistent results.
Related Guide:
White Balance: Consistency Is More Important Than Perfection
Few things make footage look amateur faster than constantly shifting color.
Auto White Balance works surprisingly well in many situations, but it can struggle when lighting changes rapidly.
Common examples include:
Concert stage lighting
LED lighting
Mixed indoor lighting
Sunset and sunrise
Event venues
Instead of allowing your camera to continuously change color temperature during recording, lock white balance whenever possible.
Typical starting points include:
| Lighting | Starting White Balance |
|---|---|
| Daylight | 5200K–5600K |
| Cloudy | 6000K–6500K |
| Shade | 6500K–7500K |
| Indoor LED | Adjust to match lighting |
Daylight
Starting White Balance: 5200K–5600K
Cloudy
Starting White Balance: 6000K–6500K
Shade
Starting White Balance: 6500K–7500K
Indoor LED
Starting White Balance: Adjust to match lighting
Even if the color isn't absolutely perfect, consistency makes editing dramatically easier.
Picture Profiles and Color Profiles
One setting that often confuses new hybrid camera owners is the picture profile.
Most cameras offer options ranging from standard color profiles to flat profiles such as:
Canon C-Log
Sony S-Log
Nikon N-Log
Fujifilm F-Log
These flatter profiles preserve additional highlight and shadow detail but require color grading during editing.
Standard Profiles
Best for:
Beginners
Quick turnaround
Social media
Event coverage
Weddings
Advantages:
Minimal editing
Better preview on camera
Faster workflow
Log Profiles
Best for:
Commercial projects
Narrative filmmaking
Professional productions
Advantages:
Maximum dynamic range
Greater grading flexibility
Better highlight recovery
Tradeoffs:
Requires grading
Can increase visible noise if underexposed
Less forgiving for beginners
If you're just getting started, don't feel pressured to shoot Log.
A properly exposed standard profile often produces better results than poorly exposed Log footage.
Exposure Techniques That Produce Better Video
Exposure is about much more than simply making your footage bright enough.
Your goal is to capture the cleanest image possible while protecting important highlight detail.
A good workflow is:
Choose your frame rate.
Match shutter speed.
Select your desired aperture.
Adjust ISO.
Use an ND filter outdoors if needed.
Avoid using shutter speed as your primary exposure control.
Doing so usually creates unnatural motion.
Instead:
Raise ISO indoors
Use wider apertures
Add ND filters outdoors
Monitor highlights using zebras or histograms if available
Proper exposure is one of the biggest factors separating professional-looking footage from amateur video.
Understanding Dynamic Range
Dynamic range describes how much detail your camera can capture between the brightest highlights and darkest shadows.
High dynamic range becomes especially important when filming:
Outdoor scenes
Sunrises
Sunsets
Concert lighting
Stage performances
Bright windows indoors
When shooting high-contrast scenes:
Protect important highlights.
Don't crush shadow detail unnecessarily.
Consider using Log profiles if you're comfortable color grading.
Hybrid cameras with strong dynamic range give you more flexibility during editing, but proper exposure is still essential.
Noise Reduction: Fix It in Camera or Post?
Every camera produces noise in low-light situations.
The goal isn't to eliminate it completely—it's to manage it intelligently.
Avoid:
Severe underexposure
Maximum in-camera noise reduction
Oversharpening
Instead:
Expose properly
Use the widest practical aperture
Raise ISO when necessary
Apply modest noise reduction during editing if needed
Today's editing software handles moderate noise surprisingly well.
Dark, underexposed footage is much harder to rescue.
Related Guide:
Real-World Camera Settings
General Everyday Video
A great starting point:
24fps or 30fps
1/50 or 1/60 shutter
Aperture based on creative look
Auto ISO with limits
Continuous AF
Manual white balance
This works well for travel, YouTube, family events, and documentary-style filming.
Concerts and Live Events
Concerts combine:
Low light
Fast movement
Constant color changes
Smoke and haze
Recommended setup:
24fps
1/50 shutter
f/1.4–f/2.8
ISO adjusted for proper exposure
Face Detection ON
Subject Tracking ON
Slower AF transitions
Lower tracking sensitivity
Manual white balance if practical
This setup provides reliable autofocus while minimizing distracting focus jumps.
Weddings
For weddings, consistency is everything.
Recommended setup:
24fps or 30fps
Correct shutter speed
Continuous AF
Face Detection
Moderate AF speed
Manual white balance whenever lighting remains consistent
Travel and Documentary
Travel filmmaking often requires flexibility.
A practical setup includes:
30fps
1/60 shutter
Aperture adjusted for available light
Auto ISO
Continuous autofocus
Face Detection enabled
Compact lens
Variable ND filter outdoors
Interviews
Interviews usually benefit from slower, smoother autofocus behavior.
Recommended settings:
24fps
1/50 shutter
Wide aperture
Face Detection ON
Slow autofocus transitions
Low tracking sensitivity
If neither the camera nor subject will move, manual focus is often the safest choice.
Recommended Starting Settings
| Situation | Frame Rate | Shutter | Aperture | Autofocus |
|---|---|---|---|---|
| Concerts | 24fps | 1/50 | f/1.4–2.8 | AF-C + Subject Tracking |
| Weddings | 24/30fps | 1/50–1/60 | f/2–2.8 | AF-C + Face Detection |
| Travel | 30fps | 1/60 | Variable | AF-C |
| Interviews | 24fps | 1/50 | f/2–4 | Manual or Slow AF |
| Outdoor Video | 24/30fps | Match frame rate | Desired look + ND filter | AF-C |
Concerts
Frame Rate: 24fps
Shutter: 1/50
Aperture: f/1.4–2.8
Autofocus: AF-C + Subject Tracking
Weddings
Frame Rate: 24/30fps
Shutter: 1/50–1/60
Aperture: f/2–2.8
Autofocus: AF-C + Face Detection
Travel
Frame Rate: 30fps
Shutter: 1/60
Aperture: Variable
Autofocus: AF-C
Interviews
Frame Rate: 24fps
Shutter: 1/50
Aperture: f/2–4
Autofocus: Manual or Slow AF
Outdoor Video
Frame Rate: 24/30fps
Shutter: Match frame rate
Aperture: Desired look + ND filter
Autofocus: AF-C
The Goal Isn't Perfect Settings
Many beginners spend too much time chasing "perfect" camera settings.
Professional videographers don't rely on one universal setup.
Instead, they understand how frame rate, shutter speed, aperture, ISO, autofocus, and exposure work together.
Once you understand those relationships, adjusting your settings becomes fast and intuitive—even when lighting conditions change.
My Complete Hybrid Camera Workflow
After filming concerts, events, travel content, behind-the-scenes footage, and commercial projects with hybrid cameras, I've settled into a workflow that's simple, reliable, and easy to adapt.
Rather than constantly changing settings, I lock in the fundamentals before I ever hit record.
Step 1: Decide the Final Delivery
Before touching any camera settings, I ask one question:
Where will this video be watched?
Examples:
YouTube
Instagram Reels
Client delivery
Commercial project
Documentary
Personal project
Knowing the final destination helps determine frame rate, aspect ratio, and overall shooting style.
Step 2: Set Frame Rate
Most of my work is filmed at:
24fps for cinematic projects
30fps for general content and events
60fps only when I know I'll need slow motion
Changing frame rates later creates unnecessary work.
Step 3: Lock Shutter Speed
Once frame rate is chosen, shutter speed never changes unless frame rate changes.
Examples:
24fps → 1/50
30fps → 1/60
60fps → 1/125
This keeps motion looking natural throughout the project.
Step 4: Choose Aperture
Next I decide how much of the scene should remain in focus.
For concerts and events:
f/1.4–2.8
For interviews:
f/2–4
For landscapes:
f/8–11
For travel:
Whatever best balances light and depth of field.
Step 5: Adjust Exposure
Now I fine tune exposure.
Indoors:
Increase ISO when necessary.
Outdoors:
Add an ND filter instead of changing shutter speed.
This keeps motion consistent while maintaining proper exposure.
Step 6: Configure Autofocus
Most of my work uses:
AF-C / Servo AF
Face Detection
Subject Tracking
Slightly slower AF transitions
Lower tracking sensitivity
If autofocus begins struggling, I switch to manual focus instead of fighting the camera.
Step 7: Lock White Balance
Whenever possible:
Manual white balance
Consistent color throughout the entire shoot
Color consistency saves enormous amounts of editing time later.
Recommended Hybrid Cameras
Good settings matter more than expensive equipment, but some cameras make video noticeably easier.
Features worth prioritizing include:
Reliable autofocus
Strong low-light performance
Good dynamic range
Effective image stabilization
10-bit recording (if you plan to color grade)
Some excellent options include:
Beginner
Mid-Level
Professional
Each of these cameras is capable of producing professional-looking video when paired with proper settings.
Related Guide:
Best Hybrid Cameras for Photography & Video
Essential Accessories
A few accessories can improve your footage just as much as upgrading your camera.
Consider adding:
Fast Lens
A wide-aperture lens helps:
Low-light performance
Subject separation
Cleaner image quality
Variable ND Filter
Essential for:
Outdoor filming
Maintaining proper shutter speed
Consistent exposure
External Microphone
Viewers will tolerate average video.
They rarely tolerate poor audio.
Even a compact wireless microphone dramatically improves production quality.
Extra Batteries
Video consumes batteries quickly.
Always carry extras for:
Weddings
Concerts
Events
Travel
High-Speed Memory Cards
Reliable cards reduce the chance of dropped frames or recording interruptions.
Advanced Video Tips
Once you're comfortable with the basics, these techniques can further improve your footage.
Learn to Read Light
Don't simply expose correctly.
Pay attention to:
Direction
Contrast
Color
Mood
Good light often matters more than expensive gear.
Anticipate Motion
Rather than reacting to action, learn to predict it.
This creates:
Better compositions
Smoother camera movement
More intentional storytelling
Simplify Camera Movement
Professional footage often contains less movement than beginners expect.
Small adjustments usually look better than constant motion.
Think in Sequences
Instead of filming isolated clips, capture:
Wide shot
Medium shot
Close-up
Detail shot
Reaction shot
These sequences make editing far easier and create more engaging videos.
Common Beginner Mistakes
Many new videographers struggle with the same issues.
Changing Settings Constantly
Find a reliable starting point and only adjust when conditions require it.
Underexposing Footage
Properly exposed footage usually looks cleaner than footage brightened later.
Ignoring Audio
Great visuals cannot rescue unusable sound.
Overusing Slow Motion
Slow motion is powerful when used intentionally—not for every clip.
Forgetting Composition
Technical settings matter, but viewers remember compelling compositions and emotional moments.
Keep Your Workflow Simple
One lesson every experienced videographer eventually learns:
Complex camera setups rarely produce better videos.
Instead, focus on consistency.
A simple, repeatable workflow allows you to concentrate on storytelling instead of constantly changing camera settings.
The less you think about your camera, the more attention you can give to the scene unfolding in front of you.
Final Thoughts
The best video settings aren't hidden inside your camera's menu system.
They're built around understanding how a handful of core settings work together.
Master:
Frame rate
Shutter speed
Aperture
ISO
Autofocus
White balance
…and you'll solve the vast majority of video problems before they happen.
Technology continues to improve every year, but these fundamentals remain the same.
Once they become second nature, you'll spend less time adjusting settings and more time creating videos that tell better stories.
Frequently Asked Questions
What are the best video settings for hybrid cameras?
A reliable starting point is 24fps or 30fps, shutter speed matched to your frame rate, an aperture appropriate for your desired depth of field, properly exposed ISO, continuous autofocus, and manual white balance whenever practical.
Should beginners shoot in Log?
Usually no.
Standard picture profiles are easier to expose correctly and require much less editing. Log profiles become more useful once you're comfortable with color grading.
What frame rate should I use?
24fps for cinematic storytelling
30fps for everyday video
60fps for action or slow motion
Should ISO stay as low as possible?
Not necessarily.
Proper exposure is more important than chasing the lowest ISO number.
Modern hybrid cameras handle moderate ISO values extremely well.
Is autofocus always better than manual focus?
No.
Autofocus works exceptionally well for moving subjects, but manual focus is often preferable for interviews, product videos, and other controlled situations.
Do I need an ND filter?
If you regularly film outdoors, yes.
ND filters allow you to maintain proper shutter speed while controlling exposure in bright conditions.
Can I leave white balance on Auto?
You can, but manually setting white balance usually produces more consistent color and reduces editing time.
Do expensive cameras automatically produce better video?
No.
Good lighting, proper exposure, strong composition, and correct camera settings usually have a much bigger impact than the camera body itself.
==========
Related Photography & Video Resources
Continue improving your filmmaking skills with these guides:
