

How to Shoot Video Outdoors in Bright Light (ND Filter Guide)
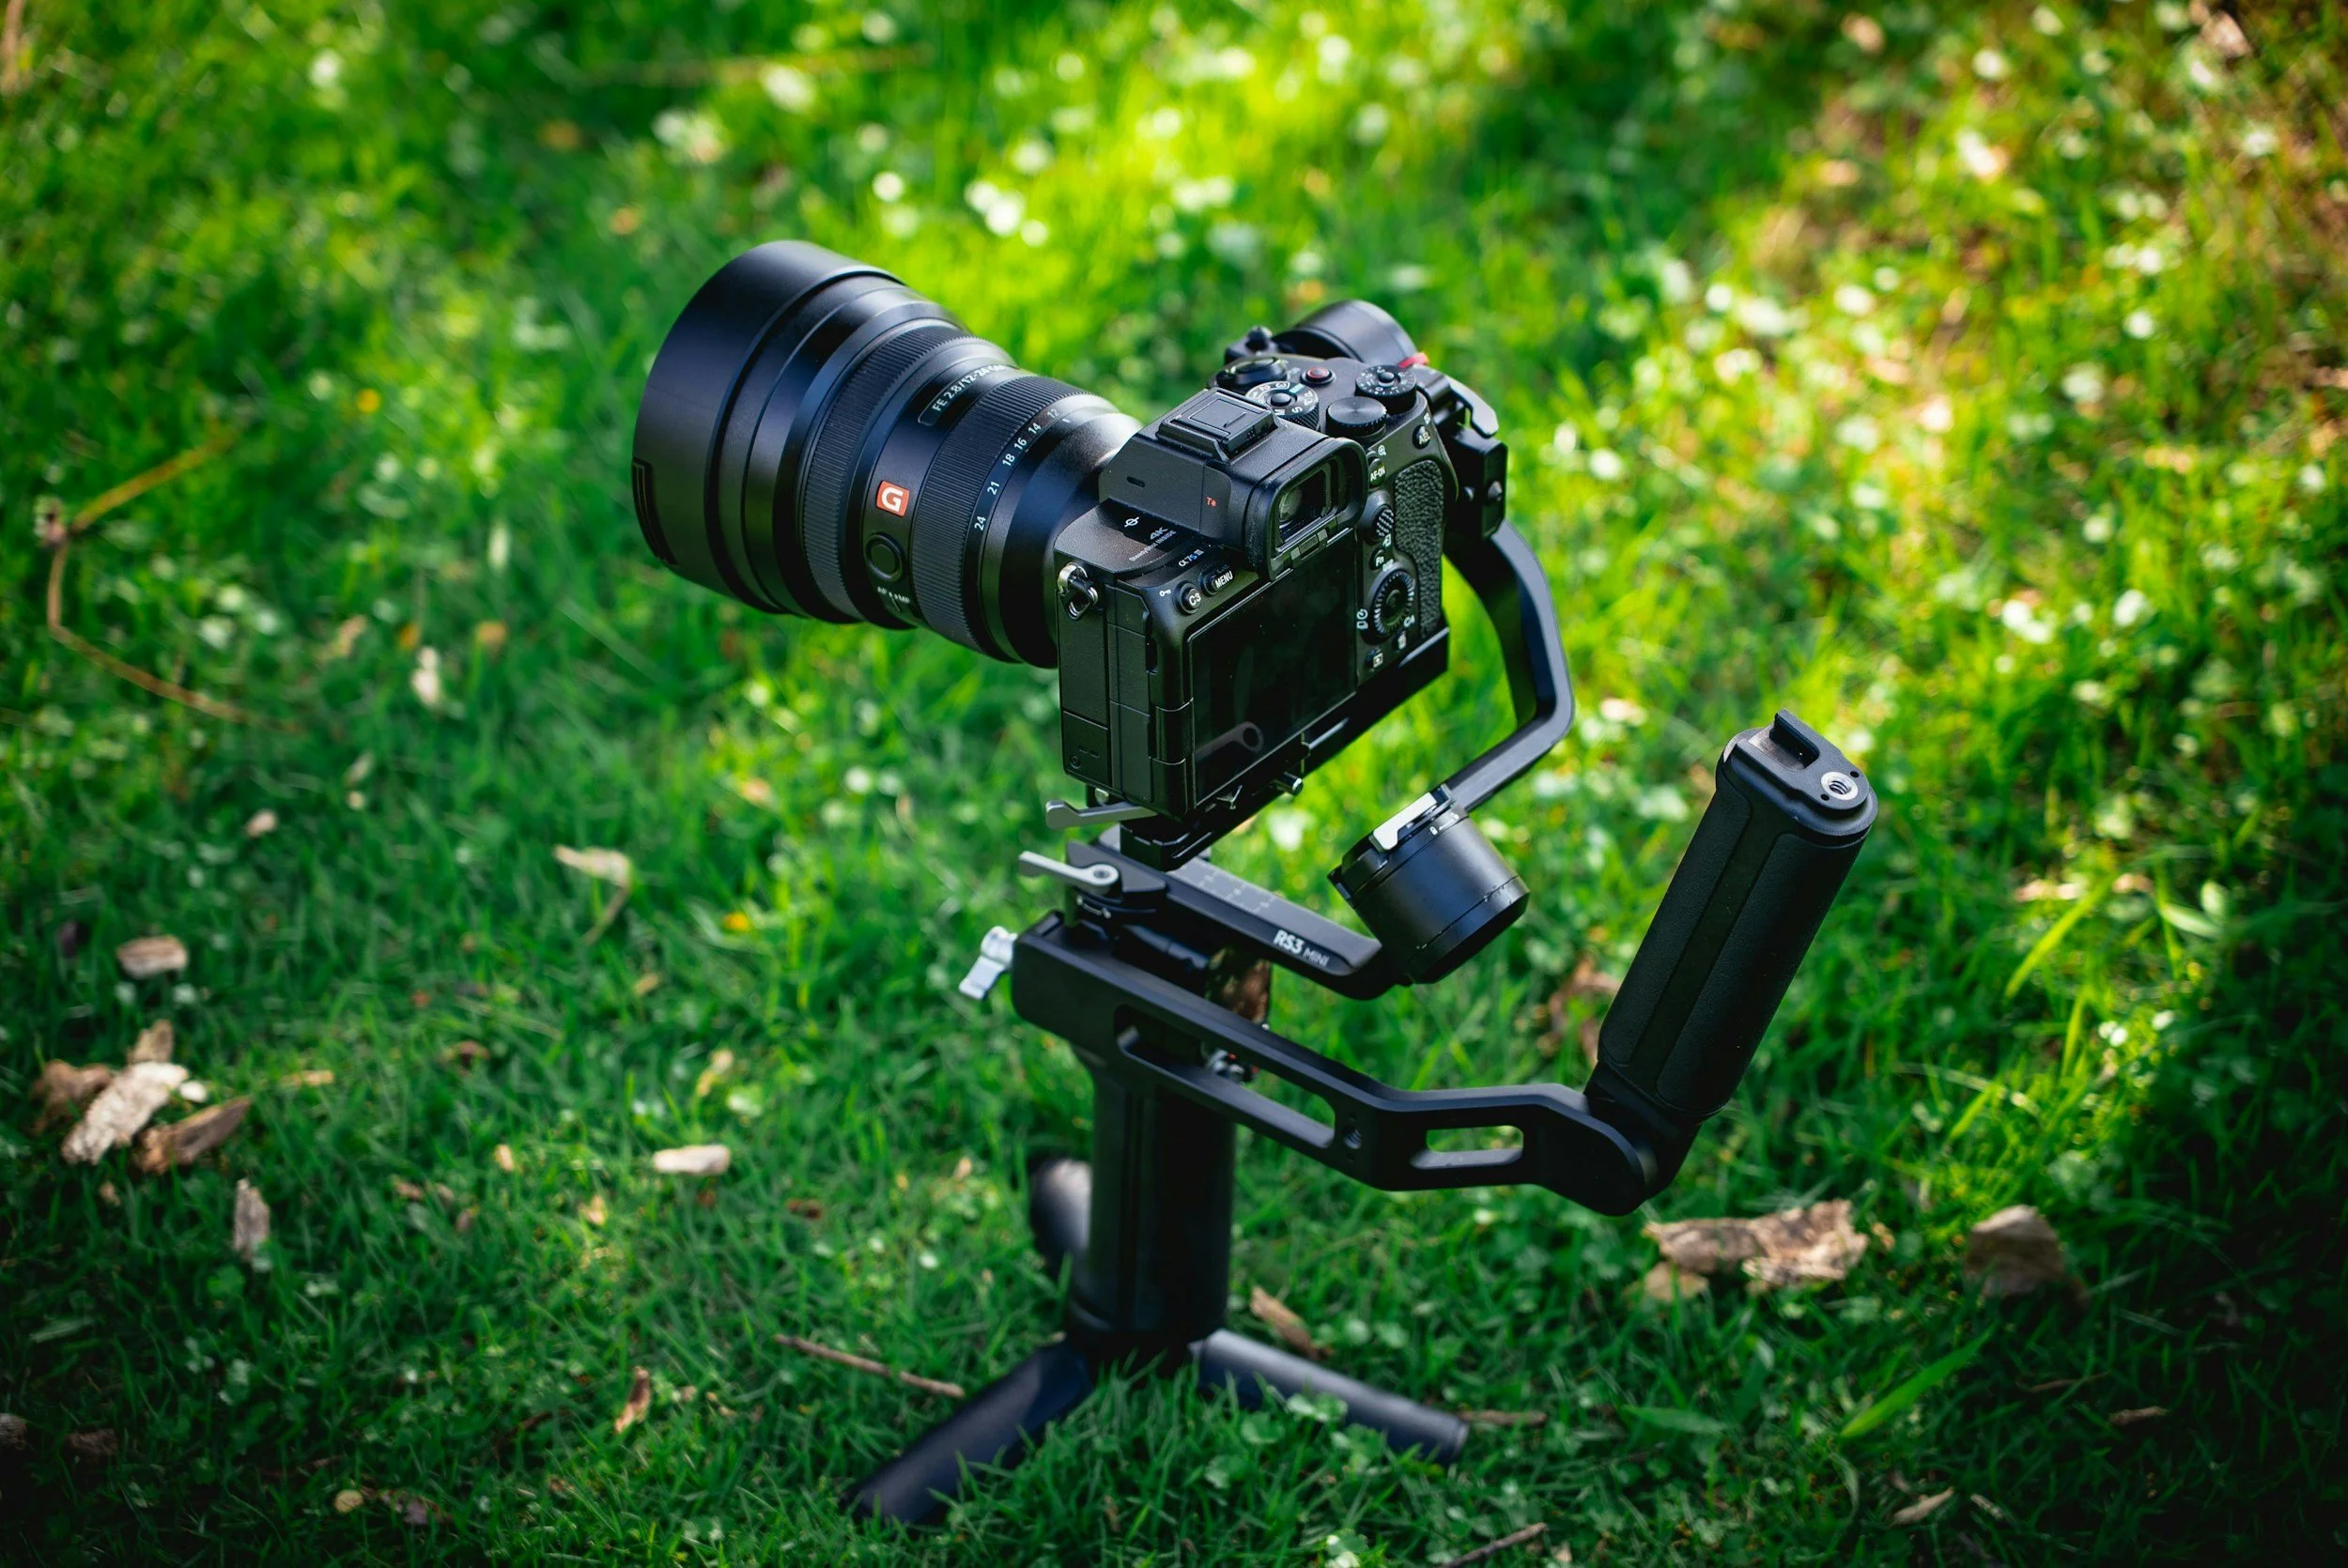
Photo by jason hu / Unsplash
==========
Last Updated: August 2026
Shooting video outdoors seems simple—until you encounter bright sunlight.
A beautiful sunny day can actually create one of the biggest challenges for videographers:
too much light entering the camera.
When shooting video, you don't have the same exposure flexibility you have with photography. Your shutter speed is not just controlling brightness—it also controls how motion looks.
If you adjust the wrong setting, you can end up with:
harsh, unnatural motion
choppy-looking footage
overexposed highlights
footage that looks more like a phone recording than cinematic video
The solution is not always a more expensive camera.
Often, the missing piece is understanding how to control light properly.
That is where ND filters come in.
Neutral density filters allow you to maintain proper video settings in bright conditions while preserving natural motion blur and a more cinematic look.
In this guide, we'll cover:
why bright sunlight creates problems for video
why shutter speed is different for video
how the 180-degree shutter rule works
what ND filters do
how to choose ND filter strength
fixed vs variable ND filters
real-world outdoor video setups
Whether you're filming landscapes, travel videos, events, weddings, concerts, or commercial content, learning how to control outdoor light will immediately improve your results.
Why Bright Light Breaks Video
The biggest mistake many new videographers make is treating video exposure the same way they treat photography.
With photography, you can often fix bright conditions by increasing shutter speed.
For example:
1/500
1/1000
1/4000
These faster shutter speeds reduce the amount of light hitting the sensor.
For still images, that works perfectly.
Video is different.
Your shutter speed affects the appearance of motion.
If you increase shutter speed too much, your footage may become:
overly sharp
jittery
unnatural
lacking cinematic motion blur
This is especially noticeable with:
people walking
camera movement
panning shots
moving water
action scenes
The challenge becomes:
How do you reduce exposure without ruining motion?
The Shutter Speed Problem
Video cameras typically follow a predictable relationship between frame rate and shutter speed.
A common starting point is:
double your frame rate to determine your shutter speed.
Examples:
| Frame Rate | Recommended Shutter Speed |
|---|---|
| 24fps | 1/50 |
| 30fps | 1/60 |
| 60fps | 1/120 |
24fps
Recommended Shutter Speed: 1/50
30fps
Recommended Shutter Speed: 1/60
60fps
Recommended Shutter Speed: 1/120
Following this rule helps create:
smoother movement
natural-looking motion
more professional footage
The problem is not the shutter speed.
The problem is too much light.
That is why ND filters are so important.
👉 Related guide:
180 Degree Shutter Rule (What It Is + How to Use It in Real-World Video)
What Are ND Filters?
An ND filter, or neutral density filter, is a piece of glass that reduces the amount of light entering your lens.
A simple way to think about it:
An ND filter is sunglasses for your camera.
It reduces brightness without changing:
shutter speed
frame rate
aperture choice
This allows you to keep your ideal video settings even in harsh lighting conditions.
For example:
Without an ND filter:
24fps
1/50 shutter
f/2.8
ISO 100
Result:
❌ overexposed footage
With an ND filter:
24fps
1/50 shutter
f/2.8
ISO 100
ND filter added
Result:
✅ correct exposure
✅ natural motion blur
✅ cinematic look
Why ND Filters Matter for Video
Without an ND filter, bright outdoor conditions force you into compromises.
You usually have three choices:
Option 1 — Increase Shutter Speed
Pros:
reduces exposure
Cons:
unnatural motion
harsh movement
less cinematic look
Option 2 — Close the Aperture
Pros:
reduces light
Cons:
changes depth of field
may prevent the look you want
For example, if you want a subject separated from the background at f/1.8, stopping down to f/11 completely changes the image.
Option 3 — Use an ND Filter
Pros:
maintains correct shutter speed
keeps your desired aperture
preserves cinematic motion
This is why professional videographers consider ND filters essential outdoor tools.
They give you exposure control without sacrificing creative choices.
Choosing the Right ND Filter Strength
ND filters come in different strengths.
The higher the ND number, the more light the filter blocks.
Common strengths include:
| ND Filter | Light Reduction | Common Use |
|---|---|---|
| ND4 | 2 stops | Light shade, golden hour |
| ND8 | 3 stops | Overcast conditions |
| ND16 | 4 stops | Partial sunlight |
| ND32 | 5 stops | Bright outdoor conditions |
| ND64 | 6 stops | Strong sunlight |
| ND128 | 7 stops | Very bright conditions |
| ND256 | 8 stops | Extreme sunlight |
ND4
Light Reduction: 2 stops
Common Use: Light shade, golden hour
ND8
Light Reduction: 3 stops
Common Use: Overcast conditions
ND16
Light Reduction: 4 stops
Common Use: Partial sunlight
ND32
Light Reduction: 5 stops
Common Use: Bright outdoor conditions
ND64
Light Reduction: 6 stops
Common Use: Strong sunlight
ND128
Light Reduction: 7 stops
Common Use: Very bright conditions
ND256
Light Reduction: 8 stops
Common Use: Extreme sunlight
For most outdoor video work, a range around:
ND16 → ND64
will cover many real-world situations.
For intense midday sunlight, ND64 or stronger may be necessary.
Fixed vs Variable ND Filters
There are two main types of ND filters.
Fixed ND Filters
Fixed ND filters provide one specific strength.
Examples:
ND8
ND16
ND64
Advantages:
best optical quality
consistent results
fewer image issues
Disadvantages:
requires changing filters as lighting changes
Fixed filters are popular for:
professional video work
controlled productions
maximum image quality
Variable ND Filters
Variable ND filters allow you to adjust the amount of light reduction by rotating the filter.
Advantages:
extremely flexible
faster adjustments
useful when light changes quickly
Examples:
moving from shade to sunlight
travel filmmaking
outdoor events
Disadvantages:
cheaper models can create color shifts
extreme settings may cause uneven exposure patterns
For many photographers and hybrid creators, a good variable ND filter is the most practical option.
How to Choose the Right ND Filter Strength
Choosing the correct ND filter strength depends on three main factors:
how bright the environment is
your chosen aperture
your desired frame rate and shutter speed
There is no single “best” ND filter.
The goal is to add enough light reduction so you can maintain your preferred video settings.
A practical starting point:
| Lighting Condition | Recommended ND Strength |
|---|---|
| Golden hour / sunrise / sunset | ND4–ND16 |
| Overcast conditions | ND8–ND32 |
| Bright daylight | ND32–ND64 |
| Midday sun | ND64–ND256 |
| Snow, beach, desert, extreme brightness | ND128+ |
Golden Hour / Sunrise / Sunset
Recommended ND Strength: ND4–ND16
Overcast Conditions
Recommended ND Strength: ND8–ND32
Bright Daylight
Recommended ND Strength: ND32–ND64
Midday Sun
Recommended ND Strength: ND64–ND256
Snow, Beach, Desert, Extreme Brightness
Recommended ND Strength: ND128+
For most outdoor creators, a filter range covering:
ND16
ND32
ND64
will handle the majority of shooting situations.
A Practical Outdoor Video Example
Imagine you are filming a landscape scene at midday.
Your desired settings:
24fps
1/50 shutter speed
f/2.8 aperture
ISO 100
Without an ND filter:
The image is completely overexposed.
Your options:
Increase shutter speed
Example:
1/500
The exposure improves, but motion becomes sharper and less natural.
Close the aperture
Example:
f/11
The exposure improves, but you lose shallow depth of field and creative control.
Add an ND filter
Example:
ND64
Now you can keep:
24fps
1/50 shutter
f/2.8
ISO 100
while maintaining proper exposure.
That is the entire purpose of an ND filter.
Outdoor Video Camera Settings
A good outdoor video setup starts with controlling the settings that affect motion first.
A simple workflow:
Frame Rate
Choose your frame rate based on the look you want.
24fps
Best for:
cinematic footage
travel videos
landscapes
storytelling
Recommended shutter:
1/50
30fps
Best for:
general content
YouTube
documentary-style shooting
Recommended shutter:
1/60
60fps
Best for:
slow motion
action
fast movement
Recommended shutter:
1/120
However:
60fps requires more light.
In bright conditions this is easy.
In lower light, it can become challenging.
👉 Related guide:
24 vs 30 vs 60 FPS (Best Frame Rate for Video Explained)
Aperture Choices Outdoors
Your aperture controls:
depth of field
subject separation
overall image style
There is no single correct aperture.
Wide Apertures (f/1.4–f/2.8)
Best for:
portraits
cinematic backgrounds
subject isolation
Benefits:
more light
lower ISO
stronger separation
Mid Apertures (f/4–f/8)
Best for:
landscapes
travel
environmental shots
Benefits:
more scene detail
greater depth of field
Small Apertures (f/11+)
Usually avoided for video unless necessary.
Reasons:
diffraction can reduce sharpness
less creative control
Instead of stopping down heavily, an ND filter usually provides a better solution.
ISO Settings Outdoors
In bright conditions:
keep ISO as low as possible.
Typical starting point:
ISO 100
Lower ISO helps:
maximize dynamic range
reduce noise
preserve highlight detail
If your camera offers a native low ISO mode, use it carefully.
Some cameras have “extended” ISO settings that reduce flexibility rather than improving image quality.
Step-by-Step ND Filter Workflow
Here is the workflow I recommend for real-world shooting.
Step 1 — Choose Your Frame Rate
Decide your creative goal.
Example:
cinematic footage → 24fps
normal video → 30fps
slow motion → 60fps
Step 2 — Set Your Shutter Speed
Follow the 180-degree shutter rule.
Examples:
24fps:
→ 1/50
30fps:
→ 1/60
60fps:
→ 1/120
Step 3 — Choose Your Aperture
Set the look you want.
Examples:
Portrait:
→ f/1.8–f/2.8
Landscape:
→ f/4–f/8
Step 4 — Set ISO
Keep ISO low.
Start with:
→ ISO 100
Adjust only if necessary.
Step 5 — Add Your ND Filter
Attach the ND filter and adjust strength until exposure is correct.
The goal:
✅ proper exposure
✅ correct motion blur
✅ desired depth of field
Step 6 — Check Your Histogram and Highlights
Do not rely only on the camera screen.
Bright outdoor scenes can be misleading.
Use:
histogram
zebras
waveform monitor (if available)
to protect highlights.
Real-World Outdoor Video Examples
Example 1: Landscape Video at Midday
Scenario:
mountain overlook
bright sun
slow camera movement
Settings:
24fps
1/50 shutter
f/5.6
ISO 100
ND64
Result:
natural motion
balanced exposure
detailed landscape
Example 2: Travel Video Walking Through a City
Scenario:
moving between sunlight and shade
changing conditions
Settings:
30fps
1/60 shutter
f/2.8
ISO 100
variable ND filter
Why variable ND helps:
You can quickly adjust exposure without stopping to change filters.
Example 3: Outdoor Event Coverage
Scenario:
performers
changing backgrounds
unpredictable movement
Settings:
30fps
1/60 shutter
f/2.8
ISO 100–400
ND32–ND64
Priority:
capture the moment first.
Perfect exposure matters less than missing the shot.
White Balance for Outdoor Video
Exposure is only part of the equation.
Color consistency is equally important.
One common mistake:
leaving white balance on auto.
Auto white balance can shift during recording when:
clouds move
you turn toward the sun
subjects enter different lighting
The result:
footage with noticeable color changes.
Instead:
Set Manual White Balance
Common outdoor starting points:
| Condition | White Balance |
|---|---|
| Direct sunlight | 5200K–5600K |
| Cloudy | 6000K–7000K |
| Shade | 6500K–7500K |
Direct Sunlight
White Balance: 5200K–5600K
Cloudy
White Balance: 6000K–7000K
Shade
White Balance: 6500K–7500K
The exact number depends on your camera and conditions.
The goal is consistency.
A slightly imperfect color grade is much easier to fix than constantly changing color.
Autofocus Outdoors
Bright light usually helps autofocus.
However, outdoor video can still challenge your camera.
Common issues:
reflections
strong contrast
moving subjects
busy backgrounds
Recommended settings:
continuous autofocus
face detection when available
subject tracking for moving subjects
touch focus when needed
For landscapes:
manual focus may still be preferred.
For moving subjects:
modern autofocus systems can be extremely reliable.
👉 Related guide:
Best Video Autofocus Settings (Hybrid Cameras Explained)
Dynamic Range and Outdoor Video
Bright outdoor scenes often contain extreme contrast:
bright skies
dark shadows
reflective surfaces
This is where camera dynamic range matters.
A camera with strong dynamic range helps preserve:
highlight detail
shadow information
smoother color grading
Useful features include:
log profiles
HDR recording modes
good highlight recovery
However, there is an important warning:
Do not always use the flattest picture profile.
In difficult lighting, especially when:
exposure is changing quickly
you are filming events
you need fast turnaround
a standard or moderately flat profile may actually produce better results.
Recommended Gear for Outdoor Video
You do not need an expensive setup.
A strong outdoor video kit usually starts with:
ND Filters
Essential.
Look for:
accurate color reproduction
strong coatings
minimal sharpness loss
Variable ND Filter
Best for:
travel
run-and-gun shooting
changing light
Camera With Good Video Features
Look for:
reliable autofocus
good dynamic range
10-bit video if possible
strong stabilization options
Popular hybrid cameras include:
Sony a7 IV
Canon EOS R6 Mark II
Nikon Z6 III
Panasonic Lumix S5 II
Fujifilm X-T5
👉 Related guide:
Best Hybrid Cameras 2026 (Top Picks for Photo + Video)
Fast, Quality Lenses
A good lens improves outdoor video dramatically.
Look for:
consistent autofocus
smooth focus transitions
useful focal lengths
Popular choices:
24-70mm f/2.8
24-105mm f/4
35mm primes
50mm primes
Common ND Filter Mistakes
ND filters are simple tools, but using them incorrectly can create problems.
Here are the mistakes I see most often.
Using Shutter Speed to Fix Exposure
The biggest mistake is increasing shutter speed because your footage is too bright.
For example:
Shooting 24fps
Changing from 1/50 to 1/500 shutter speed
This reduces exposure, but it also creates:
unnatural motion
choppy movement
a harsh digital look
The better solution:
👉 Keep your shutter speed consistent and control light with an ND filter.
Buying the Wrong ND Strength
A filter that is too weak won't solve your exposure problem.
A filter that is too strong forces you to increase ISO or open your aperture unnecessarily.
A practical outdoor video kit usually includes:
ND8
ND16
ND32
ND64
For extreme sunlight:
ND128
ND256
may be useful.
Using a Cheap Variable ND Filter
Variable ND filters are convenient, but inexpensive models can introduce image problems.
Common issues include:
uneven darkening across the frame
color shifts
reduced sharpness
strange cross patterns at stronger settings
For professional video work, investing in a quality ND filter can make a noticeable difference.
Forgetting About White Balance
An ND filter controls exposure, but it does not fix color.
Leaving white balance on auto can create:
changing colors during a shot
inconsistent footage between clips
more difficult editing
For professional results:
👉 lock your white balance before recording.
Ignoring Reflections and Flare
Adding another piece of glass in front of your lens can increase the chance of:
reflections
glare
reduced contrast
Use a quality filter and a lens hood when possible, especially when shooting toward the sun.
Advanced Outdoor Video Techniques
Once you understand the basics, ND filters allow you to create more intentional footage.
Maintain Shallow Depth of Field in Daylight
One major advantage of ND filters is keeping a wide aperture outdoors.
Example:
Without ND:
f/8
1/1000 shutter
With ND:
f/2.0
1/50 shutter
The second setup gives you:
better subject separation
softer backgrounds
a more cinematic look
This is especially useful for:
interviews
portraits
travel videos
event footage
Use Exposure Tools
Modern cameras provide tools that help you expose accurately.
Useful features include:
Zebra Patterns
Shows areas approaching overexposure.
Helpful for protecting:
skin tones
bright skies
reflective surfaces
Histogram
Displays the overall exposure range.
Useful for checking whether your footage is:
too dark
too bright
losing highlight detail
Waveforms
More advanced cameras and monitors may include waveform displays for precise exposure control.
Protect Highlights Outdoors
Bright outdoor scenes often contain extreme contrast.
Examples:
bright skies
dark shadows
reflective water
backlit subjects
Instead of exposing only for shadows, consider protecting important highlights.
You can often recover some shadow detail in post-production, but completely blown highlights are usually gone.
Shooting Without ND Filters
Sometimes you simply don't have an ND filter available.
Your options become more limited.
You can:
Increase Shutter Speed
This works technically, but motion may look less natural.
Stop Down Your Aperture
Increasing from:
f/2.0
tof/8
reduces exposure but changes your creative look.
Lower ISO
Always keep ISO as low as practical.
Change Locations or Timing
Sometimes the best solution is changing the light itself.
Shooting:
early morning
late afternoon
shaded areas
can eliminate many exposure problems.
Complete Outdoor Video Workflow
Here is a simple workflow that works in real-world situations.
Before Shooting
Check:
lighting conditions
weather
camera settings
lens choice
ND filter strength needed
Camera Setup
Start with:
Frame Rate
24fps for cinematic motion
30fps for general video
Shutter Speed
24fps → 1/50
30fps → 1/60
Aperture
Choose based on your creative goal:
f/1.4–f/2.8:
portraits
cinematic backgrounds
subject separation
f/4–f/8:
landscapes
group shots
deeper focus
ISO
Keep as low as possible.
White Balance
Set manually for consistent color.
Add ND Filter
Choose the filter strength needed to maintain:
correct exposure
natural motion
desired aperture
Review Your Footage
Before leaving:
check:
highlights
focus
color
motion
exposure consistency
A quick test clip can prevent losing an entire shoot.
Recommended Gear for Outdoor Video
A strong outdoor video setup does not need to be complicated.
The most useful upgrades are usually:
Quality ND Filters
Look for:
accurate light reduction
minimal color shift
good optical quality
Variable ND Filters
Best for:
travel
run-and-gun shooting
changing conditions
Camera With Good Video Features
Important features include:
strong dynamic range
reliable autofocus
good heat management
10-bit video options
professional exposure tools
👉 Related guide:
Best Hybrid Cameras 2026 (Top Picks for Photo + Video)
Fast Lenses
Fast lenses help you maintain:
lower ISO
shallow depth of field
better low-light performance
Common choices:
24-70mm f/2.8
35mm f/1.4
50mm f/1.8
70-200mm f/2.8
Final Thoughts
Shooting video outdoors is not about avoiding bright light.
It is about controlling it.
The biggest challenge is that video requires a balance between:
exposure
motion
aperture
image quality
ND filters solve one of the biggest problems filmmakers face:
keeping natural motion while controlling bright sunlight.
Once you understand the relationship between shutter speed, aperture, ISO, and ND strength, outdoor video becomes much easier.
Instead of fighting the conditions, you can use the light to create better-looking footage.
Frequently Asked Questions
Do I need an ND filter for outdoor video?
If you shoot video outdoors in bright sunlight, an ND filter is one of the most useful accessories you can own.
It allows you to maintain proper shutter speed while controlling exposure.
Can I use a polarizing filter instead of an ND filter?
A polarizer can reduce reflections and darken skies, but it is not a replacement for an ND filter.
ND filters are designed specifically for controlling exposure.
What ND filter strength should I use for video?
Common choices:
ND8: light shade or cloudy conditions
ND16-ND32: partial sun
ND64: bright sunlight
ND128-ND256: extreme conditions
Should I buy a fixed ND or variable ND filter?
Fixed ND filters generally provide the best image quality.
Variable ND filters provide more flexibility and are often better for:
travel
changing light
run-and-gun filming
Why does my outdoor video look choppy?
Most often, the shutter speed is too high.
For natural motion:
24fps:
use approximately 1/50 shutter
30fps:
use approximately 1/60 shutter
An ND filter helps maintain those settings in bright conditions.
Can ND filters improve smartphone video?
Yes.
Many smartphones automatically adjust shutter speed, but external ND filters can help create more intentional cinematic motion in professional mobile video workflows.
==========
Related Video Resources
Continue improving your video skills:
