

Low Light Video Settings: How to Fix Dark, Noisy Footage
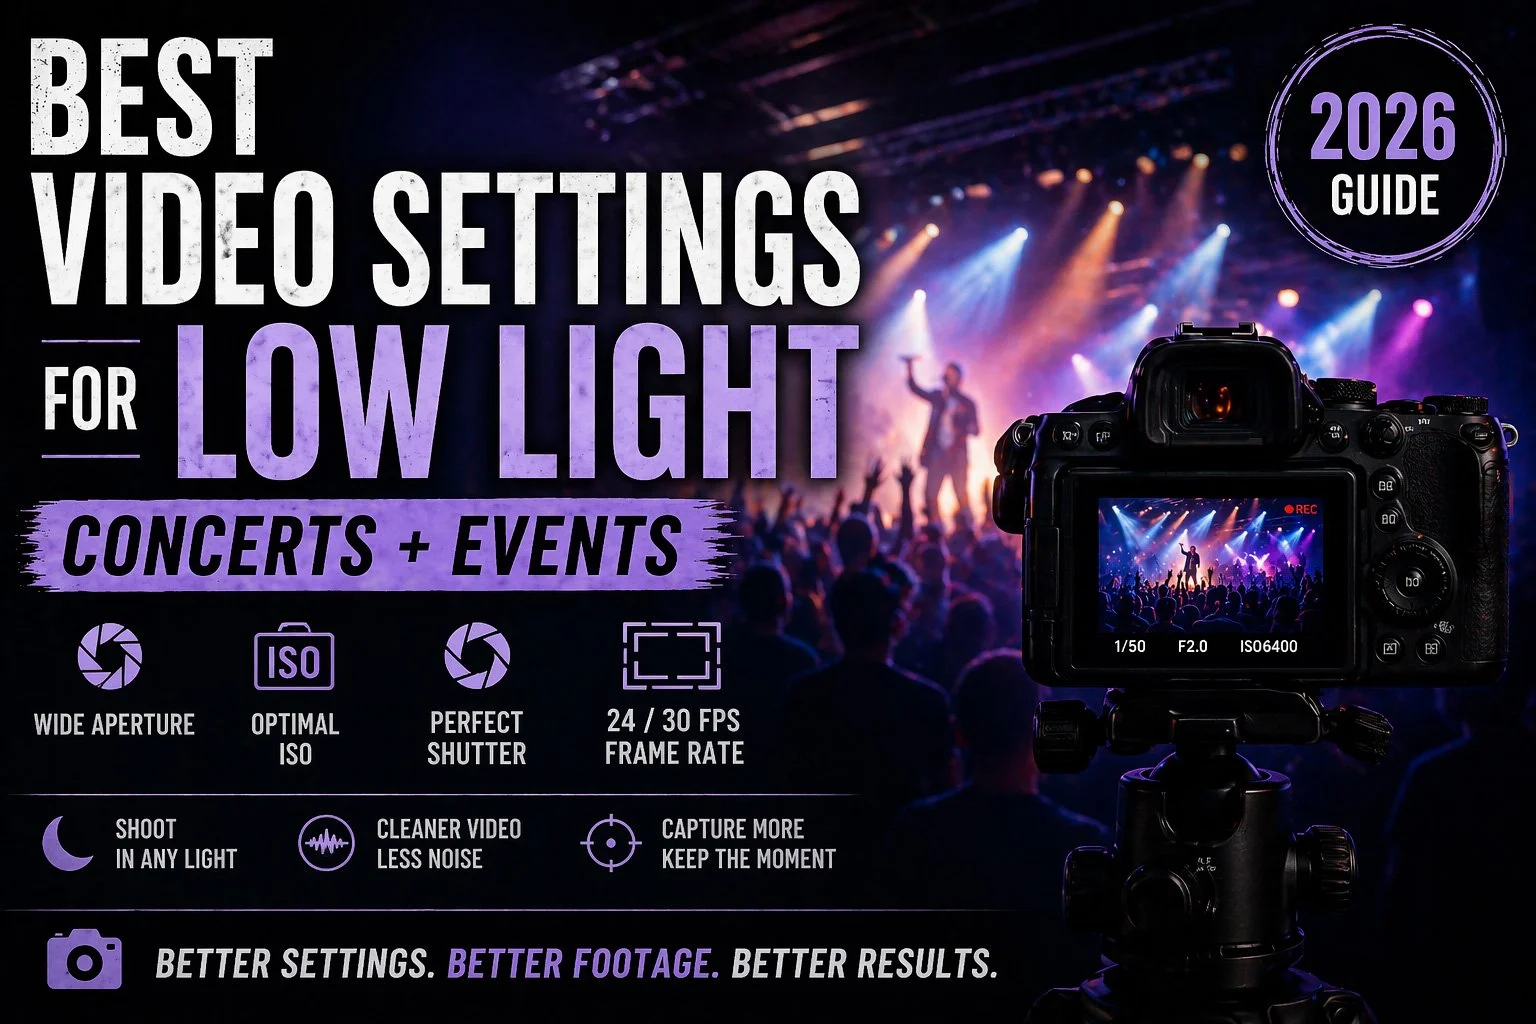
==========
Last Updated: August 2026
Quick Jump
- Understanding Low Light Video
- Best Low Light Video Settings
- Exposure Techniques
- Autofocus Settings for Low Light
- White Balance & Picture Profiles
- Reducing Noise in Low Light Footage
- Concert & Event Video Settings
- Common Low Light Video Mistakes
- My Low Light Shooting Workflow
- Frequently Asked Questions
Shooting video in low light is one of the biggest challenges photographers and filmmakers face.
Whether you're filming concerts, weddings, corporate events, live performances, churches, nightlife, or documentary footage, you're constantly balancing three competing goals:
keeping noise under control
maintaining natural-looking motion
capturing enough light without blowing out highlights
Unlike photography, you can't simply lower your shutter speed to gather more light without affecting how motion looks. Every camera setting influences the others, which is why low light video often feels frustrating until you understand how the pieces work together.
The good news is that getting dramatically better footage usually doesn't require a new camera.
It requires understanding how frame rate, shutter speed, aperture, ISO, autofocus, exposure, and lighting all work together.
In this guide I'll walk through the settings I use for real-world concert and event filming, explain why they work, and help you avoid the mistakes that cause noisy, muddy, or unnatural-looking footage.
What Makes Low Light Video Difficult
Many people assume the problem is simply that there isn't enough light.
That's only part of the story.
Video places limitations on your exposure that photography doesn't.
When shooting still photos you can often:
lower shutter speed
shoot bursts
bracket exposures
recover shadows from RAW files
Video doesn't offer those same luxuries.
Instead, you're usually locked into a specific shutter speed based on your frame rate, leaving aperture and ISO to do most of the work.
At the same time you're dealing with:
constantly changing stage lighting
flashing LEDs
moving performers
high contrast scenes
smoke and haze
bright spotlights against dark backgrounds
Every decision becomes a compromise.
Learning those compromises is what separates clean, professional-looking footage from muddy, noisy video.
The Three Priorities of Low Light Video
Whenever I'm filming in difficult lighting, I focus on three things in this order.
1. Capture Enough Light
An image that's properly exposed with some visible noise is almost always better than one that's severely underexposed.
Modern editing software can reduce noise surprisingly well.
It cannot restore detail that was never captured.
2. Preserve Natural Motion
Motion blur is part of what makes video look cinematic.
Trying to eliminate every bit of blur usually creates footage that feels harsh and jittery.
Maintaining proper shutter speed should almost always take priority over reducing noise.
3. Keep Highlights Under Control
Concert lighting changes every second.
A spotlight may suddenly illuminate a singer while the rest of the stage remains nearly black.
It's usually better to protect the brightest parts of your subject than to expose for the darkest parts of the frame.
Understanding the Exposure Triangle for Video
Photography and video use the same exposure triangle:
Aperture
Shutter Speed
ISO
The difference is that in video your shutter speed is often fixed.
That means exposure usually comes from only two adjustments:
aperture
ISO
Understanding this simplifies low light shooting considerably.
Instead of constantly changing every setting, you're mainly balancing ISO against available light.
Best Low Light Video Settings
Frame Rate
Frame rate determines how many individual frames your camera records every second.
It's also one of the biggest factors affecting low light performance.
For most situations I recommend:
24 fps
Best for:
concerts
documentaries
cinematic projects
interviews
storytelling
Advantages:
gathers the most light
natural cinematic motion
easier exposure in dark environments
30 fps
Best for:
YouTube
social media
corporate work
general event coverage
Advantages:
slightly smoother motion
still performs well in low light
great all-around choice
60 fps
Useful when:
filming sports
capturing fast action
creating slow motion
However...
60 fps requires a faster shutter speed, which means your camera collects less light.
Unless the venue is well lit, 60 fps usually forces ISO much higher than 24 or 30 fps.
For many concerts and events, it's simply not worth the tradeoff.
Related Guide:
👉 24 vs 30 vs 60 FPS: Which Frame Rate Should You Use?
Match Your Shutter Speed Correctly
Once you've chosen your frame rate, shutter speed becomes much easier.
The standard recommendation is the 180-degree shutter rule.
That means:
| Frame Rate | Recommended Shutter |
|---|---|
| 24 fps | 1/50 sec |
| 30 fps | 1/60 sec |
| 60 fps | 1/125 sec |
24 fps
Recommended Shutter: 1/50 sec
30 fps
Recommended Shutter: 1/60 sec
60 fps
Recommended Shutter: 1/125 sec
These settings create motion blur that looks natural to our eyes.
One of the most common mistakes I see is increasing shutter speed in an attempt to reduce noise.
For example:
Changing:
1/50
to
1/200
does reduce motion blur.
Unfortunately it also removes two stops of light.
To compensate you'll have to increase ISO dramatically, often creating even more visible noise while making movement look stiff and unnatural.
If your footage looks too noisy, changing shutter speed is almost never the correct solution.
Related Guide:
👉 The 180 Degree Shutter Rule Explained
Aperture: Your Biggest Advantage in Low Light
Once shutter speed is set correctly, aperture becomes your strongest tool.
A wider aperture allows more light to reach the sensor.
For low light video I generally recommend:
f/1.2
f/1.4
f/1.8
f/2
f/2.8
depending on the lens.
Fast lenses provide several important benefits:
lower ISO
cleaner footage
improved autofocus performance
stronger subject separation
brighter viewfinder image
This is one reason professional event shooters invest heavily in quality lenses.
Even if you never upgrade your camera body, moving from an f/4 lens to an f/2.8—or from f/2.8 to f/1.8—can make a dramatic difference in low light performance.
Related Guides
Understanding ISO in Low Light
ISO is often the setting photographers worry about most.
It's also one of the most misunderstood.
The goal isn't to use the lowest ISO possible.
The goal is to achieve proper exposure.
A properly exposed image at ISO 6400 usually looks better than an underexposed image at ISO 1600 that's brightened later during editing.
Modern cameras handle high ISO far better than older models, especially full-frame mirrorless cameras with current-generation sensors.
Instead of asking:
"How low can I keep ISO?"
Ask:
"Is my subject properly exposed?"
That's a much more useful question when filming concerts, weddings, and live events.
Exposure Techniques for Low Light Video
Once you've selected your frame rate and shutter speed, exposure becomes a balancing act between aperture, ISO, and the available light.
The goal isn't to make the image as bright as possible.
The goal is to capture clean, usable footage while preserving your subject and avoiding unnecessary noise.
Start With Your Aperture
Your aperture is the first exposure setting you should maximize.
A wider aperture allows more light to reach the sensor, which means you can keep ISO lower while maintaining proper exposure.
Common low-light video apertures include:
f/1.2
f/1.4
f/1.8
f/2
f/2.8
The darker the environment, the more valuable a fast lens becomes.
For concerts and events, lenses with an f/2.8 aperture or wider make a noticeable difference.
Benefits include:
Brighter exposure
Lower ISO
Cleaner footage
Better subject separation
Faster autofocus performance
Related Guide: Best Lenses for Concert Photography
Don't Be Afraid of ISO
Many beginners become obsessed with keeping ISO as low as possible.
Ironically, that often creates worse-looking footage.
An underexposed image that is brightened during editing usually contains significantly more visible noise than footage that was exposed properly at a higher ISO.
Modern cameras have dramatically improved high ISO performance.
Depending on your camera, shooting at ISO 3200, 6400, or even higher may produce cleaner results than severely underexposing the image.
General ISO Starting Points
Every camera performs differently, but these ranges work well as starting guidelines.
| Lighting | Typical ISO Range |
|---|---|
| Indoor event with moderate lighting | ISO 800–3200 |
| Small concert venue | ISO 1600–6400 |
| Very dark concert | ISO 3200–12800+ |
Indoor Event with Moderate Lighting
Typical ISO Range: ISO 800–3200
Small Concert Venue
Typical ISO Range: ISO 1600–6400
Very Dark Concert
Typical ISO Range: ISO 3200–12800+
Don't chase a specific ISO number.
Adjust ISO only after you've locked in:
Frame rate
Shutter speed
Aperture
ISO should be your final exposure adjustment.
Expose for Your Subject
Concert lighting is unpredictable.
One second your subject is illuminated by a bright spotlight.
The next they're standing in complete darkness.
Trying to perfectly expose the entire scene usually leads to disappointment.
Instead:
Prioritize your subject.
If the performer is properly exposed but some stage lights clip slightly, that's generally preferable to protecting the lights while leaving your subject too dark.
Professional concert footage often contains clipped stage lighting because preserving the performer matters more than preserving every highlight.
Watch Your Histogram
Your camera's LCD can be misleading.
Bright stage lights and dark venues often make the screen appear brighter or darker than the recorded image actually is.
Instead, rely on exposure tools such as:
Histogram
Zebra patterns
False color (if available)
Autofocus Settings for Low Light Video
Low light pushes autofocus systems to their limits.
Even the best cameras occasionally struggle when lighting becomes extremely challenging.
Fortunately, a few adjustments can dramatically improve performance.
Continuous Autofocus
For concerts and live events, continuous autofocus (AF-C or Servo AF) is almost always the best choice.
It allows the camera to continuously adjust focus as performers move around the stage.
Enable Subject Tracking
Modern mirrorless cameras offer excellent tracking systems.
Whenever available, enable:
Subject tracking
Human detection
Face detection
Eye detection
These systems are surprisingly effective even under rapidly changing concert lighting.
Adjust AF Transition Speed
Many cameras allow you to change how aggressively autofocus reacts.
For concerts, slightly slower transitions often look more natural.
This prevents the camera from constantly jumping between performers, microphones, instruments, and audience members.
A moderate tracking sensitivity generally produces smoother results.
Know When Manual Focus Is Better
Sometimes autofocus simply can't keep up.
Situations where manual focus often wins include:
Extremely dark venues
Heavy fog or haze
Bright flashing lights
Lasers crossing the frame
Performers moving behind equipment
Experienced concert videographers frequently switch between autofocus and manual focus depending on the scene.
Learning both techniques will make you far more versatile.
White Balance & Picture Profiles for Low Light
Auto White Balance is convenient.
It's also one of the biggest causes of inconsistent-looking footage.
Concert lighting changes constantly.
LED walls.
Colored spotlights.
Moving beams.
Pyrotechnics.
If Auto White Balance is enabled, your footage may shift from blue to orange to green within seconds.
Those color jumps are difficult to correct during editing.
Lock Your White Balance
Instead of using Auto White Balance:
Choose a Kelvin value.
Keep it consistent.
Correct small adjustments during editing.
Even if your chosen temperature isn't perfect, consistency almost always looks more professional than constant color shifts.
Common Starting Points
Typical starting values include:
3200K — tungsten-heavy lighting
4000K — mixed indoor lighting
5600K — daylight-balanced lighting
Concert lighting varies dramatically, so expect to make adjustments based on the venue.
Picture Profiles for Low Light
Picture profiles can dramatically affect image quality.
Choosing the wrong profile in low light often creates more problems than it solves.
Avoid Extremely Flat Profiles in Very Dark Conditions
Log profiles preserve tremendous dynamic range.
However, they also require more light.
If footage is significantly underexposed, recovering shadows from Log footage often introduces excessive noise.
For very dark concerts and events, a standard profile or a mild flat profile may actually produce cleaner results.
When Log Makes Sense
Log profiles work well when:
Lighting is reasonably bright
You're delivering professionally graded footage
Dynamic range is important
You understand color grading
If the venue is extremely dark, don't assume Log is automatically the best choice.
How to Reduce Noise in Low Light Footage
Every low-light video contains some noise.
The goal isn't eliminating it completely.
The goal is making it unobtrusive.
Proper Exposure Beats Noise Reduction
The single best way to reduce visible noise is simply exposing correctly.
Brightening dark footage later almost always produces more noticeable grain.
Avoid Excessive In-Camera Noise Reduction
Many cameras offer aggressive internal noise reduction.
Too much processing can produce:
Smudged details
Plastic-looking skin
Soft textures
Artificial sharpening
A moderate amount is usually sufficient.
Clean Noise During Editing
Modern editing software provides excellent noise reduction tools.
Applications like:
DaVinci Resolve
Adobe Premiere Pro
Final Cut Pro
allow targeted cleanup while preserving significantly more detail than aggressive in-camera processing.
Best Low Light Settings for Concerts & Events
Every venue is different, but this is my typical starting point before making adjustments.
Small Bar or Club
24 fps
1/50 sec shutter
f/1.8–f/2.8
ISO adjusted as needed
Continuous autofocus
Face/Eye Detection ON
Manual white balance
Indoor Event
30 fps
1/60 sec shutter
f/2.8
Auto ISO or Manual ISO
Subject Tracking ON
Manual white balance
Outdoor Night Event
24 fps
1/50 sec shutter
Widest aperture available
ISO adjusted for exposure
Histogram monitoring enabled
Manual white balance
These settings provide a reliable starting point, but every venue requires small adjustments based on lighting and subject movement.
How I Adapt During a Shoot
I rarely lock in one set of settings for an entire event.
Instead, I continually evaluate:
Is my subject exposed correctly?
Are highlights clipping too aggressively?
Is autofocus still reliable?
Has the lighting changed significantly?
Is noise becoming distracting?
Small adjustments throughout the shoot usually produce much better footage than relying on one fixed setup all night.
Common Low Light Video Mistakes
Even with modern cameras, low-light video problems are often caused by settings decisions rather than equipment limitations.
Avoid these common mistakes:
Using Too Fast a Shutter Speed
One of the easiest ways to ruin low-light footage is increasing shutter speed unnecessarily.
While a faster shutter can freeze motion, it also reduces the amount of light reaching the sensor.
The result:
darker footage
higher ISO requirements
more visible noise
unnatural motion
For most concert and event situations, maintain natural motion blur before increasing shutter speed.
Underexposing to Avoid Noise
Many shooters try to keep ISO low by intentionally making footage too dark.
This usually creates worse results.
Underexposed footage often requires heavy brightening in post-production, which can reveal:
shadow noise
color shifts
banding
loss of detail
A properly exposed high-ISO image usually looks better than a dark image pushed brighter later.
Shooting Everything at 60fps
High frame rates are useful, but they are not always the best choice for difficult lighting.
60fps requires:
faster shutter speeds
more available light
higher ISO settings
For concerts, venues, and nighttime events, 24fps or 30fps often produces cleaner footage.
Use 60fps when you specifically need slow motion and the lighting supports it.
Leaving White Balance on Auto
Changing stage lights can confuse automatic white balance.
Your footage may shift between:
warm orange tones
cool blue tones
unnatural skin colors
Locking white balance creates more consistent footage and makes editing much easier.
Using Flat Picture Profiles in Extreme Darkness
Log and flat profiles can provide more dynamic range, but they are not always ideal in very dark environments.
Underexposed log footage can introduce:
additional noise
color correction challenges
weaker shadows
If lighting is extremely poor, a standard profile or a less aggressive flat profile may produce better results.
My Complete Low Light Shooting Workflow
A reliable workflow is more valuable than constantly changing settings.
This is the process I use for difficult lighting situations.
Step 1: Evaluate the Environment
Before recording, look at:
overall brightness
stage lighting patterns
subject movement
background distractions
available angles
A few seconds of observation can prevent major exposure mistakes.
Step 2: Set Your Foundation Settings
Start with:
Frame rate
24fps for cinematic motion
30fps for slightly smoother movement
60fps only when lighting allows
Shutter speed
24fps → 1/50
30fps → 1/60
60fps → 1/120
Aperture
widest practical setting
ISO
adjust until exposure is correct
Step 3: Protect Highlights
Concert lighting creates extreme contrast.
Bright stage lights can easily clip while performers remain too dark.
Instead:
expose for faces and important details
watch highlight warnings if available
accept that some lights may blow out
The goal is usable footage, not a perfectly even exposure.
Step 4: Monitor Focus Performance
Low light is one of the hardest environments for autofocus.
Before the main performance:
test:
face tracking
eye detection
subject tracking
continuous autofocus response
If autofocus begins hunting:
switch strategies.
Depending on the situation:
use a smaller focus area
pre-focus on a position
use manual focus for predictable movement
Step 5: Capture Short Test Clips
Before recording the important moments:
shoot a few seconds and review:
exposure
focus accuracy
color
noise levels
motion rendering
A quick test can prevent an entire unusable recording session.
Recommended Gear for Low-Light Concert and Event Video
Settings matter, but equipment can make difficult situations much easier.
Cameras
The best low-light video cameras typically offer:
strong high ISO performance
reliable autofocus
good dynamic range
effective stabilization
strong video codecs
Popular hybrid options include:
Sony Alpha series
Canon EOS R series
Nikon Z series
Panasonic Lumix cameras
Full-frame cameras often provide an advantage in very dark environments because of their larger sensors and improved noise performance.
Fast Lenses
A fast lens is one of the biggest upgrades for low-light shooting.
Look for:
f/1.4 primes
f/1.8 primes
f/2.8 professional zooms
Useful event ranges include:
24-70mm f/2.8
Excellent all-around event lens.
Useful for:
stage coverage
backstage footage
environmental shots
interviews
70-200mm f/2.8
Ideal for:
concerts
performances
distant subjects
compressed backgrounds
Fast Prime Lenses
35mm and 50mm lenses with wide apertures are excellent for:
small venues
backstage environments
creative shots
Stabilization Support
Low light often requires slower shutter speeds and careful movement.
Helpful tools include:
monopods
tripods
gimbals
camera cages
For concerts, a monopod can provide stability while remaining mobile.
External Audio
Good visuals are only part of event coverage.
Poor audio can ruin otherwise excellent footage.
Consider:
wireless microphones
camera-mounted microphones
recorders
backup audio sources
A strong video with bad audio often feels incomplete.
Related: → Audio Matters as Much as Video Quality
Advanced Low-Light Video Techniques
Once the fundamentals are mastered, these techniques can improve results further.
Use Available Light Creatively
Dark environments often create some of the most interesting footage.
Look for:
silhouettes
colorful stage lighting
practical lights
reflections
shadows
Low light does not always need to be corrected.
Sometimes it creates the mood.
Shoot With Exposure Intent
Instead of trying to make everything bright, decide what matters.
Ask:
Is the performer the priority?
Is the atmosphere important?
Should the background remain dark?
Intentional exposure creates stronger footage.
Use Movement Carefully
Camera movement becomes more noticeable in low light.
Avoid:
fast unnecessary pans
shaky handheld movement
constant reframing
Smooth, deliberate movement usually looks more professional.
Create a Consistent Editing Workflow
Low-light footage benefits from consistency.
During editing:
match clips from different cameras
apply noise reduction carefully
avoid excessive sharpening
maintain natural skin tones
Over-processing can make noisy footage look worse.
Final Thoughts
Low-light video is one of the biggest challenges for photographers and filmmakers.
Concerts, events, and nighttime environments combine:
limited light
fast movement
changing exposure
unpredictable conditions
The solution is not simply increasing ISO or buying the newest camera.
Great low-light results come from understanding how everything works together:
frame rate
shutter speed
aperture
ISO
autofocus
lighting
lens choice
The goal is not perfectly clean footage.
The goal is capturing authentic moments that look natural, intentional, and professional.
With the right settings and workflow, even difficult lighting situations become manageable.
Frequently Asked Questions
What are the best low-light video settings for concerts?
A strong starting point is:
24fps
1/50 shutter speed
wide aperture such as f/1.8–f/2.8
ISO adjusted for proper exposure
locked white balance
continuous autofocus
These settings work well for many concert and event environments.
Is higher ISO bad for video?
Not necessarily.
Modern cameras handle high ISO much better than older models.
A properly exposed high-ISO recording usually looks better than underexposed footage brightened later.
Should I shoot 24fps or 60fps in low light?
For most low-light situations, 24fps is the better choice because it allows more light per frame.
Use 60fps only when you need slow motion and the lighting is strong enough.
What aperture is best for low-light video?
The widest aperture available is usually best.
Common choices include:
f/1.4
f/1.8
f/2.8
Wider apertures allow more light and help keep ISO lower.
Does a full-frame camera help with low-light video?
Yes.
Full-frame cameras generally provide:
better high ISO performance
cleaner shadows
improved dynamic range
However, a fast lens and correct settings are often just as important.
Should I use autofocus or manual focus for low-light video?
It depends on the situation.
Autofocus works well when:
subjects move unpredictably
tracking is reliable
lighting is adequate
Manual focus may work better when:
lighting is extremely dark
subjects stay in predictable positions
autofocus continuously hunts
Are log profiles good for low-light video?
They can be, but they require proper exposure.
In extremely dark situations, a standard profile may produce cleaner results because it avoids heavily lifting noisy shadows.
==========
Continue Learning
Improve your concert and event video workflow:
