

How to Shoot Live Music Videos: Complete Concert Videography Guide
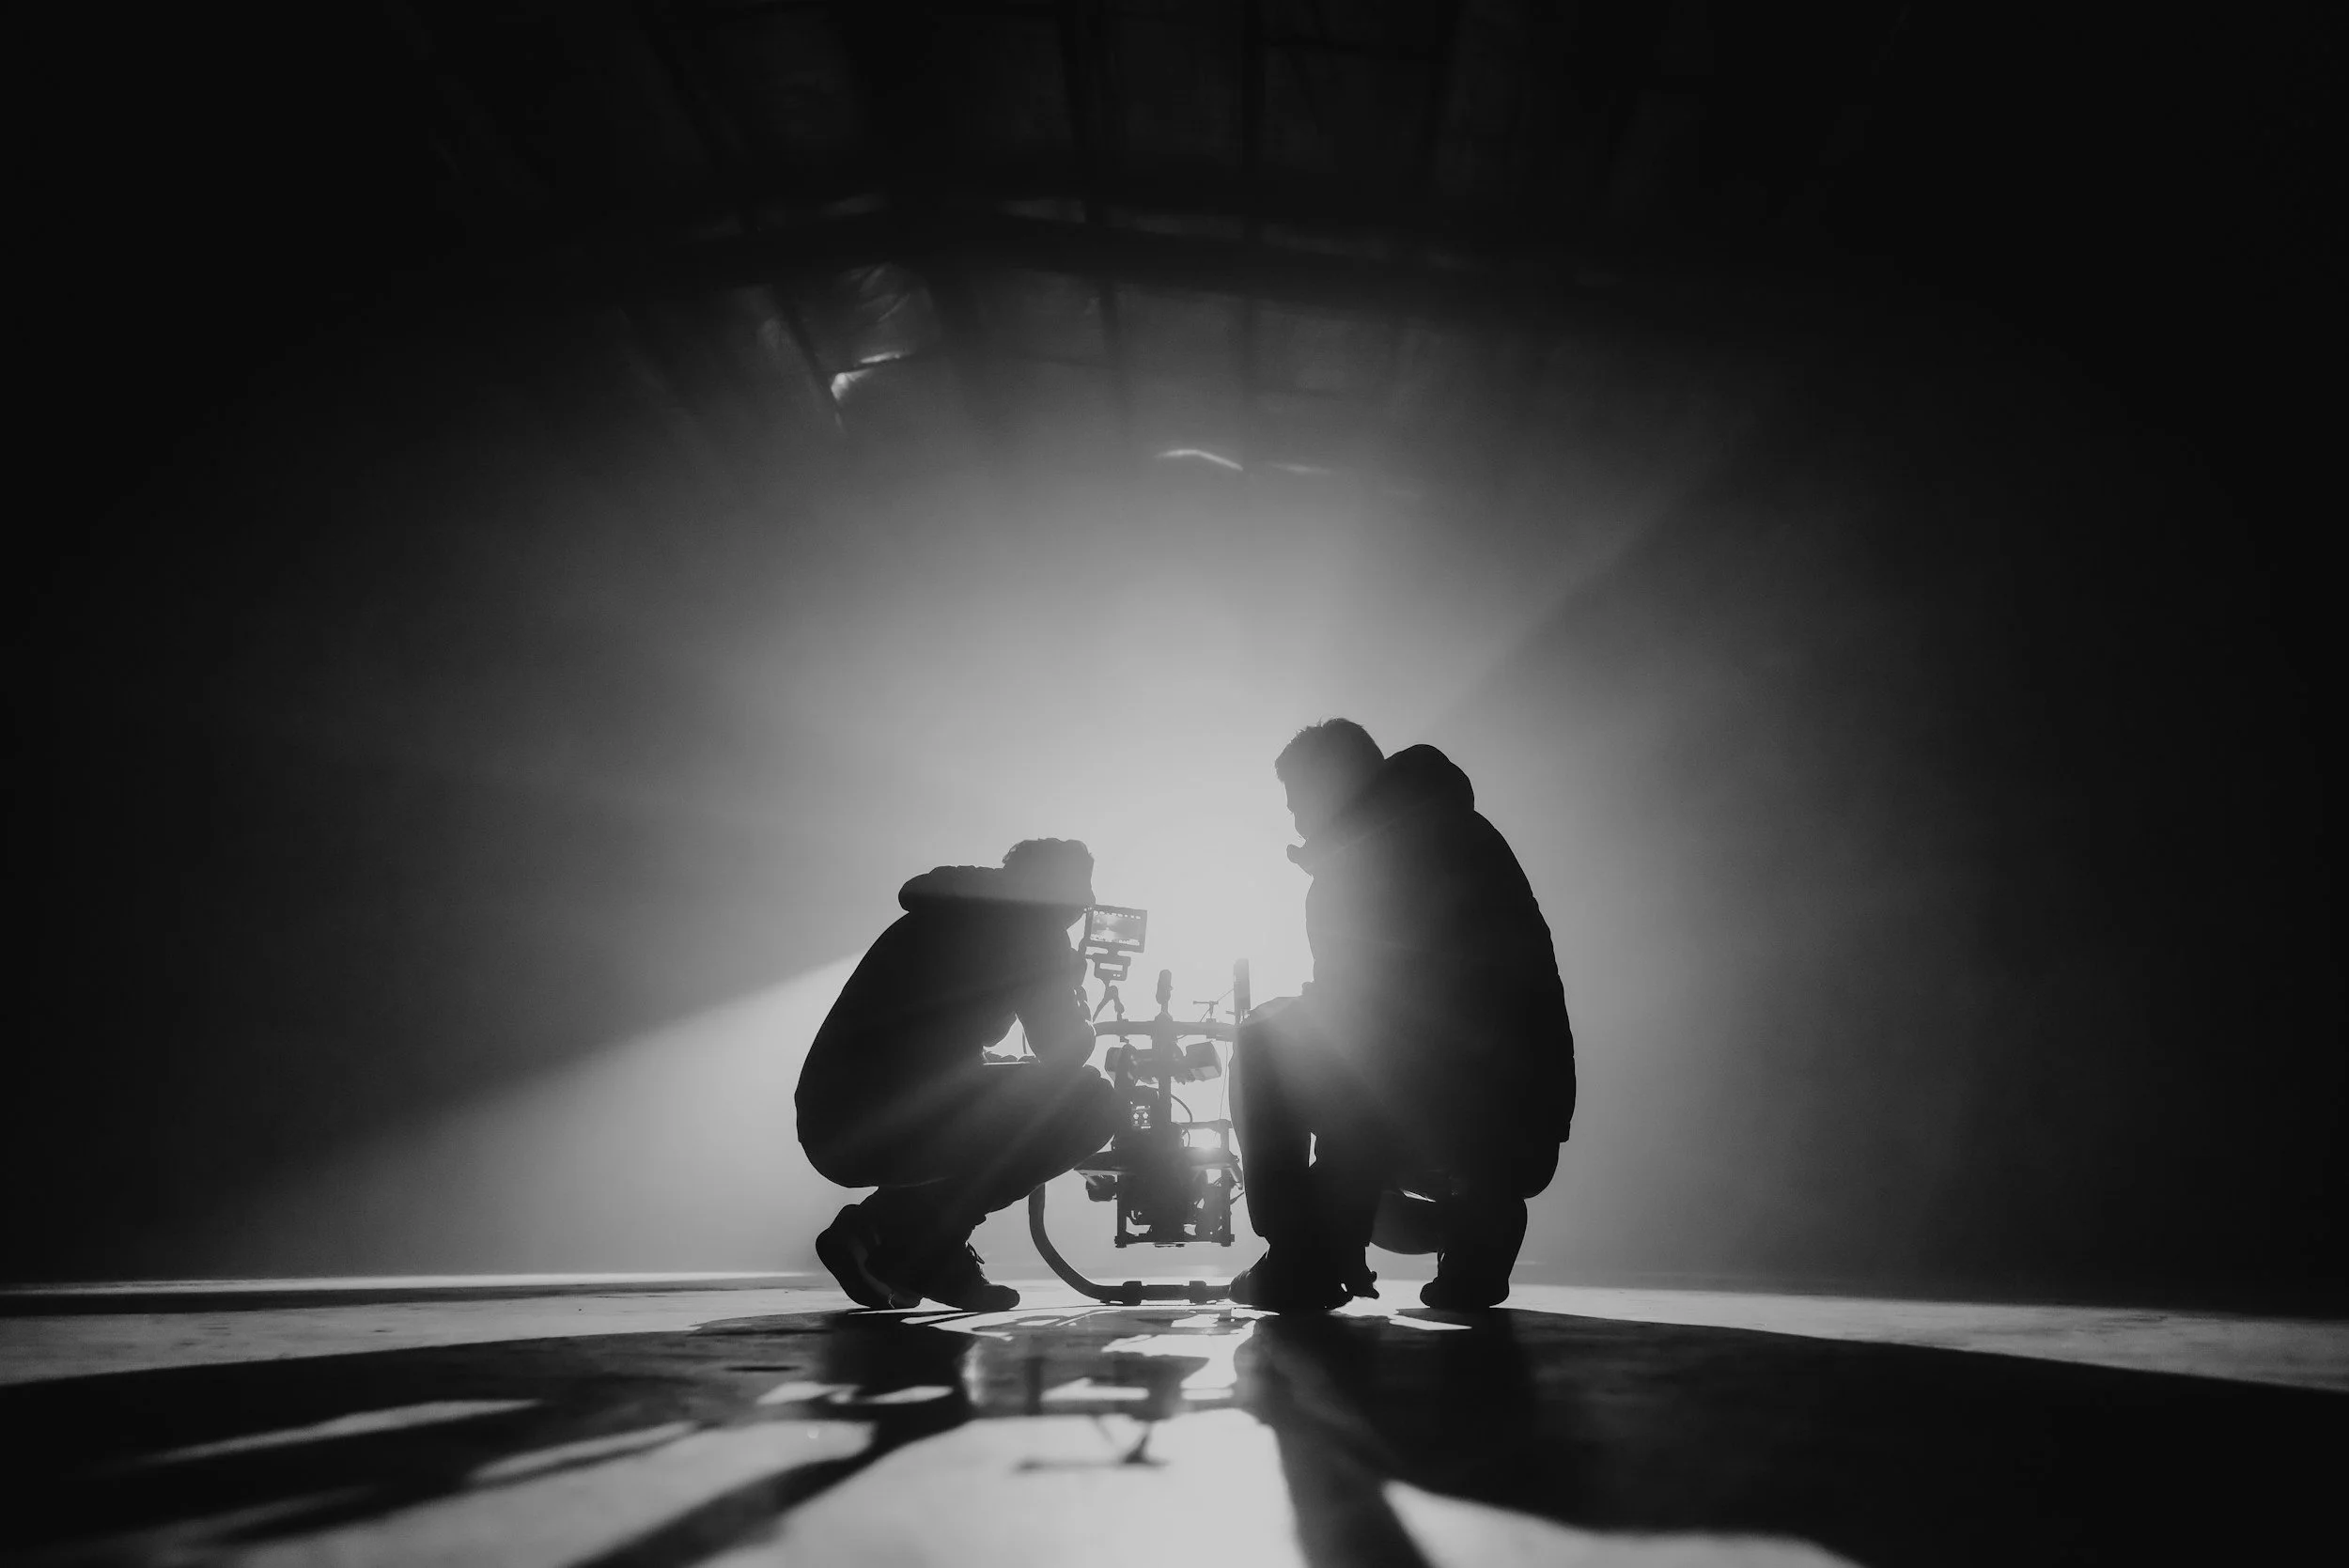
Photo by Natalie Parham / Unsplash
==========
Last Updated: August 2026
Quick Jump
- What Makes Live Music Video Difficult
- Planning Before the Show
- Camera Settings for Live Music Video
- Autofocus and Camera Movement
- Composition and Capturing the Right Moments
- Audio Recording for Concert Video
- Single vs Multi-Camera Shooting
- Gear Recommendations for Concert Video
- Live Music Video Workflow and Editing
- Common Mistakes and Final Tips
Shooting live music video is one of the most challenging—and rewarding—types of video production.
Unlike a controlled studio environment, concerts give you very little control. You cannot ask the artist to repeat a moment, adjust the lighting, or slow down the performance.
You have to work with whatever happens in front of you.
Live music video requires you to balance:
unpredictable lighting
fast movement
changing colors and exposure
limited shooting positions
challenging audio environments
constantly changing performances
A great concert video is not just about having an expensive camera.
It comes from understanding:
how to prepare before the show
how to choose the right settings
how to anticipate important moments
how to move with purpose
how to capture the energy of the performance
Whether you are filming a small local band, a nightclub performance, an outdoor festival, or a professional concert production, the same principles apply.
The goal is simple:
Capture the feeling of being there.
This guide covers the complete process of shooting live music videos in real-world environments—from camera settings and low-light techniques to composition, movement, audio, workflow, and gear choices.
What Makes Live Music Video Difficult?
Live music environments combine some of the hardest conditions for video production.
Low Light
Most concerts are difficult because cameras are constantly fighting limited light.
You may be dealing with:
dark stages
dramatic spotlights
colored LEDs
rapidly changing brightness
deep shadows
performers moving in and out of light
Unlike photography, video gives you fewer options.
You cannot simply increase shutter speed for a sharper frame or rely on hundreds of images to capture the perfect moment.
Every frame matters.
Unpredictable Movement
Musicians rarely stay still.
You have:
singers moving across the stage
guitarists turning away from the camera
drummers moving quickly
changing stage positions
crowd interaction
A camera setup that works for a static subject may fail completely during a live performance.
You need settings and techniques that allow you to react quickly.
Constantly Changing Lighting
Concert lighting is designed for the audience—not necessarily for cameras.
You may experience:
bright white spotlights
deep red or blue lighting
haze and smoke
silhouettes
sudden lighting changes
A scene that looks perfect one second can be completely different moments later.
Successful concert videography requires learning when to adapt and when to let the lighting create the mood.
No Second Chances
A studio production can be repeated.
A live performance cannot.
The best moments often happen unexpectedly:
an emotional vocal performance
a guitar solo
a crowd reaction
a lighting transition
interaction between band members
The job of the videographer is not just recording.
It is anticipating.
Planning Before the Show
The strongest live music videos usually begin before the camera is turned on.
Preparation reduces mistakes and helps you capture better footage.
Research the Artist and Venue
Before arriving, learn as much as possible.
Look for:
previous live performances
music videos
stage layouts
lighting style
typical setlists
performance style
A high-energy rock band requires a different approach than an acoustic singer-songwriter.
Understanding the performance helps you know what moments to look for.
Know the Venue Layout
If possible, research:
stage size
audience distance
available shooting positions
lighting locations
restrictions on movement
Small venues especially require planning because space is limited.
You may have:
no photo pit
crowds directly around you
limited angles
difficult lighting
Knowing this ahead of time helps you choose the right gear.
Understand the Lighting
Before shooting, ask:
Are there strong spotlights?
Is the stage mostly dark?
Does the lighting change frequently?
Is there haze or smoke?
Are performers front-lit or backlit?
Lighting determines your camera strategy.
A bright outdoor festival and a dark basement venue require completely different approaches.
Prepare Your Gear
A simple, reliable setup usually beats a complicated one.
Before the show:
charge batteries
format memory cards
clean lenses
test autofocus settings
check audio connections
prepare backup storage
The last thing you want is a technical problem during the best moment of the performance.
Camera Settings for Live Music Video
There is no single perfect setting for every concert.
However, these settings provide a strong starting point for most live music environments.
Frame Rate
Frame rate affects motion, exposure, and the overall feel of your footage.
24fps
Best for:
cinematic concert videos
music videos
emotional performances
Advantages:
more cinematic motion
allows slightly more light per frame
common professional standard
30fps
Best for:
event coverage
smoother movement
general-purpose video
Advantages:
slightly smoother motion
works well for social media content
60fps
Best for:
slow motion
fast movement
dramatic performance moments
However:
60fps requires faster shutter speeds, which means less available light.
In dark venues, 24fps or 30fps is usually the better choice.
👉 Full breakdown:
24 vs 30 vs 60 FPS (Best Frame Rate for Video Explained)
Recommended Starting Point
For most concerts:
24fps
is the best place to begin.
Shutter Speed
Video shutter speed controls motion blur.
The standard approach is the 180-degree shutter rule.
Starting points:
| Frame Rate | Shutter Speed |
|---|---|
| 24fps | 1/50 |
| 30fps | 1/60 |
| 60fps | 1/120 |
24fps
Shutter Speed: 1/50
30fps
Shutter Speed: 1/60
60fps
Shutter Speed: 1/120
Matching shutter speed creates natural-looking motion.
Avoid increasing shutter speed just to reduce noise.
While it may create sharper frames, it also produces:
choppy movement
unnatural motion
a less cinematic appearance
For live music, natural motion usually looks better than overly sharp footage.
Aperture
Aperture is one of your biggest advantages in low light.
Use the widest aperture available.
Common concert video choices:
f/1.4
f/1.8
f/2.8
A wider aperture provides:
more light
lower ISO requirements
better subject separation
improved background blur
Fast lenses are one of the most valuable upgrades for concert videographers.
ISO
In concert environments:
High ISO is normal.
Many beginners try to avoid ISO because they fear noise.
However:
An underexposed video clip with lifted shadows often looks worse than a properly exposed clip captured at higher ISO.
Modern cameras handle high ISO extremely well compared with older generations.
Prioritize:
correct exposure
usable footage
acceptable noise levels
Do not sacrifice the moment trying to keep ISO artificially low.
Exposure Basics for Live Music Video
Exposure in concerts is about making decisions—not chasing perfection.
You are often balancing:
dark backgrounds
bright stage lights
moving subjects
unpredictable lighting
Expose for the Performer
The audience and background may fall into darkness.
That is okay.
Your priority is usually:
vocalist's face
musician's expression
important performance moments
A dark background can actually enhance the feeling of a concert.
Protect Highlights
Concert lighting creates extreme contrast.
Bright spotlights can easily clip.
Watch for:
completely white faces
blown stage lights
lost detail in costumes
However, do not underexpose everything just to protect highlights.
A usable image with some clipped lights is often better than a dark, noisy image.
Use Manual Exposure When Possible
Automatic exposure can struggle during concerts.
Problems include:
brightness jumps during lighting changes
exposure hunting
inconsistent footage between shots
Manual exposure gives you:
consistent clips
easier editing
predictable results
A good starting workflow:
set frame rate
set shutter speed
open aperture
adjust ISO
monitor highlights
Low-Light Approach for Concert Video
Low light is where preparation matters most.
The goal is not to eliminate noise completely.
The goal is to capture clean, usable footage.
Prioritize Light Gathering
Your biggest advantages are:
fast lenses
larger sensors
proper exposure
controlled settings
A full-frame camera with an f/1.8 or f/2.8 lens will generally outperform slower equipment in difficult venues.
Avoid Underexposing
One of the biggest mistakes in concert video is intentionally shooting too dark.
Many people think:
"I'll fix it in editing."
But lifting dark footage often creates:
more noise
color problems
reduced detail
Getting exposure right in-camera is always better.
Accept Some Noise
Professional-looking concert footage is not always perfectly clean.
A small amount of noise is often preferable to:
missing the moment
blurry motion
unusable dark footage
The performance matters more than technical perfection.
Related: Low Light Video Settings Guide
Autofocus and Camera Movement
Autofocus is one of the biggest challenges when shooting live music video.
Concert environments combine:
low light
moving subjects
flashing lights
smoke and haze
crowded backgrounds
A camera that focuses perfectly in daylight may struggle during a dark performance.
The goal is not simply to use autofocus.
The goal is knowing when autofocus helps and when it works against you.
Recommended Autofocus Settings for Concert Video
For most live music situations, start with:
Continuous autofocus (AF-C / Servo AF)
Subject tracking enabled
Face detection when available
Eye detection when reliable
Moderate autofocus sensitivity
Modern mirrorless cameras are extremely capable, but the right settings matter.
Use Continuous Autofocus
Single autofocus is usually not practical for live performances.
Musicians constantly move:
forward and backward
across the stage
toward and away from the camera
Continuous autofocus allows your camera to adjust as the performer moves.
For:
singers
guitarists
keyboard players
continuous autofocus is usually the best starting point.
When Autofocus Struggles
Even excellent autofocus systems can fail in difficult conditions.
Common problems include:
Dark stages
The camera may struggle to find contrast.
Smoke and haze
Haze can confuse tracking systems because the subject edges become less defined.
Backlighting
Bright lights behind performers can make focus more difficult.
Busy backgrounds
Crowds, microphones, instruments, and stage equipment can distract autofocus.
When Manual Focus Is Better
There are situations where manual focus is actually more reliable.
Consider switching to manual focus when:
the performer stays in one location
lighting is extremely dark
smoke makes tracking unreliable
the stage setup is predictable
you are using a locked camera position
For example:
A drummer behind a kit or a singer standing at a microphone can often be manually focused successfully.
Focus Strategy for Different Performers
Vocalists
Use:
face detection
eye tracking when possible
continuous autofocus
The singer's face is usually the most important subject.
Guitarists and Instrument Players
Tracking can work well, but watch for:
hands crossing the face
instruments blocking the subject
rapid movement
Sometimes a slightly wider composition is easier for autofocus to handle.
Drummers
Drummers are challenging because of:
fast movement
low lighting
limited face visibility
A wider shot with manual focus can sometimes work better.
Camera Movement and Stabilization
Movement is one of the easiest ways to make live music video feel either professional or amateur.
The goal is not constant movement.
The goal is intentional movement.
Avoid Random Camera Movement
One of the most common mistakes is constantly moving the camera because the performance feels exciting.
This usually creates:
distracting footage
viewer fatigue
difficult editing
Every movement should have a reason.
Better Movement Techniques
Use:
Slow pans
Move across:
the stage
multiple performers
lighting details
Controlled push-ins
Moving closer can emphasize:
emotional moments
solos
dramatic sections
Small handheld adjustments
Subtle movement can add energy without becoming distracting.
Stabilization Options
Different situations require different approaches.
Handheld
Advantages:
fastest setup
easiest movement
natural concert feel
Best for:
small venues
documentary-style shooting
crowded environments
Monopod
A great middle ground.
Benefits:
reduces fatigue
adds stability
keeps mobility
Excellent for:
festivals
longer performances
heavier lenses
Gimbal
A gimbal can create smooth cinematic movement.
However, it is not always practical.
Challenges:
limited space
crowd obstacles
slower reactions
setup complexity
For many live music situations, a simple handheld or monopod setup is more effective.
Composition and Capturing the Right Moments
Live music video is photography in motion.
Strong composition still matters.
Your goal is to capture:
emotion
energy
atmosphere
connection
Use Different Shot Sizes
A good concert video needs variety.
Wide Shots
Show:
stage environment
crowd interaction
lighting design
overall performance
Wide shots establish the story.
Medium Shots
Often the most useful concert shots.
Capture:
musicians performing
body movement
instrument interaction
Tight Shots
Use for:
facial expressions
hands playing instruments
emotional moments
These create connection.
Think About Layering
Strong concert footage often includes depth.
Look for:
performers in the background
microphones in foreground
stage lights behind subjects
crowd silhouettes
Layers make footage feel more immersive.
Related: Concert Photography Composition Guide
Capture the Right Moments
A live music video is not just a recording.
It is storytelling.
The strongest footage usually comes from moments that communicate emotion.
Look for:
vocalist expressions
crowd reactions
musician interaction
guitar solos
drum fills
lighting changes
quiet moments between songs
Anticipate Instead of React
The best concert videographers predict what will happen next.
Examples:
A singer walks toward the edge of the stage.
You prepare before they arrive.
A guitarist starts building into a solo.
You already have the shot ready.
A chorus approaches.
You position yourself for the energy increase.
Shoot More Than the Obvious Moments
Many beginners only record:
the singer
the main performance
the biggest lighting moments
But strong edits also need:
crowd reactions
hands on instruments
backstage moments
stage details
venue atmosphere
These shots help tell the complete story.
Audio Recording for Concert Video
Great visuals with poor audio still feel unprofessional.
Audio is half of the live music experience.
Why Camera Microphones Usually Fail
Built-in microphones often capture:
distant sound
crowd noise
room echo
distorted music
They are useful for reference audio but rarely ideal for final production.
Better Audio Options
External Microphone
A camera-mounted microphone is a simple improvement.
Benefits:
better directionality
cleaner sound
less room noise
Soundboard Feed
If available, this is one of the best options.
A direct feed from the venue or band provides:
cleaner vocals
clearer instruments
less crowd interference
However, it can sometimes feel too clean.
Live music needs atmosphere.
Band Recording or Multitrack Audio
Many bands record performances.
This can provide:
professional-quality audio
separate instrument tracks
easier editing
Best Approach: Combine Sources
The strongest concert videos often combine:
clean board audio
crowd atmosphere
camera audio
room sound
The result feels both professional and authentic.
Single vs Multi-Camera Shooting
Both approaches can work.
The right choice depends on the project.
Single Camera Setup
Advantages:
easier to manage
more flexible
faster setup
ideal for small venues
A single skilled operator can capture excellent concert footage.
Focus on:
strong moments
good composition
intentional movement
Multi-Camera Setup
Advantages:
more coverage
easier editing
complete performances
multiple perspectives
Common setup:
Camera 1:
wide locked-off angle
Camera 2:
performer close-ups
Camera 3:
creative movement shots
When to Use Multiple Cameras
Multi-camera makes sense for:
full songs
professional releases
music videos
venue productions
For casual concert coverage, one camera is often enough.
Shooting in Small Venues
Small venues are some of the hardest places to film.
You often have:
limited space
poor lighting
crowded rooms
no dedicated shooting area
Small Venue Strategy
Keep your setup simple.
Prioritize:
fast lenses
lightweight equipment
mobility
quick reactions
A large complicated setup often becomes a disadvantage.
Best Lens Choices for Small Venues
Useful options:
24-70mm f/2.8
A versatile concert lens.
Good for:
stage coverage
performers
environmental shots
35mm or 50mm Prime
Excellent for:
low light
intimate venues
creative shots
70-200mm
Useful when:
you cannot get close
the stage is elevated
you need compression
Live Music Multicam Video Example:
Shooting Outdoor Shows
Outdoor concerts solve some low-light problems but create new challenges.
You may encounter:
bright sunlight
changing weather
large stages
long distances
Outdoor Concert Considerations
During daylight:
Use:
ND filters
appropriate shutter speed
lower ISO
During sunset:
Expect rapid exposure changes.
During nighttime:
You return to the same challenges:
high ISO
stage lighting
contrast
Real-World Live Music Video Workflow
A practical concert workflow:
Before the Show
research artist
check venue
prepare gear
test settings
First Songs
Use this time to:
evaluate lighting
test exposure
understand movement patterns
Middle of Performance
Focus on:
strongest songs
emotional moments
creative angles
Final Songs
Capture:
crowd energy
big moments
memorable closing shots
The Biggest Lesson
Live music video is about adaptation.
You cannot control:
lighting
performers
crowds
venue conditions
But you can control:
preparation
settings
composition
timing
decision-making
That is what separates random footage from a compelling concert video.
Gear Recommendations for Concert Video
You do not need a massive cinema setup to create strong live music videos.
The best concert video gear is usually the equipment that allows you to move quickly, work in difficult lighting, and capture moments without distractions.
A practical live music video kit should prioritize:
low-light performance
reliable autofocus
fast lenses
manageable size
good audio options
Camera Recommendations for Live Music Video
Modern hybrid cameras are excellent choices for concert video because they combine:
strong autofocus
excellent high ISO performance
quality 4K video
professional photo capability
Important features to look for:
Strong Low-Light Performance
Concert environments often require higher ISO settings.
A camera with good noise performance allows you to capture usable footage without sacrificing exposure.
Reliable Autofocus
Look for:
face detection
eye tracking
subject recognition
dependable continuous autofocus
This is especially important when performers are constantly moving.
Good Video Features
Useful features include:
4K recording
10-bit video options
good dynamic range
effective stabilization
headphone and microphone ports
Hybrid Cameras Worth Considering
Examples of strong options for concert and event video:
Sony Alpha series mirrorless cameras
Canon EOS R series cameras
Nikon Z series mirrorless cameras
Panasonic Lumix cameras
For photographers already invested in a system, staying with your current lens ecosystem is often the smartest choice.
👉 Related guide:
Best Hybrid Cameras for Photography and Video
Recommended Concert Video Lenses
Lenses often matter more than upgrading camera bodies.
A fast lens can make the difference between:
clean footage
noisy footage
usable footage
footage that falls apart
24-70mm f/2.8 Lens
This is one of the most useful concert video lenses.
Why it works:
flexible focal range
wide enough for stage shots
long enough for performer close-ups
excellent low-light performance
Great for:
small venues
events
festivals
behind-the-scenes content
35mm or 50mm Prime Lens
Fast primes are excellent in difficult lighting.
Advantages:
very wide apertures
strong subject separation
lightweight design
Great for:
intimate venues
documentary-style footage
emotional close-ups
70-200mm f/2.8 Lens
A professional concert favorite.
Useful when:
you cannot get close to the stage
performers are far away
you want compressed cinematic shots
The f/2.8 aperture helps maintain exposure in darker venues.
Related: Best Lenses for Concert Photography
Audio Gear for Live Music Video
Audio is one of the biggest differences between amateur and professional concert footage.
Recommended options:
Camera-Mounted Microphone
Good starting point.
Useful for:
ambient sound
backup audio
quick projects
Wireless Microphone Systems
Useful for:
interviews
backstage content
artist introductions
Related: DJI Mic 3 Review
Recorder or Soundboard Feed
For serious concert work, consider capturing:
direct board audio
external recorder audio
multitrack recordings
Clean audio dramatically improves the final edit.
Support Gear
Useful accessories include:
Monopod
One of the best concert video tools.
Benefits:
stability
mobility
reduced fatigue
Variable ND Filter
Essential for outdoor performances.
Allows you to maintain:
proper shutter speed
wide aperture
correct exposure
Extra Batteries
Concerts can run several hours.
Bring enough power for:
soundcheck
performance
backup situations
Fast Memory Cards
Video requires reliable storage.
Use cards rated for your camera's recording requirements.
Live Music Video Workflow and Editing
A repeatable workflow makes shooting much easier.
Before the Show
Research the Artist
Understand:
music style
performance style
important songs
likely moments
Knowing the performance helps you anticipate shots.
Scout the Venue
Look for:
shooting positions
lighting direction
stage layout
crowd movement
restrictions
Prepare Your Gear
Before arriving:
charge batteries
format cards
test settings
clean lenses
prepare audio equipment
During Soundcheck
If available, use soundcheck to:
test exposure
evaluate lighting
check autofocus
test audio
This can prevent problems during the actual performance.
First Songs
The beginning of the show is for learning.
Evaluate:
lighting patterns
performer movement
camera settings
Do not immediately assume your first settings are perfect.
Main Performance
Focus on:
emotional moments
strong compositions
variety of shots
Capture:
wide atmosphere
medium performance shots
tight details
Editing the Final Video
A great live music video is created in the edit as much as during filming.
Build a Story
Do not simply place clips in chronological order.
Think about:
opening energy
building intensity
emotional peaks
final moments
Use Shot Variety
A strong edit usually combines:
wide shots
medium shots
close-ups
crowd reactions
environmental details
Match Cuts to Music
The edit should follow the performance.
Use:
rhythm changes
musical transitions
emotional moments
Avoid cutting constantly just because you can.
Color Grading Considerations
Concert lighting can be difficult because of:
extreme colors
flashing lights
mixed temperatures
Focus on:
consistent skin tones
protecting highlights
maintaining the atmosphere
Do not remove all concert lighting character.
The lighting is part of the story.
Common Mistakes and Final Tips
Even experienced photographers can struggle when moving into video.
Here are the mistakes that most often hurt concert footage.
1. Using the Wrong Shutter Speed
One of the most common errors.
Increasing shutter speed may reduce motion blur, but it creates:
unnatural movement
choppy footage
harsh motion
Follow the 180-degree shutter guideline whenever possible.
2. Shooting Everything Wide Open
Fast apertures are helpful, but shooting at the widest aperture all the time can create problems.
Issues:
extremely shallow focus
missed focus moments
inconsistent footage
Sometimes stopping down slightly creates more usable results.
3. Too Much Camera Movement
Constant movement does not automatically create cinematic footage.
Avoid:
unnecessary zooming
random panning
excessive repositioning
Movement should support the performance.
4. Ignoring Audio
Poor audio can ruin excellent visuals.
Always consider:
external microphones
soundboard feeds
backup recordings
5. Relying Completely on Autofocus
Autofocus is powerful, but it is not magic.
Know when to switch to:
manual focus
zone focus
locked focus positions
6. Trying to Capture Everything
You cannot film every moment.
Instead:
focus on storytelling.
Capture:
emotion
atmosphere
interaction
important moments
Advanced Live Music Video Techniques
Once you understand the basics, these techniques can elevate your work.
Capture Behind-the-Scenes Moments
A strong music video is not only the performance.
Consider filming:
venue preparation
artist arrival
backstage moments
crowd buildup
equipment setup
These create a complete story.
Use Multiple Frame Rates Intentionally
Different frame rates can serve different purposes.
Example:
24fps:
main performance footage
60fps:
selected slow-motion moments
Use slow motion sparingly.
Create Movement With Composition
Even without moving the camera, you can create energy using:
foreground elements
changing perspectives
framing through objects
layered compositions
Capture Atmosphere
The audience should feel like they were there.
Look for:
lights hitting the crowd
hands in the air
venue details
reactions between songs
Work With Lighting Instead of Fighting It
Concert lighting is unpredictable.
Use it creatively.
Look for:
silhouettes
backlighting
color changes
dramatic shadows
Final Thoughts
Shooting live music video is challenging because you have very little control.
You cannot control:
the lighting
the performers
the venue
the crowd
But you can control:
preparation
camera settings
composition
timing
storytelling
The best concert videos are not necessarily the technically perfect ones.
They are the ones that capture the feeling of being there.
A simple setup with strong decision-making will outperform an expensive setup used without a plan.
Frequently Asked Questions
What camera settings should I use for live music video?
A strong starting point is:
24fps
1/50 shutter speed
wide aperture
ISO adjusted for exposure
continuous autofocus
Adjust based on lighting and movement.
What is the best lens for concert video?
A 24-70mm f/2.8 lens is one of the most versatile choices because it handles wide stage shots and performer close-ups.
For low-light venues, fast primes like 35mm or 50mm lenses are also excellent.
Should I shoot concerts in 24fps or 60fps?
Most concert video should be recorded at 24fps for natural cinematic motion.
Use 60fps only when you have enough light and want slow-motion footage.
Do I need a cinema camera for concert videos?
No.
Modern mirrorless hybrid cameras can produce professional results.
Good technique, lighting awareness, audio, and editing matter more than the camera body.
How do I record good concert audio?
The best results usually come from combining:
soundboard audio
external microphones
ambient crowd sound
A clean audio source makes editing much easier.
Is autofocus good enough for concerts?
Modern autofocus systems are very capable, but difficult lighting, smoke, and movement can still create challenges.
Know when to use manual focus.
What is the hardest part of shooting live music video?
The biggest challenge is balancing:
low light
motion
focus
audio
unpredictable conditions
Successful concert video comes from adapting quickly.
==========
Related Photography and Video Resources
Continue improving your concert and hybrid shooting skills:
