

How to Scout Photography Locations (Maps, Light & Planning)
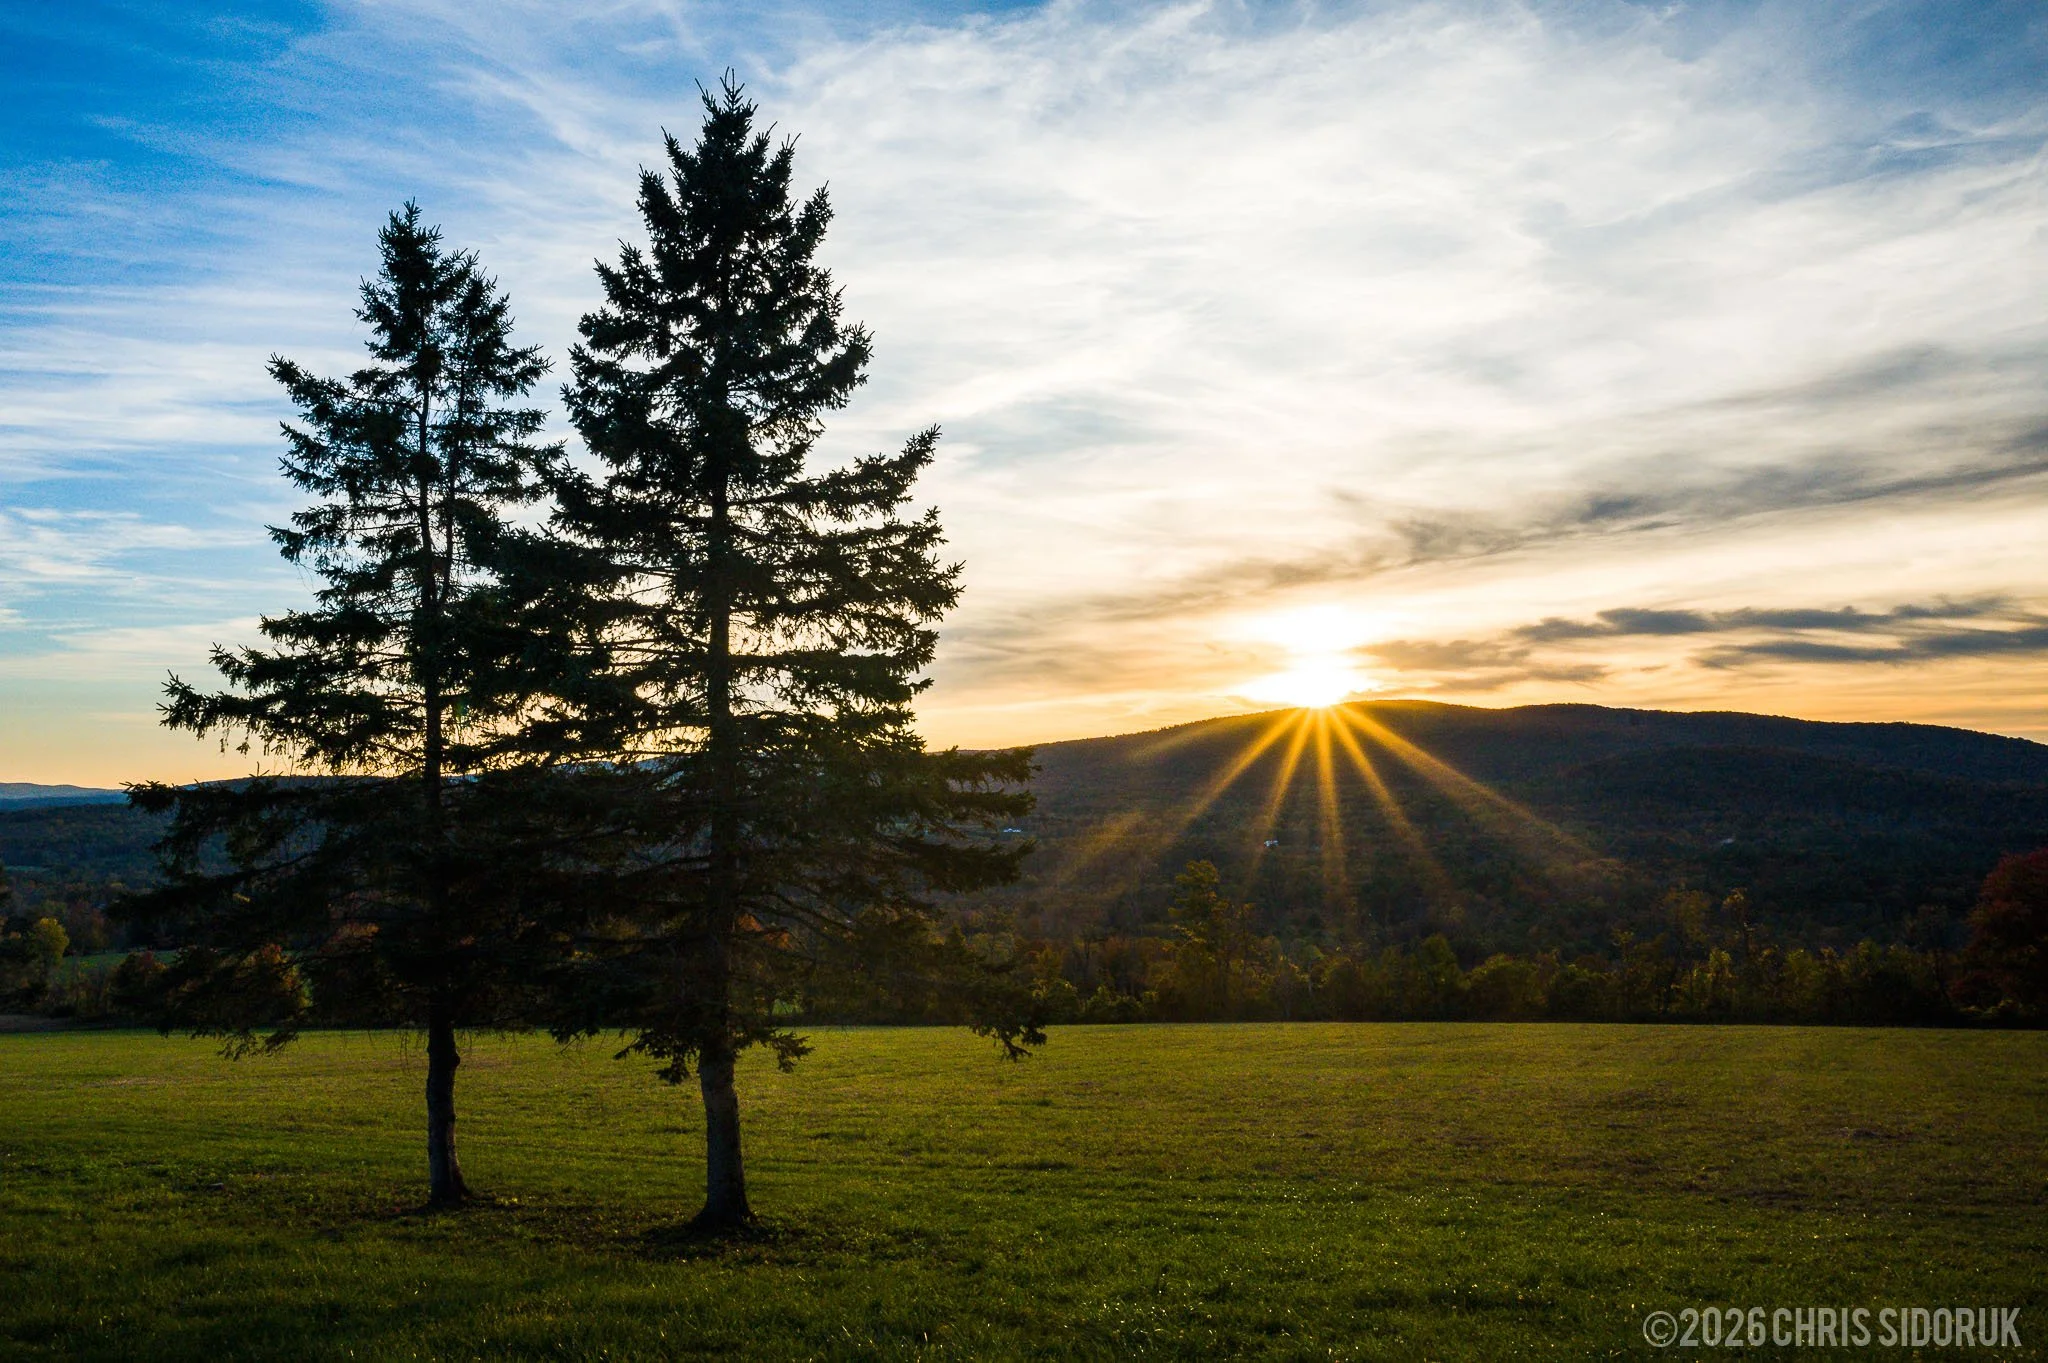
landscape photography foreground composition rule of thirds
==========
Last Updated: August 2026
Great Landscape Photos Start Before You Arrive
The best landscape photographs rarely happen by accident.
While camera settings, lenses, and editing all play an important role, one of the biggest differences between an average image and an exceptional one is preparation.
Experienced landscape photographers often spend more time researching a location than they do actually pressing the shutter.
By scouting ahead of time, you can:
understand how the light will interact with the landscape
identify the strongest compositions before arriving
avoid wasting valuable sunrise or sunset light
prepare for weather and changing conditions
increase your chances of coming home with images you're proud of
Whether you're photographing a nearby state park or traveling across the country, good planning helps you make the most of every opportunity.
This guide walks through my complete process for scouting photography locations—from online research to arriving on location with a plan.
Why Location Scouting Matters
Photography is all about being in the right place at the right time.
The problem is that "right place" and "right time" rarely happen by chance.
Without scouting, you may discover:
the mountain blocks the sunrise
your foreground isn't as interesting as expected
the overlook is closed
trees have grown into the composition
construction fences block your viewpoint
the tide isn't where you expected
Finding these problems after driving several hours can be frustrating.
Scouting lets you solve them before the trip.
Instead of reacting to surprises, you'll arrive knowing where to stand, what focal lengths to bring, and how the light is likely to behave.
Start With a Clear Photography Goal
Before opening Google Maps or searching Instagram, ask yourself one simple question:
What photograph am I trying to create?
Your answer determines almost every planning decision afterward.
For example, you might be looking for:
sunrise over a lake
dramatic mountain landscapes
coastal long exposures
autumn foliage
waterfalls
fog-filled valleys
night sky photography
city skyline views
Each type of image requires different terrain, lighting, weather, and timing.
Trying to scout without a clear goal often leads to collecting dozens of interesting locations but very few that actually match the photograph you want to make.
Research Locations Before Leaving Home
One of the biggest advantages photographers have today is the amount of information available online.
In many cases, you can learn almost everything you need before ever visiting a location.
Some of the resources I use most include:
Google Maps
Google Earth
Google Street View
AllTrails
photography blogs
park websites
local tourism websites
social media
YouTube walkthroughs
Each tool provides a different piece of the puzzle.
Maps help you understand geography.
Street View reveals road access.
Trail websites show hiking difficulty.
Photography guides often highlight seasonal conditions and popular viewpoints.
Using several resources together creates a much more complete understanding than relying on a single source.
Use Google Maps Like a Photographer
Google Maps is one of the most powerful scouting tools available.
Instead of simply finding directions, study the landscape.
Switch between:
satellite view
terrain view
standard map
Look for features such as:
rivers
lakes
coastlines
cliffs
mountain ridges
beaches
forests
trails
overlooks
parking areas
Zoom in closely to identify potential foreground elements like rock formations, piers, winding roads, or shoreline curves.
Then zoom back out to understand how those features fit into the larger landscape.
Many of my favorite photography locations were discovered simply by exploring satellite imagery.
Google Earth Can Reveal Hidden Perspectives
Google Earth goes a step further than standard maps.
Its 3D terrain lets you visualize elevation changes, mountain ranges, and viewpoints that aren't obvious from overhead imagery.
It's particularly useful for:
mountain photography
coastal overlooks
valley compositions
waterfall scouting
locating ridgelines
planning telephoto compositions
Rotating the terrain also helps you understand how hills or mountains may block sunrise or sunset light.
Learn From Other Photographers—Without Copying Them
Social media can be a useful research tool when used correctly.
Platforms like Instagram, Flickr, and 500px can show you:
seasonal conditions
popular viewpoints
weather patterns
trail conditions
recent water levels
fall foliage timing
Instead of trying to recreate someone else's photograph, ask yourself:
Why did this composition work?
What direction was the light coming from?
What focal length might have been used?
Could I photograph this location differently?
Use other photographers' work as inspiration—not as a blueprint.
Finding your own perspective creates much more rewarding images.
👉 Explore real locations here:
- Mount Greylock - Berkshires, Massachusetts
- Best Places to Take Pictures in Connecticut
- New England Photography Guide
Build a Personal Photography Location Library
One habit that has helped my landscape photography tremendously is keeping a running list of locations I'd like to photograph.
For each location, I record:
GPS coordinates
parking information
hiking distance
sunrise potential
sunset potential
seasonal highlights
weather conditions
possible foreground elements
notes from previous visits
Over time, this becomes an incredibly valuable resource.
Instead of constantly searching for new locations, you'll have dozens of proven spots ready whenever conditions look promising.
A well-organized location library also makes it much easier to plan spontaneous photography trips when the forecast suddenly improves.
Understanding Light Direction
Light is one of the biggest factors in landscape photography, and understanding how it interacts with a location before you arrive can dramatically improve your results.
The same viewpoint can produce completely different photographs depending on the time of day, season, and weather conditions.
Before heading out, ask yourself:
Where will the sun rise or set?
Will the light strike my subject from the front, side, or behind?
Will nearby mountains, trees, or buildings block the light?
Will shadows add depth or hide important details?
These questions help determine whether a location is worth visiting at a specific time.
Front Light
Front lighting places the sun behind you, illuminating your subject evenly.
It works well for:
Bright, colorful landscapes
Autumn foliage
Coastal scenes
Travel photography
The downside is that front lighting can reduce depth by minimizing shadows.
Side Light
Side lighting is often the most dramatic.
Because the light strikes your subject from an angle, it creates texture, depth, and contrast that bring landscapes to life.
It's particularly effective for:
Mountain ridges
Sand dunes
Rock formations
Forest scenes
Rolling hills
Backlighting
Backlighting places the sun behind your subject.
While it can be more challenging to expose correctly, it often creates some of the most memorable images through:
Silhouettes
Sunstars
Rim lighting
Atmospheric haze
Dramatic skies
The best landscape photographers don't simply chase beautiful locations—they chase beautiful light.
Related:Sunrise Photography Guide
Weather Forecasting
A great location doesn't always produce a great photograph.
Weather often determines whether a scene feels ordinary or extraordinary.
Rather than checking only whether it's going to rain, pay attention to the conditions that create interesting light.
Cloud Cover
Completely clear skies can produce beautiful sunrises and sunsets, but a sky with scattered clouds often creates more dramatic color.
Look for forecasts showing:
High clouds
Broken clouds
Partly cloudy conditions
These frequently produce the most colorful sunrise and sunset skies.
Fog
Fog can simplify busy landscapes while adding mood and depth.
Watch for:
Cool overnight temperatures
Calm winds
High humidity
Valleys and lakes
Even familiar locations can look completely different when fog rolls in.
Wind
Wind can either improve or ruin a landscape photograph.
Strong winds may create:
Rough water
Moving trees
Camera vibration
Calm conditions are generally better for:
Reflections
Long exposures
Lake photography
Coastal scenes
Storms
Never overlook approaching or departing storms.
Some of the most dramatic skies occur:
Immediately before a storm
Immediately after rain
During rapidly changing weather
Storm light often creates contrast and atmosphere that clear blue skies simply can't match.
Tides, Water Levels, and Seasonal Conditions
Many landscape locations change dramatically throughout the year.
Checking local conditions beforehand can save you from disappointment—or help you discover compositions that only appear under specific circumstances.
Coastal Photography
If you're photographing along the coast, always check tide charts before leaving home.
Low tide may reveal:
Rock formations
Tide pools
Leading lines
Foreground textures
High tide can create:
Cleaner compositions
Better reflections
More dramatic wave action
Knowing the tide schedule allows you to arrive at exactly the right moment.
Rivers and Waterfalls
Water levels fluctuate throughout the year.
Heavy rainfall may create powerful waterfalls but also muddy water.
Dry periods often expose rocks and riverbeds that can become excellent foreground elements.
Seasonal Changes
The same landscape can look completely different depending on the season.
Consider:
Spring wildflowers
Summer greenery
Peak fall foliage
Snow-covered winter scenes
Returning to the same location throughout the year often produces a more diverse portfolio than constantly searching for new places.
Finding Strong Foregrounds and Compositions
Once you've chosen a location, the next step is identifying compositions before the light becomes perfect.
Doing this early lets you focus on timing instead of rushing around once the sun begins to rise or set.
Look for foreground elements such as:
Rocks
Flowers
Driftwood
Fences
Streams
Shorelines
Fallen trees
Interesting textures
These elements help create depth while guiding the viewer into the photograph.
Rather than settling for the first composition you find, explore multiple angles.
Often moving just a few feet changes how foreground elements align with your background subject.
Visit Locations Before the Shoot
Whenever possible, scout a location before your planned photography session.
A quick daytime visit can answer questions that satellite imagery can't.
During your visit, look for:
Potential foregrounds
Safe tripod placement
Obstructions
Parking availability
Hiking trails
Alternative viewpoints
You can even capture reference photos with your phone to remind yourself of possible compositions later.
If traveling long distances makes an advance visit impossible, spend extra time researching the location online so you arrive with a clear plan.
Accessibility and Safety
The best composition isn't worth risking your safety.
Before committing to a location, think beyond the photograph.
Consider:
Hiking distance
Trail difficulty
Elevation gain
Cell phone coverage
Parking availability
Wildlife
Tide timing
Weather changes
If you're shooting before sunrise or after sunset, bring:
A headlamp
Extra batteries
Appropriate clothing
Plenty of water
Emergency supplies
Always let someone know where you're going if you're exploring remote locations.
Plan Multiple Compositions
One of the biggest mistakes photographers make is scouting for a single image.
Conditions change quickly.
Clouds move.
Light shifts.
Other photographers may occupy your preferred viewpoint.
Instead, identify several possible compositions before the best light arrives.
For example:
A wide-angle composition
A telephoto composition
A vertical composition
A close-up detail
A long exposure
A reflection shot
Having multiple options keeps you productive even if conditions don't unfold exactly as planned.
Scout with Long Exposures in Mind
If you plan to capture long exposure photographs, your scouting process should include more than simply finding a beautiful view.
Look for moving elements that will benefit from slower shutter speeds, including:
Flowing waterfalls
Ocean waves
Rivers
Fast-moving clouds
Wind through grasses
Also evaluate whether you'll have a stable place to set up your tripod.
Uneven rocks, unstable sand, or crowded viewpoints can make long exposure photography much more difficult.
Pay attention to how the light will change throughout your session as well.
The best long exposure conditions often occur during:
Blue hour
Sunrise
Sunset
Overcast weather
Planning for these conditions before you arrive gives you more time to focus on creativity once the light becomes ideal.
Related: Long Exposure Landscape Photography
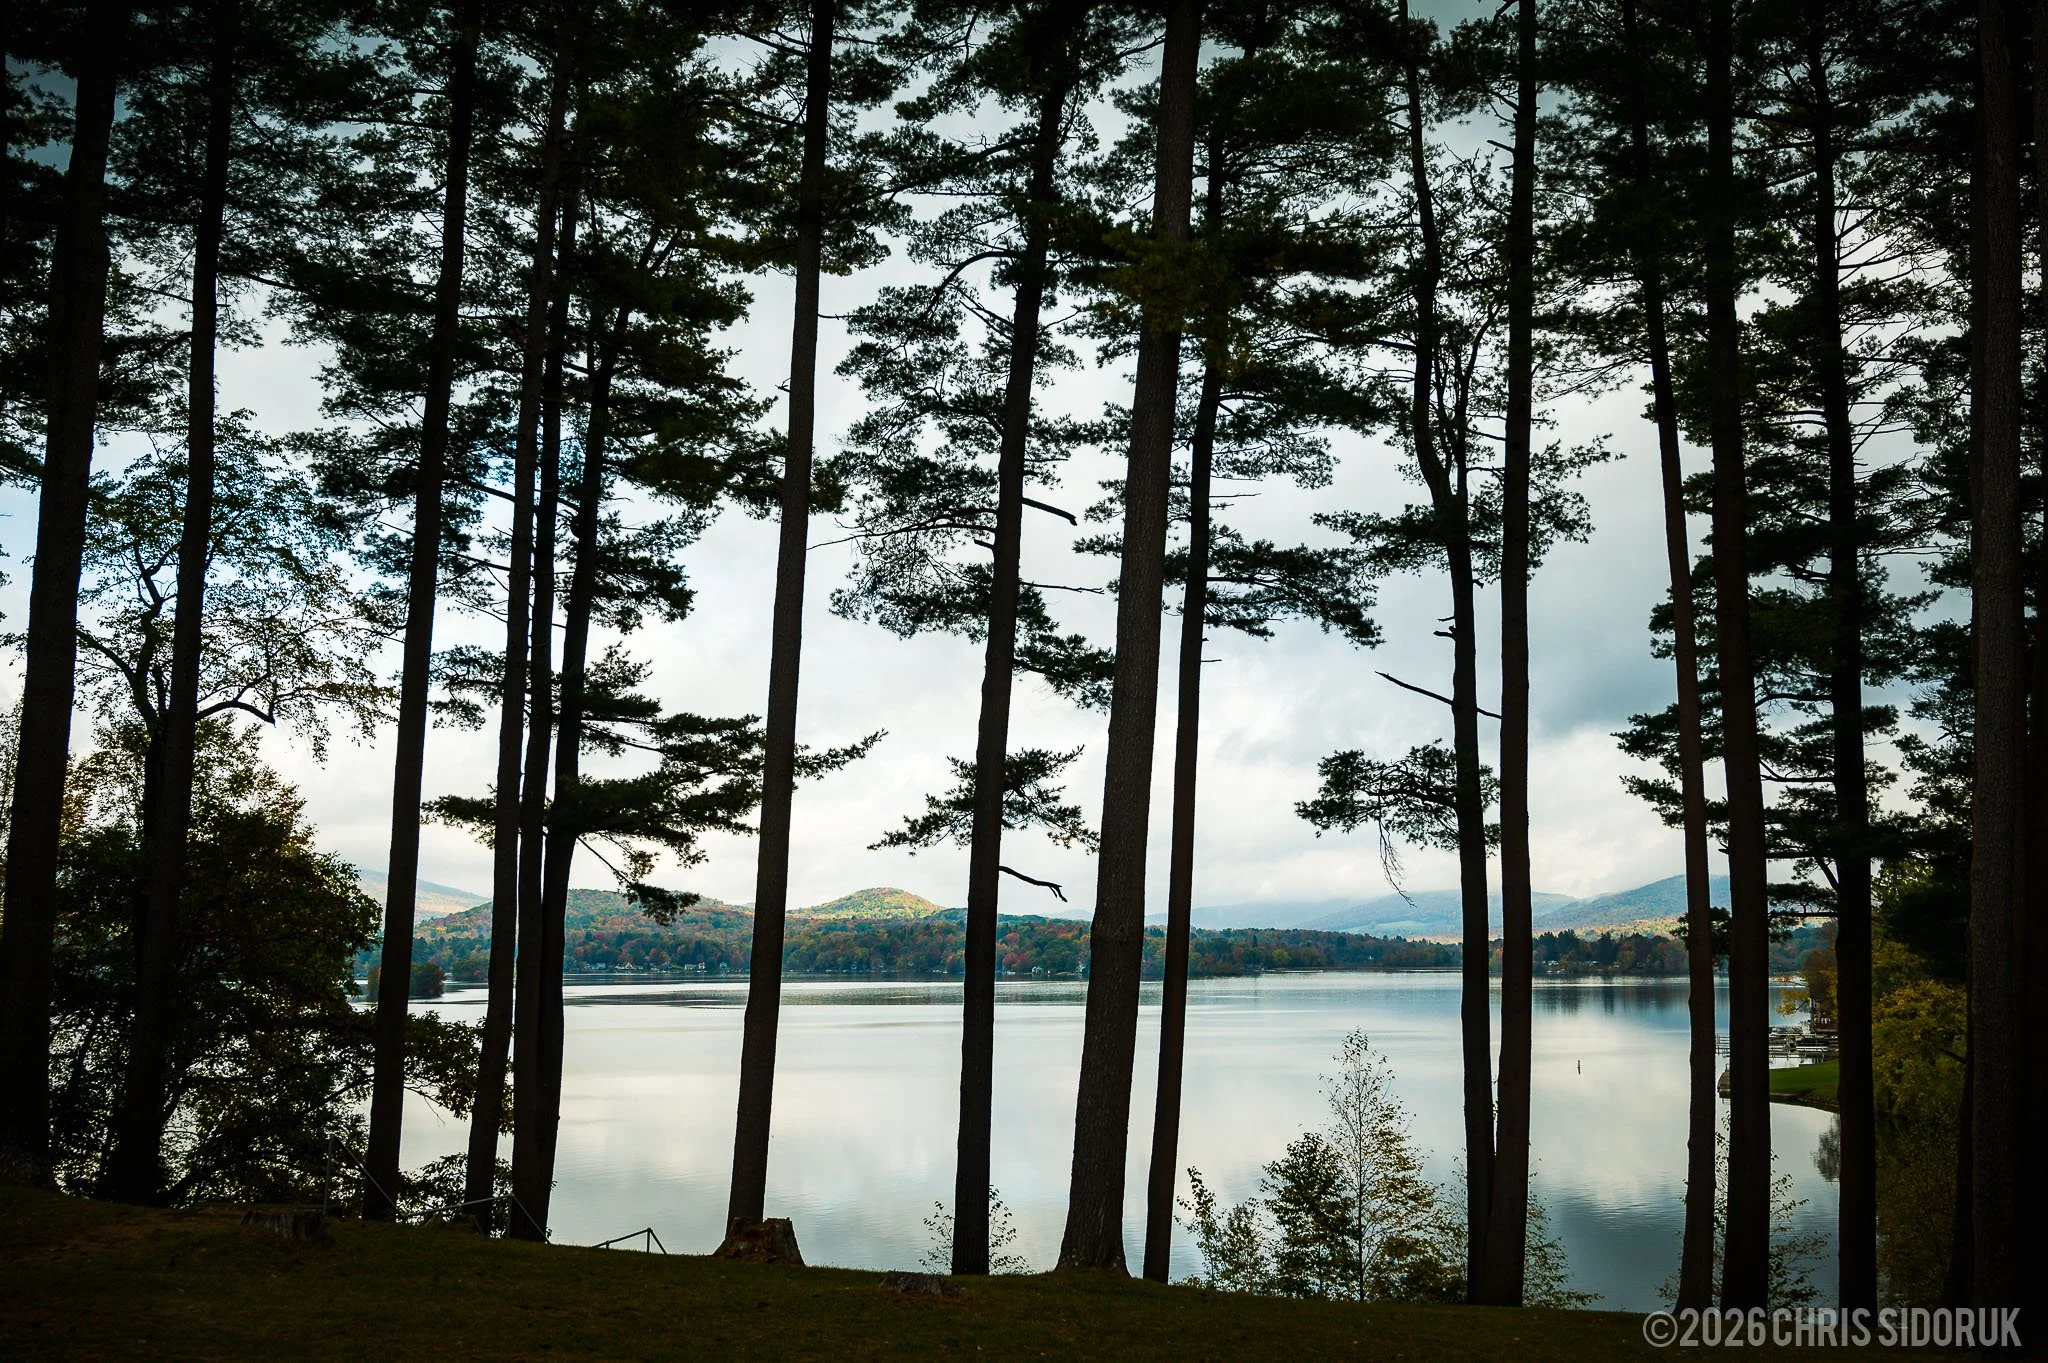
landscape photography weather conditions fog example
Common Location Scouting Mistakes
Even experienced photographers occasionally make scouting mistakes. The good news is that most of them are easy to avoid with a little planning.
Arriving Without a Plan
Driving to a location and hoping inspiration strikes can work occasionally, but it usually leads to rushed decisions and missed opportunities.
Before you leave home, know:
What you're photographing
Where you'll park
Which direction you'll be facing
When the best light occurs
At least two or three compositions you want to try
A simple plan helps you spend more time shooting and less time wandering.
Ignoring the Light
Many beautiful locations simply don't work under every lighting condition.
A mountain peak that looks spectacular at sunrise may fall completely into shadow at sunset.
Likewise, a coastal scene that shines during golden hour may feel flat under harsh midday sun.
Always scout with the light in mind—not just the landscape.
Focusing on Only One Composition
Many photographers arrive with one photo in mind and ignore everything else.
If that composition doesn't work because of weather, crowds, or changing conditions, the entire trip can feel wasted.
Instead, identify multiple compositions before the best light arrives.
Some of my favorite images have come from backup compositions I almost overlooked.
Forgetting to Check Conditions
Never assume conditions will match what you saw online.
Before leaving home, check:
Weather forecasts
Wind speed
Cloud cover
Tide charts
Road closures
Trail conditions
Park hours
Five minutes of preparation can save several hours of frustration.
Never Returning
Many photographers constantly chase new locations.
While exploring is important, returning to great locations often produces stronger photographs.
Every visit teaches you something:
Better compositions
Different seasonal conditions
Improved timing
New foreground opportunities
Some of my favorite landscape images came from places I'd already visited several times.
My Landscape Photography Location Scouting Workflow
Over the years I've developed a simple workflow that helps me maximize every trip while reducing surprises once I arrive.
Step 1: Choose the Location
Everything starts with selecting a destination that matches the type of image I want to create.
Sometimes that's a well-known location I've photographed before.
Other times it's somewhere completely new that I've discovered through maps, local recommendations, or previous road trips.
Step 2: Research from Home
Before I ever leave the house, I spend time studying the location using:
Google Maps
Satellite imagery
Terrain view
Street View (when available)
Hiking maps
Local photography guides
By the time I arrive, I already understand the basic layout of the area.
Step 3: Study the Light
Next, I determine:
Sunrise and sunset direction
Golden hour timing
Blue hour timing
Seasonal sun angle
Potential shadows
This helps me decide exactly where I want to be when the best light arrives.
Step 4: Monitor Conditions
The day before—and again the morning of the shoot—I review:
Weather forecasts
Cloud cover
Wind
Tide charts
Visibility
Recent rainfall
Sometimes changing conditions lead me to adjust my plans or even postpone the trip altogether.
Step 5: Arrive Early
Whenever possible, I arrive at least 30–60 minutes before the light becomes ideal.
This gives me time to:
Walk the area
Test compositions
Set up my tripod
Fine-tune camera settings
Slow down and observe
Being early almost always leads to better decisions than arriving at the last minute.
Step 6: Stay After the Main Shot
Many photographers pack up immediately after sunrise or sunset.
I often stay much longer.
The changing light frequently reveals entirely new compositions that weren't obvious earlier.
Patience is one of the simplest ways to improve your landscape photography.
How Location Scouting Works with Camera Settings
Good scouting and good camera settings work together.
Because you've already identified your compositions, you can spend less time searching and more time concentrating on exposure and technique.
Once you're in position, it's much easier to make thoughtful decisions about:
Aperture for maximum depth of field
Shutter speed for creative motion
ISO for optimal image quality
Focus point placement
Tripod positioning
Rather than reacting under pressure, you're simply fine-tuning the image you've already planned.
Related: Best Camera Settings for Landscape Photography
How Location Scouting Works with Composition
Scouting is really the first stage of composition.
Finding an interesting location isn't enough—you still need to arrange the scene in a way that guides the viewer's eye.
During scouting I constantly look for:
Foreground interest
Leading lines
Natural framing
Layering
Balance
Clean backgrounds
Visual flow
Because I've already explored these possibilities before the light becomes perfect, I can focus entirely on creating the strongest composition when the moment arrives.
Advanced Location Scouting Strategies
Once you've mastered the basics, there are several techniques that can make your scouting even more effective.
Build a Personal Location Library
One of the most valuable resources you'll ever create is your own collection of locations.
Keep notes about:
GPS coordinates
Parking locations
Best seasons
Sunrise or sunset direction
Favorite compositions
Tide conditions
Weather that worked well
Over time, this becomes an invaluable resource that allows you to revisit locations under different conditions.
Photograph the Same Location Multiple Times
Don't assume you've "finished" a location after one visit.
Return during:
Different seasons
Different weather
Sunrise instead of sunset
Fog
Snow
Storms
Peak fall foliage
The same landscape can produce dozens of unique photographs throughout the year.
Leave Room for Discovery
Planning is important—but don't become so committed to your original plan that you ignore unexpected opportunities.
Some of my favorite landscape images were photographs I never intended to make.
Stay curious, keep exploring, and be willing to adapt.
Final Thoughts
Great landscape photography begins long before you press the shutter.
The most successful photographers don't simply arrive and hope for good conditions—they prepare for them.
By scouting your locations ahead of time, understanding the light, monitoring weather, and identifying multiple compositions, you'll consistently create stronger photographs while making better use of every trip.
Every scouting session teaches you something new.
The more locations you explore—and the more often you revisit them—the more instinctive the entire process becomes.
Eventually, you'll spend less time searching for photographs and more time creating them.
Frequently Asked Questions
What is location scouting in photography?
Location scouting is the process of researching, evaluating, and planning photography locations before a shoot. It helps photographers understand lighting, compositions, accessibility, and environmental conditions before arriving.
Do I need to visit a location before photographing it?
Not always. Online tools like Google Maps, satellite imagery, and photography guides make it possible to scout many locations remotely. However, visiting in advance often reveals compositions and details that aren't visible online.
What should I look for when scouting a landscape location?
Focus on:
Light direction
Foreground interest
Leading lines
Accessibility
Weather conditions
Seasonal changes
Backup compositions
Safe tripod placement
How do photographers find new locations?
Many photographers use a combination of:
Google Maps
Satellite imagery
Hiking apps
Travel guides
Photography blogs
Social media
Local recommendations
Personal exploration
Why is weather so important for landscape photography?
Weather dramatically changes the appearance of a landscape. Fog, clouds, storms, calm winds, and seasonal conditions can transform an ordinary location into an extraordinary photograph.
Should I scout sunrise and sunset separately?
Yes. A location that works beautifully at sunrise may not work at sunset because the direction and quality of light are completely different.
How early should I arrive at a photography location?
I generally recommend arriving at least 30–60 minutes before sunrise or sunset. This gives you enough time to walk the area, evaluate compositions, set up your tripod, and adjust your camera before the best light appears.
Is it worth returning to the same location multiple times?
Absolutely. Visiting a location under different seasons, weather conditions, and lighting often produces a much stronger and more diverse portfolio than constantly searching for somewhere new.
==========
All photographs © Chris Sidoruk. Images are protected by copyright and may not be used, copied, modified, or redistributed without written permission.
Related Photography Guides
Continue planning your next landscape photography adventure with these in-depth guides:
