

How to Shoot Long Exposure Landscape Photos (Step-by-Step Guide)

Long exposure landscape photography example using a tripod and slow shutter speed
==========
Last Updated April 2026
What Is Long Exposure Photography?
Long exposure photography is simply using a slower shutter speed to capture movement over time.
Instead of freezing a moment, you’re letting motion build into the image.
Common examples:
waterfalls and rivers (smooth water)
ocean waves (soft, misty look)
clouds moving across the sky
light trails (cars, stars)
Long exposure techniques work best when combined with strong composition.
See: Landscape Photography Composition Tips
The Basic Setup (What You Actually Need)
You don’t need a complicated setup, but a few things matter.
Tripod (most important)
If your camera moves, the whole image will blur.
A tripod keeps everything stable while the shutter stays open.
👉 If you don’t have one yet, see my full guide to the Best Tripods for Landscape Photography
Camera + Lens
Almost any modern camera works.
Full-frame cameras give you more flexibility in low light
Wide-angle lenses (14–35mm range) are the most common for landscapes
👉 See my full breakdown of the Best Cameras for Landscape Photography
👉 And the Best Lenses for Landscape Photography
Optional: ND Filter
Neutral density (ND) filters reduce light so you can use longer shutter speeds during the day.
Not required to start, but useful once you get more into it.
👉 See: Best ND Filters for Long Exposure Photography
Step-by-Step: How to Shoot Long Exposure Photos
This is the simplest way to approach it in the field.
Step 1: Set Up Your Shot
Compose your image first
Lock your tripod in place
Turn off image stabilization (if on a tripod)
Step 2: Use Manual or Aperture Priority
Start with:
Aperture: f/8 to f/11
ISO: 100 (or as low as possible)
Step 3: Adjust Shutter Speed
This is where the effect happens.
1/2s – 2s → slight motion
5s – 15s → smooth water, moving clouds
20s+ → more dramatic motion
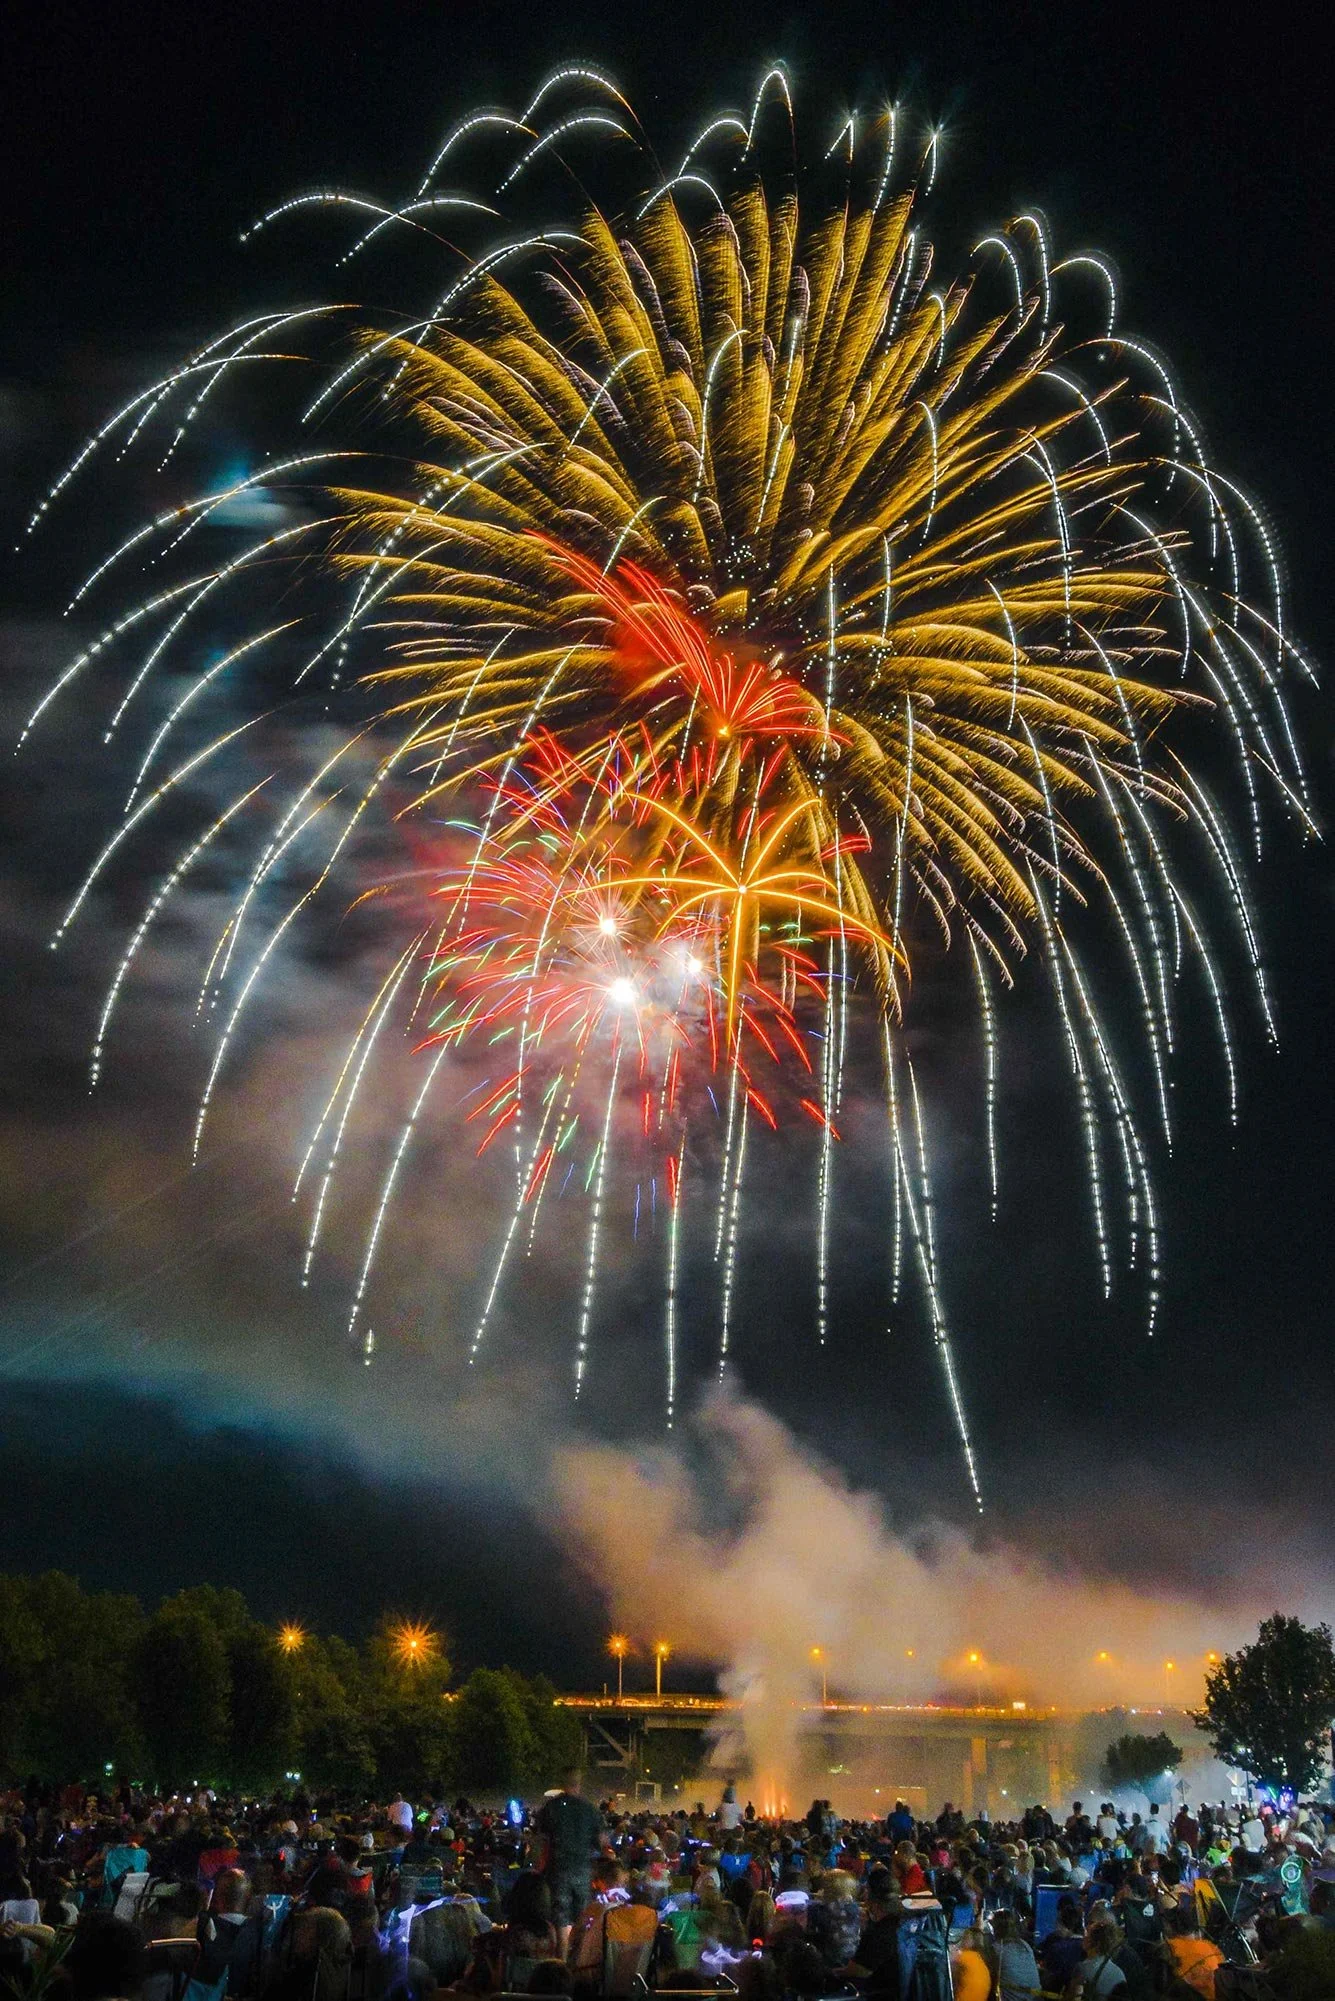
Long exposure photography example from a firework display on 4th of July
Step 4: Focus Before Shooting
Use autofocus first
Then switch to manual focus if needed
Step 5: Take the Shot
Use:
a timer
or remote shutter
👉 This avoids camera shake
Real-World Settings Examples
Waterfall (overcast day)
f/11
ISO 100
5–10 seconds
Ocean waves (sunset)
f/8
ISO 100
10–20 seconds
Clouds (windy conditions)
f/8
ISO 100
15–30 seconds
Common Mistakes to Avoid
1. Not using a tripod
This is the biggest one. Handheld won’t work for true long exposures.
2. Overexposing the image
If your photo is too bright:
lower ISO
close aperture
or use an ND filter
3. Shooting in bad conditions
Not every scene works.
You need:
moving water
wind
or changing light
4. Ignoring composition
Long exposure doesn’t fix a weak composition.
Start with a strong scene first.
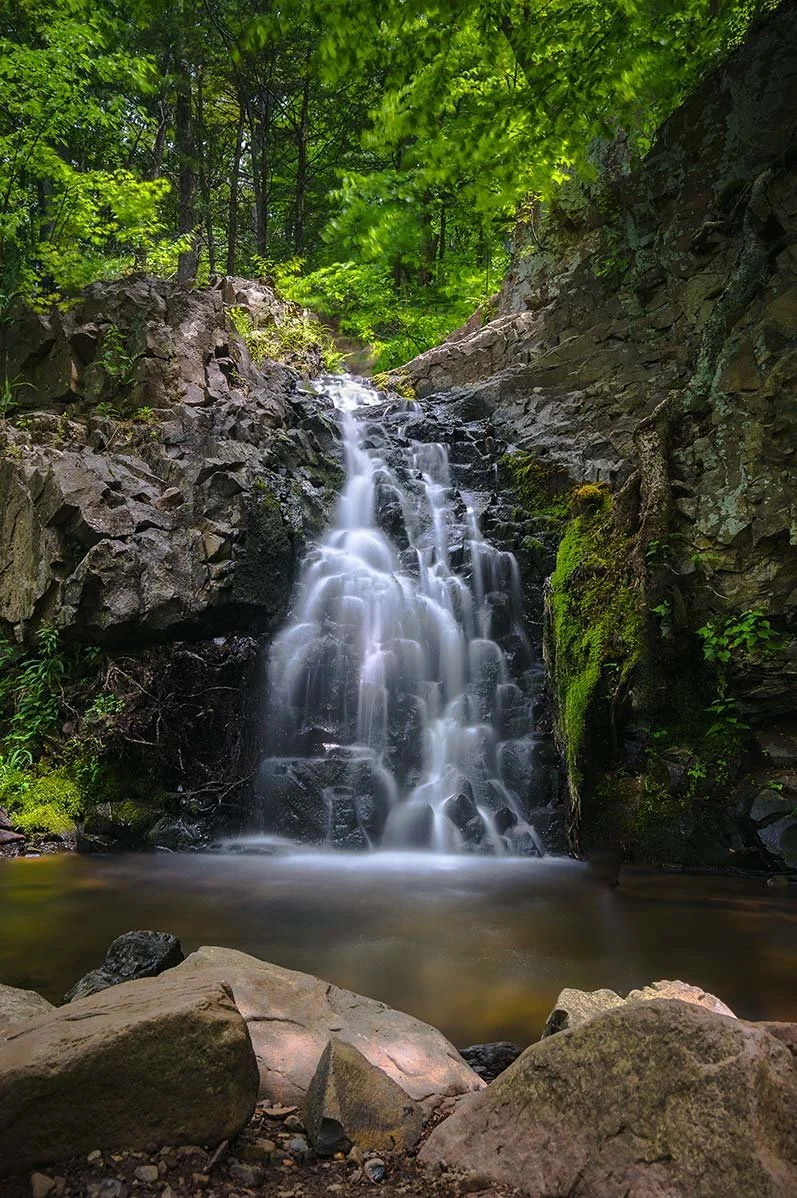
Longer shutter speeds create smoother motion in water and clouds
When Long Exposure Works Best
You’ll get the best results when there’s:
movement (water, clouds, trees)
soft or changing light (sunrise, sunset, overcast)
a stable foreground
Final Thoughts
Long exposure photography isn’t about complicated settings.
It’s about slowing things down and being intentional.
Start simple:
tripod
low ISO
slower shutter
From there, you’ll naturally figure out what works for your style.
Frequently Asked Questions
Q: Do you need a tripod for long exposure photography?
A: Yes. A tripod is essential to keep your image sharp while using slower shutter speeds.
Q: What shutter speed is best for long exposure?
A: It depends on the scene. Water often looks good around 5–15 seconds, while clouds may need 15–30 seconds or longer.
Q: Do I need an ND filter?
A: Not to start. ND filters are helpful for shooting long exposures in bright conditions, but you can get great results without one in lower light.
Q: What ISO should I use for long exposure photography?
A: Use the lowest ISO possible, typically ISO 100, to reduce noise and maintain image quality.
==========
All images © Chris Sidoruk. No use, copying, or redistribution without license.
Explore more: