

Monitor Calibration for Photography: Achieving Accurate Colors
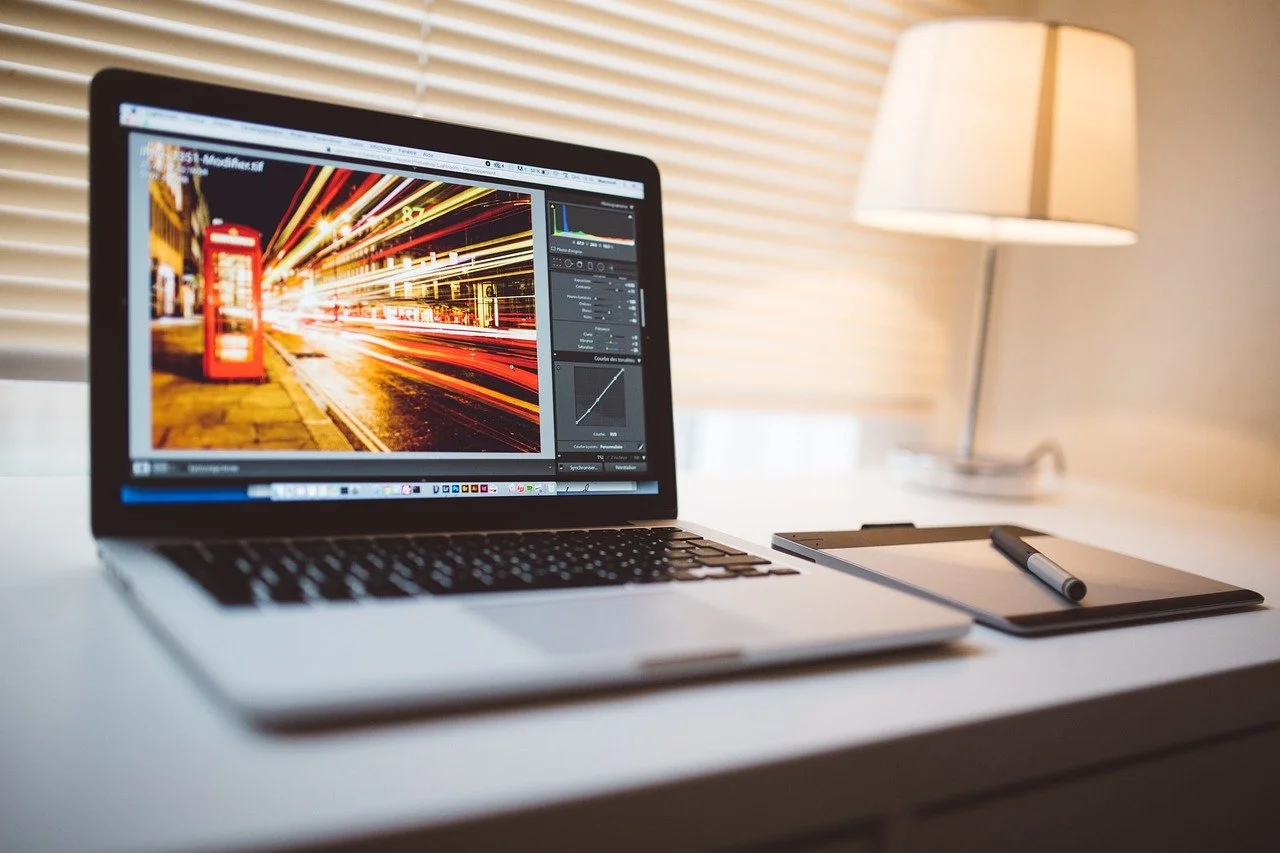
Photo by Lalmch / Pixabay
*Some links in this article are affiliate links. If you purchase through them, it helps support my work at no extra cost to you.
==========
Last Update: July 2026
Quick Jump
- What Is Monitor Calibration?
- Why Monitor Calibration Matters for Photographers
- Color Accuracy in a Photography Workflow
- Problems With Uncalibrated Monitors
- Hardware vs Software Calibration
- Best Monitor Calibration Tools
- Monitor Calibration for Printing Photos
- Calibration for Different Photography Styles
- Frequently Asked Questions
Monitor calibration is one of the most overlooked parts of a professional photography workflow.
You can have an excellent camera, carefully edit your RAW files, and spend hours perfecting color—only to discover that your images look completely different on another display or in print.
The reason is simple:
Your monitor is the tool you use to judge every editing decision.
If the display is inaccurate, your adjustments are based on incorrect information.
You may:
brighten images that are already properly exposed
oversaturate colors that are already accurate
adjust white balance incorrectly
create prints that do not match what you saw on screen
For photographers who share images online, deliver client galleries, or sell fine art prints, color accuracy is not just a technical detail.
It directly affects the final product.
This guide explains what monitor calibration does, why it matters, and how photographers can build a more reliable editing workflow.
What Is Monitor Calibration?
Monitor calibration is the process of adjusting your display so it produces accurate and consistent:
colors
brightness
contrast
white balance
tonal range
Every monitor displays images slightly differently.
Even two monitors from the same manufacturer can have different color output.
Calibration uses measurement hardware, called a colorimeter, to analyze your screen and create a correction profile that improves accuracy.
Instead of editing based on how your monitor happens to look, calibration helps your display better represent the actual image file.
For photographers, this means your editing decisions become more predictable.
A properly calibrated monitor helps ensure:
accurate colors
reliable exposure adjustments
better print matching
consistency between editing sessions
Why Monitor Calibration Matters for Photographers
Photography is ultimately about controlling light and color.
When you edit a photo, every adjustment depends on what you see:
exposure
shadows
highlights
contrast
saturation
color temperature
If your monitor is inaccurate, you are making decisions using incorrect visual information.
For example:
A monitor that is too bright may cause you to darken your images unnecessarily.
A monitor with excessive saturation may cause you to reduce color that was actually correct.
A display with inaccurate whites may lead you to create incorrect color balance adjustments.
This becomes especially important when:
preparing images for clients
submitting photographs for publication
selling prints
creating consistent portfolios
editing large galleries
A calibrated monitor does not make your photography better automatically—but it makes your editing decisions more reliable.
Color Accuracy in a Photography Workflow
A complete photography workflow depends on consistency from capture to final output.
The process usually looks like:
Camera → RAW File → Editing Software → Monitor → Export → Print or Online Display
The monitor is the point where you make creative decisions.
If that step is inaccurate, the entire workflow becomes less predictable.
A color-managed workflow helps photographers maintain consistency between:
camera files
Lightroom or Capture One edits
exported JPEG files
online galleries
physical prints
This is especially important for photographers working with:
Landscape Photography
Landscape images often contain subtle color differences:
blue skies
green vegetation
warm sunrise tones
shadow detail
atmospheric haze
A poorly calibrated monitor can make these adjustments difficult because you may not know whether the color is accurate or simply exaggerated by your display.
Concert Photography
Live music photography creates different challenges:
intense stage lighting
colored LEDs
deep shadows
high ISO noise
A calibrated display helps prevent overcorrecting dramatic lighting and helps maintain consistency across an entire concert gallery.
Problems With Uncalibrated Monitors
Most monitors are not designed for professional photo editing.
They are usually optimized for:
watching videos
gaming
general web browsing
office work
Manufacturers often ship displays with settings that look impressive in stores:
high brightness
boosted contrast
increased saturation
Those settings can make images appear more vivid, but they are not necessarily accurate.
Common problems photographers experience:
Images Look Too Dark
A bright monitor can trick you into lowering exposure too much.
The final image may appear underexposed on other displays or in print.
Colors Look Different Elsewhere
An image may look perfect on your monitor but appear:
too warm
too cool
oversaturated
lacking contrast
on another screen.
Prints Do Not Match
One of the most frustrating problems:
The print arrives and looks nothing like the edited image.
Common causes include:
inaccurate monitor brightness
incorrect color profile
poor soft proofing workflow
Calibration helps reduce these surprises.
Hardware vs Software Calibration
There are two main ways photographers can adjust monitor color:
software calibration
hardware calibration
While both can improve your display, they are not equal.
For photographers who regularly edit images, sell prints, or deliver professional work, hardware calibration is usually the better long-term solution.
Software Calibration
Software calibration uses your monitor controls and operating system settings to manually adjust:
brightness
contrast
color temperature
RGB balance
Examples include:
adjusting monitor presets
using built-in operating system calibration tools
selecting a monitor's "photo" or "sRGB" mode
Advantages:
free
simple to try
better than ignoring calibration completely
Disadvantages:
relies on your eyes
depends on your viewing environment
less precise
inconsistent between users
Your eyes adapt quickly to color differences, which makes visual calibration difficult.
A monitor that looks accurate to you may still be noticeably incorrect when measured.
Hardware Calibration
Hardware calibration uses a dedicated color measurement device called a colorimeter.
The device attaches to your monitor and measures:
actual colors being displayed
brightness level
contrast
color accuracy
The calibration software then creates a custom monitor profile.
Popular calibration devices include:
Calibrite ColorChecker Display series
Datacolor Spyder series
Advantages:
much more accurate
repeatable results
better print consistency
ideal for professional workflows
For photographers, this is the method that makes the most sense.
Best Monitor Calibration Tools for Photographers
There are two major brands photographers commonly consider:
Calibrite
Datacolor Spyder
Both offer reliable solutions, but they approach the market slightly differently.
Calibrite ColorChecker Display
Best choice for photographers focused on color accuracy
Calibrite has become one of the most popular choices among photographers who want consistent color management.
The ColorChecker Display line is designed specifically around accurate color measurement and works well with photography workflows including:
Adobe Lightroom
Photoshop
Capture One
print preparation
Strengths:
excellent color accuracy
strong reputation among photographers
straightforward workflow
good long-term reliability
Best for:
landscape photographers
fine art print photographers
professionals delivering client work
Datacolor Spyder Series
Best known consumer and enthusiast calibration option
Datacolor Spyder devices have been popular among photographers for many years.
The Spyder lineup offers an accessible way to move into hardware calibration without requiring a complicated workflow.
Strengths:
easy setup
beginner friendly
widely supported
affordable entry options
Best for:
photographers new to calibration
hobbyists
photographers wanting better consistency
Calibrite vs Datacolor Spyder: Which Should You Choose?
Both brands can improve your workflow.
A simple breakdown:
| If you are... | Choose |
|---|---|
| Selling fine art prints | Calibrite ColorChecker Display |
| Editing professionally | Calibrite ColorChecker Display |
| New to monitor calibration | Datacolor Spyder |
| Want a simple affordable upgrade | Datacolor Spyder |
| Need consistent color management | Either hardware option |
Selling fine art prints
Choose: Calibrite ColorChecker Display
Editing professionally
Choose: Calibrite ColorChecker Display
New to monitor calibration
Choose: Datacolor Spyder
Want a simple affordable upgrade
Choose: Datacolor Spyder
Need consistent color management
Choose: Either hardware option
The most important step is not choosing the perfect device.
It is using one consistently.
Recommended Monitor Settings for Photography
Calibration works best when your monitor is configured correctly before measuring.
Recommended starting points:
Brightness
A common mistake is editing on a monitor that is too bright.
Many consumer displays ship extremely bright because it looks better in stores.
For photography:
avoid maximum brightness
match your working environment
use a comfortable brightness level
A monitor that is too bright can cause prints to appear darker than expected.
Color Temperature
Most photography workflows target a neutral white point.
Common calibration targets:
6500K for general editing
5000K for print-focused workflows
The correct choice depends on your environment and printing goals.
Gamma
Most photographers use:
Gamma 2.2
This is the standard target for most computer displays and photography workflows.
Viewing Environment
Your room lighting matters more than many photographers realize.
Avoid:
direct sunlight hitting the monitor
strong colored walls reflecting onto the screen
changing lighting conditions
Ideal editing conditions:
controlled ambient light
neutral surroundings
consistent room brightness
A Recommended Photography Monitor Calibration Workflow
A reliable workflow looks like this:
Step 1: Warm Up Your Monitor
Turn your monitor on and allow it to stabilize.
Most displays need time to reach consistent brightness and color output.
Step 2: Set Your Monitor Environment
Before calibrating:
reduce excessive room lighting
remove direct reflections
set your normal editing conditions
Step 3: Run Calibration Software
Attach your colorimeter and follow the software instructions.
The device will:
measure your display
create a color profile
apply corrections
Step 4: Edit Using a Color-Managed Workflow
Use applications that understand color profiles:
Adobe Lightroom
Adobe Photoshop
Capture One
Avoid judging final colors from unmanaged applications.
Step 5: Recalibrate Regularly
Monitors change over time.
A good baseline:
every 2–4 weeks for active photographers
every few months for casual users
Monitor Calibration and Printing Photos
Printing is where monitor calibration becomes most important.
A photo can look perfect on screen and still produce disappointing results when printed.
Common problems include:
prints appearing too dark
incorrect color temperature
inaccurate saturation
unexpected contrast
A calibrated monitor helps bridge the gap between:
What you see on screen
and
What comes out of the printer.
Soft Proofing: The Next Step for Better Prints
For photographers selling prints, calibration is only the first step.
Soft proofing allows you to preview how an image may appear using:
a specific printer profile
a specific paper type
a specific color space
This is especially useful for:
fine art landscape prints
gallery submissions
client print orders
A color-managed workflow typically includes:
Calibrated monitor
Correct color profile
Soft proofing
Test print
Final export
Why Calibration Matters for Fine Art Photography Prints
Photographers who sell wall art have an even greater need for accuracy.
A customer purchasing a print expects:
realistic colors
consistent tones
predictable quality
A calibrated workflow helps maintain consistency between:
original camera file
edited image
online product image
final print
For landscape photographers especially, subtle differences matter:
sunset warmth
ocean blues
forest greens
mountain shadows
These small color decisions can dramatically affect the final print.
Monitor Calibration for Different Photography Styles
Every photographer benefits from an accurate monitor, but the reasons vary depending on what you shoot. Some genres demand precise color reproduction, while others rely on consistent exposure and tonal accuracy.
Landscape Photography
Landscape photographers often spend significant time refining subtle colors and tonal transitions.
Calibration helps preserve:
sunrise and sunset color gradients
blue hour tones
realistic greens and foliage
ocean and lake blues
cloud detail
shadow recovery
Because many landscape photographers also sell prints, color consistency is especially important.
An image that looks perfect on your screen should closely resemble the finished print.
Related Guide:
→ Best Cameras for Landscape Photography
Concert Photography
Concert photography presents unique editing challenges.
Stage lighting changes constantly and often includes:
deep blues
saturated reds
magenta LEDs
mixed white balance
heavy contrast
Without an accurate monitor it's easy to:
oversaturate colors
remove intentional stage lighting
over-brighten shadows
lose highlight detail
Calibration helps maintain consistency across an entire concert gallery, especially when delivering hundreds of edited images.
Related Guides:
→ Best Camera Settings for Concert Photography
→ Editing Concert Photography in Lightroom
Portrait Photography
Portrait photographers rely heavily on accurate skin tones.
An uncalibrated display can introduce:
unnatural reds
green color casts
overly warm skin
incorrect white balance
A calibrated workflow helps ensure clients receive images with realistic and flattering color.
Wildlife Photography
Wildlife editing often involves:
feather detail
fur texture
subtle earth tones
accurate foliage color
Small color shifts can make animals appear unnatural.
Calibration allows photographers to edit confidently without exaggerating saturation.
Commercial Photography
Commercial clients often expect colors to match real products.
Whether photographing:
clothing
food
automobiles
products
accurate color reproduction becomes essential.
A calibrated monitor helps reduce costly revisions and maintains consistency between deliverables.
A Recommended Editing Workflow
Monitor calibration is only one part of a complete color-managed workflow.
A typical photography workflow looks like this:
Step 1
Import RAW files.
Shoot RAW whenever possible to maximize editing flexibility.
Step 2
Cull and organize images.
Flag your keepers before beginning detailed edits.
Step 3
Edit on a calibrated monitor.
This ensures that adjustments to:
exposure
contrast
color
white balance
are based on accurate image data rather than display inaccuracies.
Step 4
Soft proof when preparing prints.
Preview how your image will appear on your chosen printer and paper combination.
Step 5
Export using the correct color space.
Common choices include:
sRGB for websites and social media
Adobe RGB for some print workflows
ProPhoto RGB during editing
Step 6
Archive your files.
A properly edited image is still vulnerable if it is not backed up.
Use a reliable backup workflow to protect your photo library.
Related Guide:
Common Monitor Calibration Mistakes
Many photographers either skip calibration entirely or make small mistakes that reduce its effectiveness.
Here are some of the most common issues.
Editing on an Extremely Bright Screen
This is probably the biggest mistake.
Most displays ship with brightness levels that are far too high for photo editing.
The result?
Your photos often end up darker than intended when viewed elsewhere or printed.
Only Calibrating Once
Monitors drift over time.
A display calibrated a year ago is unlikely to remain perfectly accurate today.
Calibration should become part of your regular workflow.
Ignoring Ambient Lighting
Your editing environment matters almost as much as your monitor.
Large changes in room lighting can affect how images appear.
Try to edit in consistent lighting conditions whenever possible.
Comparing Against Uncalibrated Devices
It's tempting to compare your images with another laptop, phone, or tablet.
Remember that many consumer devices intentionally boost:
brightness
contrast
saturation
A calibrated monitor should remain your reference point.
Expecting Every Screen to Match
Even with perfect calibration, viewers will still see your photos on:
phones
tablets
televisions
inexpensive laptops
Calibration gives you a reliable editing baseline—it cannot control other people's displays.
How Often Should You Calibrate?
Monitor calibration is not a one-time process.
Displays gradually change as they age.
For most photographers, a good schedule is:
Professional photographers
Every 2–4 weeks.
This helps maintain consistent editing across client work and print projects.
Enthusiast photographers
Every 1–2 months.
Regular calibration is still worthwhile if you edit frequently.
Occasional photographers
Every few months or whenever you notice color inconsistencies.
You should also recalibrate after:
changing monitors
moving your editing workspace
major operating system updates
significant monitor setting changes
Is Monitor Calibration Worth It?
If photography is simply an occasional hobby, monitor calibration is helpful but not essential.
However, if you:
edit RAW files
deliver client work
sell prints
submit images for publication
care about consistent color
then a calibration device is one of the most valuable workflow upgrades you can make.
Unlike a new lens or camera body, calibration improves every photograph you edit.
Final Recommendations
Monitor calibration isn't one of the most exciting photography topics, but it has one of the biggest impacts on editing consistency.
A calibrated display helps you make better decisions about:
exposure
white balance
color
contrast
print preparation
If you're serious about photography, calibration should become a normal part of your workflow rather than an occasional task.
Pair it with a solid editing routine, reliable backups, and consistent color management, and you'll spend less time second-guessing your edits and more time creating photographs that look the way you intended.
Frequently Asked Questions
Do photographers really need monitor calibration?
If you regularly edit RAW files, deliver images to clients, or sell prints, monitor calibration is highly recommended. It helps ensure that your edits are based on accurate color and brightness rather than an inaccurate display.
Does monitor calibration improve image quality?
No. Calibration doesn't change the quality of your photographs.
Instead, it improves the accuracy of your display so you can edit with greater confidence.
What is the best monitor calibration tool for photographers?
Both the Calibrite ColorChecker Display and Datacolor Spyder series are excellent options.
Calibrite tends to be favored by photographers focused on maximum color accuracy and print consistency, while Datacolor Spyder devices are often appreciated for their ease of use and accessibility.
Can I calibrate a monitor without hardware?
Yes, but software-only calibration is less accurate because it relies on visual adjustments.
A hardware colorimeter provides far more consistent and repeatable results.
Why do my prints look darker than my monitor?
This is often caused by editing on a monitor that is too bright.
Proper monitor calibration and soft proofing can greatly reduce this problem.
How often should I recalibrate my monitor?
Most active photographers should recalibrate every two to four weeks.
If you edit less frequently, every month or two is usually sufficient.
Does monitor calibration matter if I only post online?
Yes.
Although every viewer's screen will display your photos differently, calibration ensures that your editing starts from an accurate baseline rather than an inaccurate display.
Should I calibrate my laptop display?
Absolutely.
Laptop screens drift over time just like desktop monitors, and many ship with brightness levels that are too high for photo editing.
==========
Photography Workflow
Editing & Color Management
Landscape Photography
Printing
