

Golden Hour vs Blue Hour Photography: When to Shoot Each
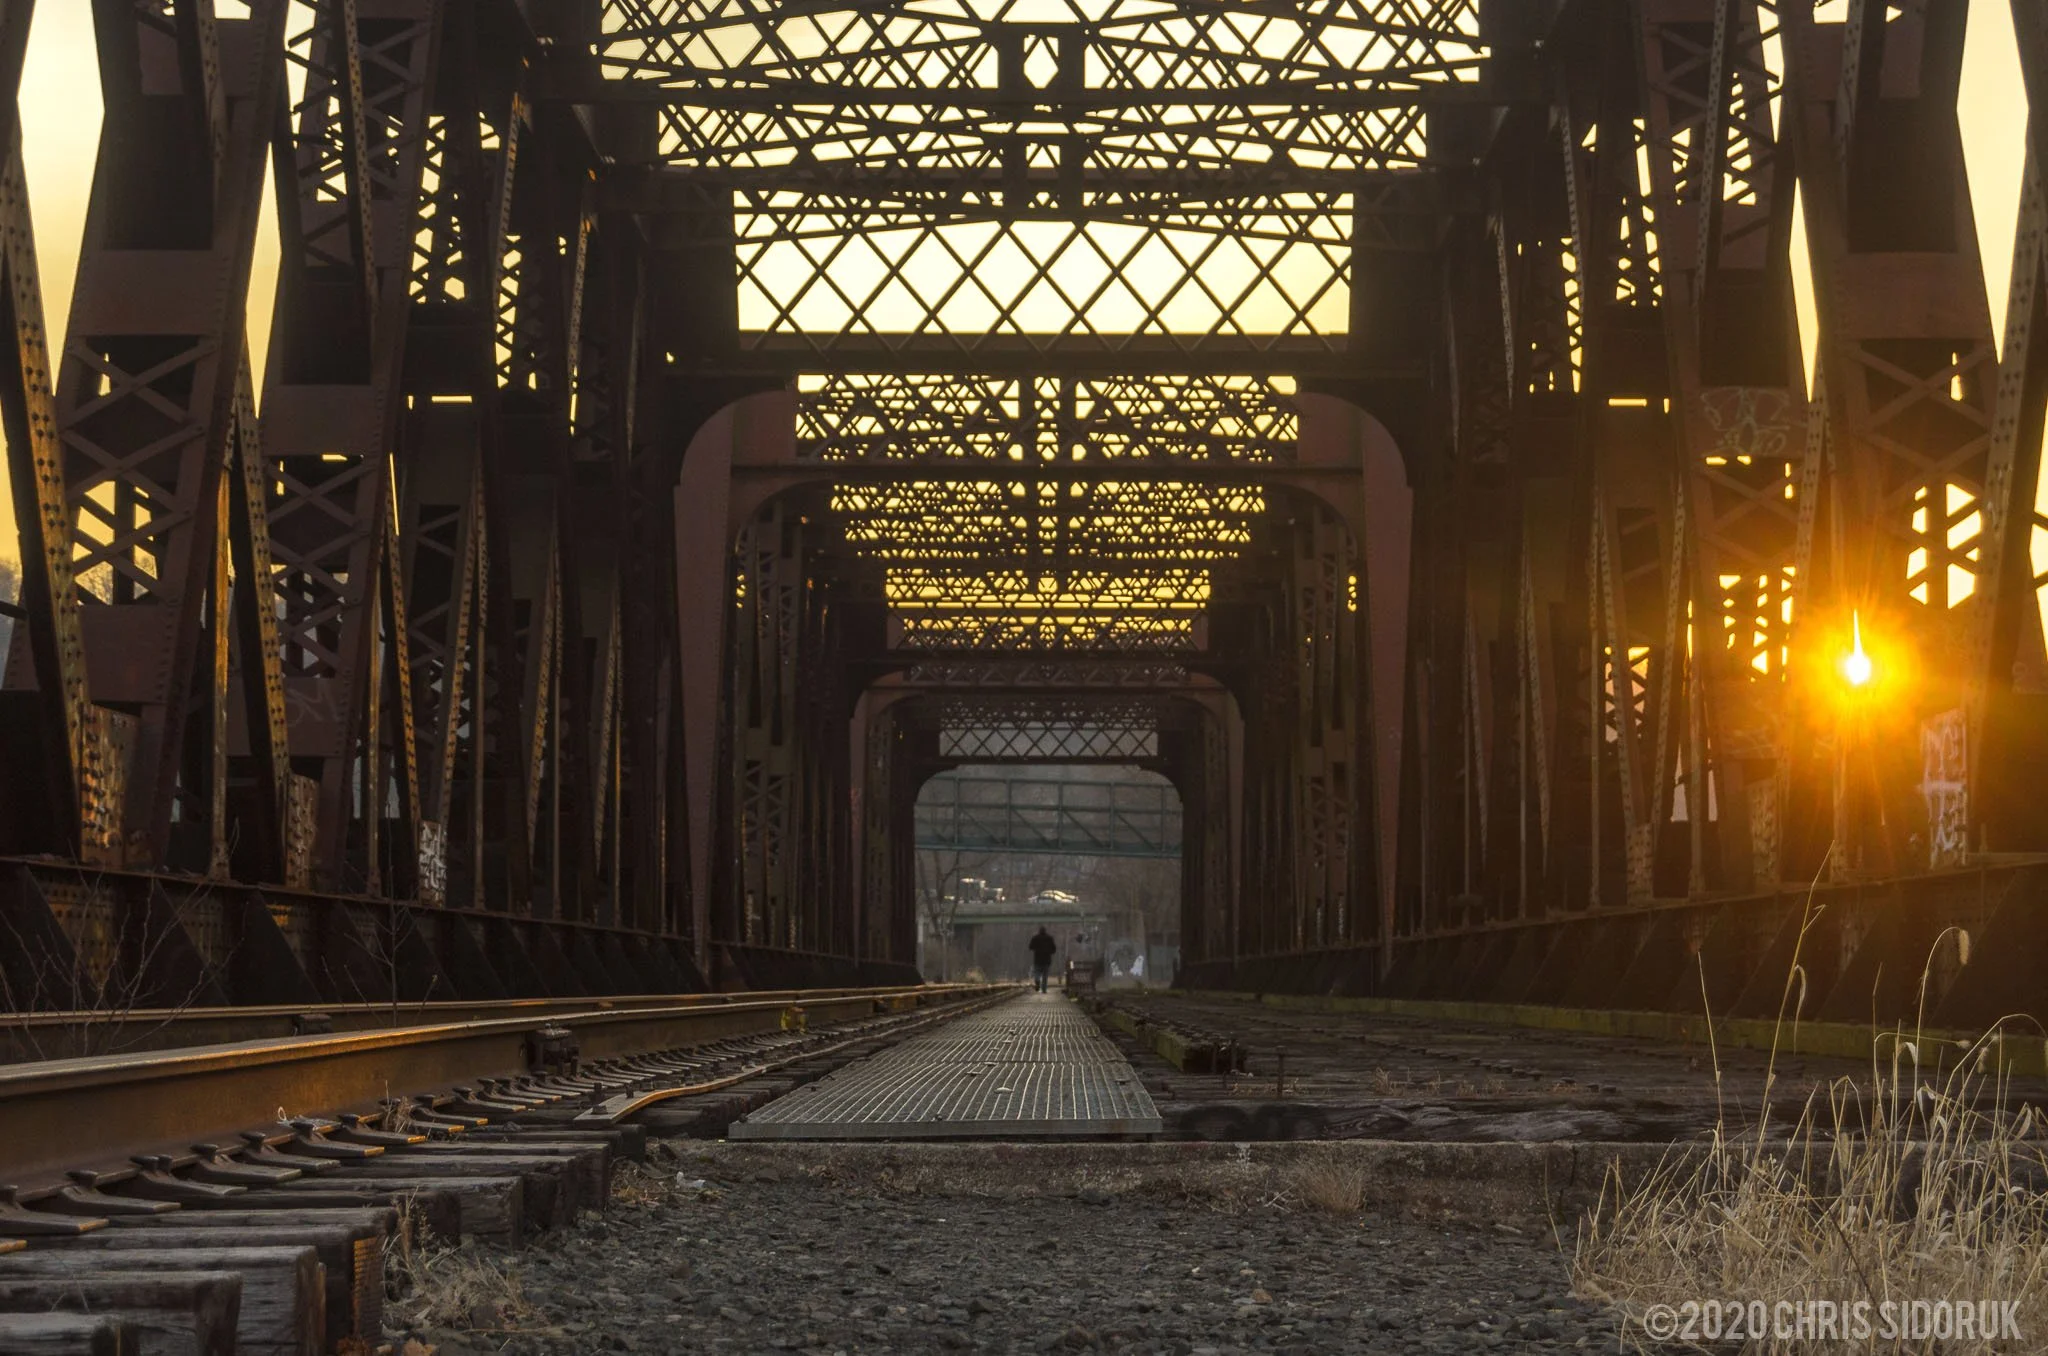
golden hour landscape photography warm light
==========
Last Updated: August 2026
Quick Jump
- What Is Golden Hour?
- What Is Blue Hour?
- Golden Hour vs Blue Hour: The Key Differences
- When to Use Golden Hour
- When to Use Blue Hour
- Golden Hour vs Blue Hour for Landscape Photography
- Camera Settings for Each Lighting Condition
- Shooting Golden Hour and Blue Hour in One Session
- Planning and Timing Your Shoot
- Frequently Asked Questions
Light is one of the most important elements in photography.
The same location can look completely different depending on when you photograph it.
A mountain landscape at sunrise can feel warm and dramatic.
The same scene during blue hour can feel quiet, atmospheric, and cinematic.
Two of the most valuable lighting conditions for landscape photography are:
golden hour
blue hour
Both offer unique creative opportunities, but they produce very different results.
Golden hour creates warmth, texture, and depth.
Blue hour creates mood, simplicity, and atmosphere.
Neither is universally better.
The best choice depends on:
the subject you are photographing
the mood you want to create
the conditions at your location
your creative goal
This guide breaks down the differences between golden hour and blue hour photography, when to use each, and how to make the most of both lighting conditions.
What Is Golden Hour Photography?
Golden hour is the period shortly after sunrise and shortly before sunset when the sun is low on the horizon.
During this time, sunlight travels through more of the Earth's atmosphere, creating softer and warmer light compared to midday.
Golden hour is one of the most popular times for landscape photography because it provides:
warm colors
softer shadows
directional lighting
increased depth and dimension
This type of light can transform ordinary scenes into more dramatic and visually interesting images.
When Does Golden Hour Happen?
Golden hour occurs:
shortly after sunrise
shortly before sunset
The exact timing depends on:
location
season
latitude
weather conditions
In some locations, golden hour may last close to an hour.
In others, especially at higher latitudes, the transition can happen much faster.
Planning ahead is important because the best light window can disappear quickly.
Why Golden Hour Is Popular for Photography
Golden hour is often considered one of the most flattering types of natural light because it adds depth and character without the harsh contrast of midday sunlight.
Warm Colors and Natural Tones
Golden hour creates a warmer color palette with:
yellows
oranges
reds
soft golden tones
This works especially well for:
mountain landscapes
beaches
forests
architectural photography
The warm light can make a scene feel more inviting and dramatic.
Long Shadows Create Depth
One of the biggest advantages of golden hour is the angle of the sun.
Low-angle sunlight creates longer shadows that reveal:
texture
shape
terrain
surface details
This is especially effective for:
mountain ridges
rock formations
sand patterns
forests
Shadows help create separation and make two-dimensional images feel more three-dimensional.
Directional Light Adds Dimension
Unlike midday light that often comes from directly overhead, golden hour creates more directional lighting.
This allows photographers to use:
side lighting
backlighting
silhouettes
rim lighting
The direction of light becomes part of the composition.
What Is Blue Hour Photography?
Blue hour is the short period of twilight that occurs before sunrise and after sunset.
During this time, the sun is below the horizon, but there is still enough ambient light in the sky to illuminate the scene.
Blue hour is known for:
cool blue tones
soft contrast
balanced exposure
atmospheric mood
While golden hour emphasizes warmth and texture, blue hour often creates a quieter and more cinematic feeling.
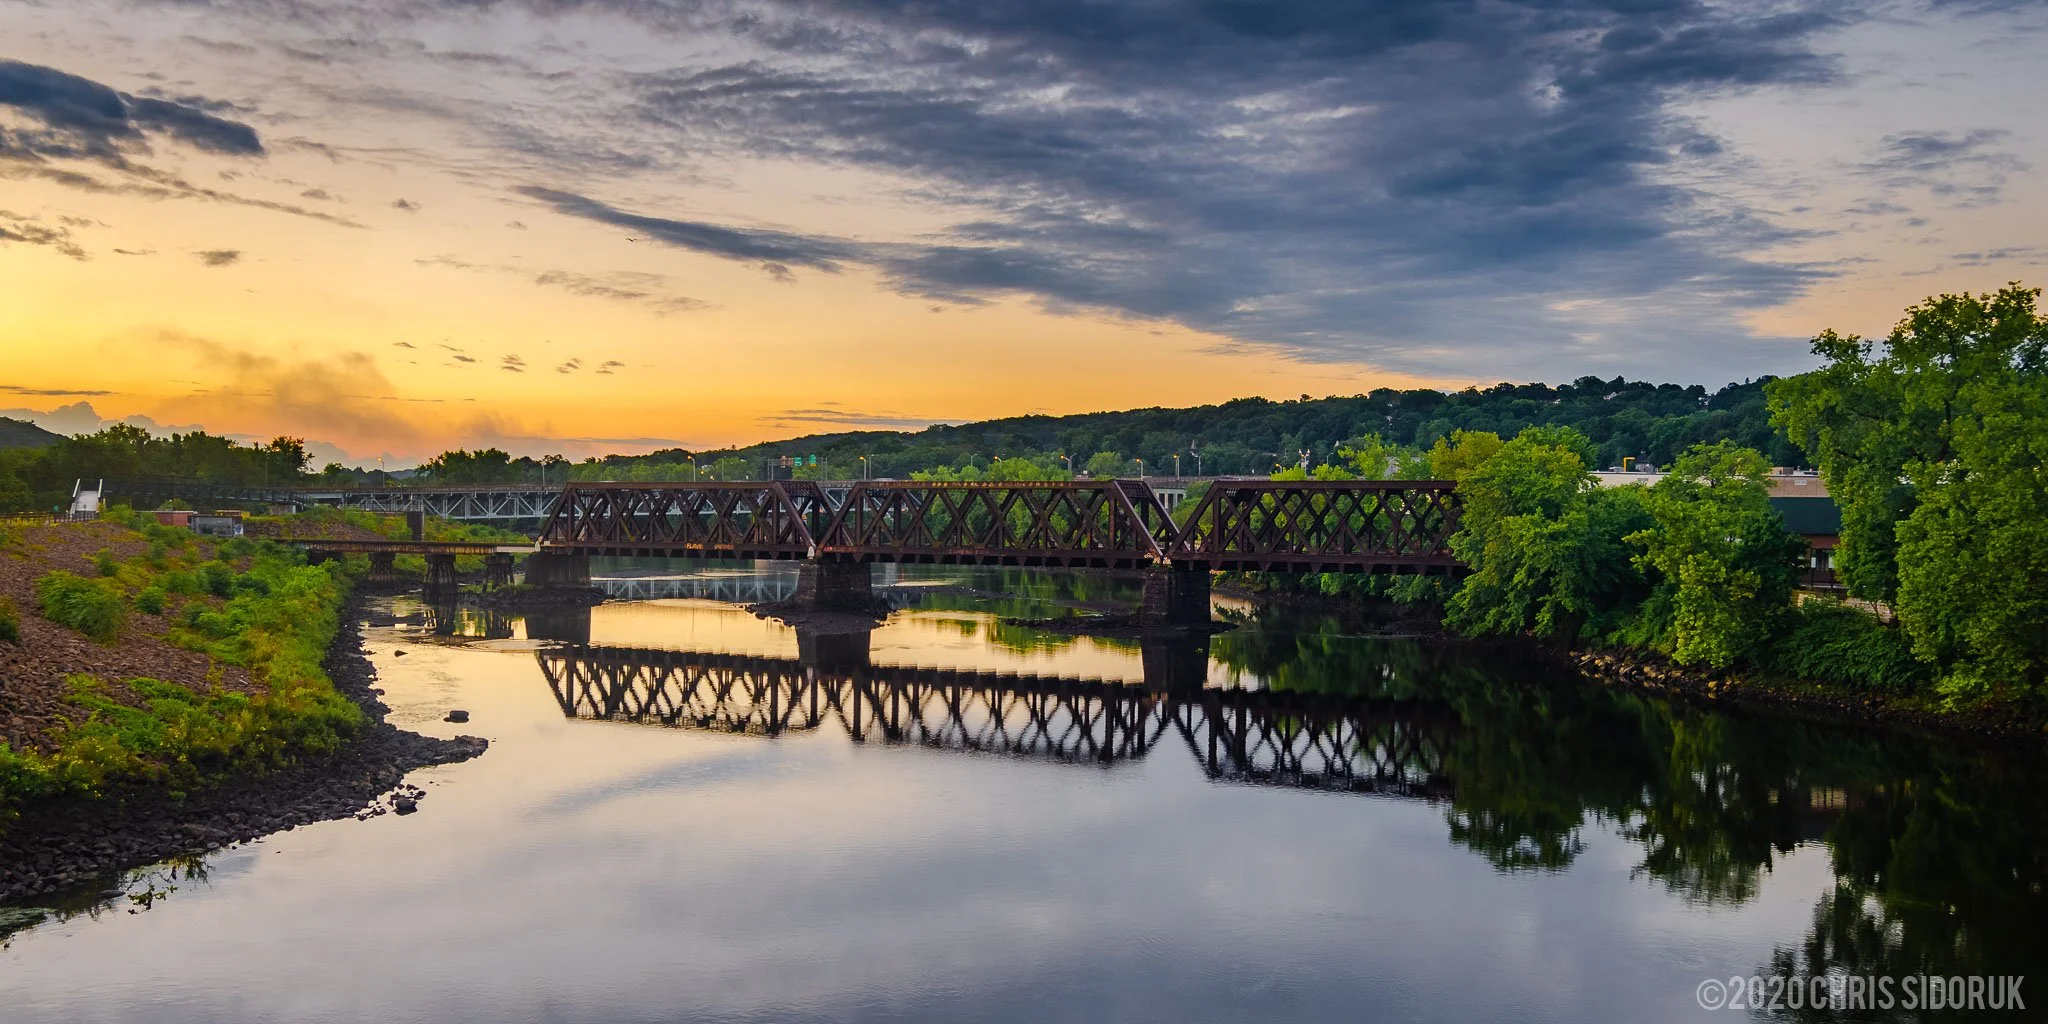
blue hour landscape photography cool tones scene
When Does Blue Hour Happen?
Blue hour occurs:
before sunrise
after sunset
Like golden hour, the timing depends on:
location
season
weather
latitude
Blue hour is often shorter than photographers expect.
Arriving early and staying after sunset is important because some of the best images happen after the sun disappears.
Why Blue Hour Creates a Unique Look
Blue hour photography has a completely different visual style compared to golden hour.
Cooler Color Palette
Blue hour produces colors such as:
blue
purple
cool gray tones
These colors often create a feeling of:
calm
isolation
mystery
simplicity
This makes blue hour especially effective for mood-driven photography.
Softer Contrast
Because direct sunlight is gone, blue hour often creates more even lighting.
This can help with:
smoother gradients
softer shadows
balanced exposures
Scenes that feel harsh during daylight can become much more visually appealing during blue hour.
More Atmospheric Images
Blue hour works especially well when you want the image to feel more emotional than realistic.
It is often used for:
quiet landscapes
foggy scenes
coastal photography
reflections
cityscapes
The lower light levels naturally create a more cinematic appearance.
Golden Hour vs Blue Hour: Key Differences
Golden hour and blue hour are both excellent for landscape photography, but they create very different results.
| Feature | Golden Hour | Blue Hour |
|---|---|---|
| Color | Warm orange and yellow tones | Cool blue and purple tones |
| Contrast | More directional and dramatic | Softer and more balanced |
| Shadows | Longer and more defined | Minimal and subtle |
| Mood | Warm, energetic, inviting | Calm, quiet, cinematic |
| Best For | Texture, depth, dramatic landscapes | Reflections, atmosphere, minimal scenes |
| Exposure | Usually easier | Often requires more careful exposure |
| Tripod Need | Sometimes optional | Often recommended |
Color
Golden Hour: Warm orange and yellow tones
Blue Hour: Cool blue and purple tones
Contrast
Golden Hour: More directional and dramatic
Blue Hour: Softer and more balanced
Shadows
Golden Hour: Longer and more defined
Blue Hour: Minimal and subtle
Mood
Golden Hour: Warm, energetic, inviting
Blue Hour: Calm, quiet, cinematic
Best For
Golden Hour: Texture, depth, dramatic landscapes
Blue Hour: Reflections, atmosphere, minimal scenes
Exposure
Golden Hour: Usually easier
Blue Hour: Often requires more careful exposure
Tripod Need
Golden Hour: Sometimes optional
Blue Hour: Often recommended
Golden Hour vs Blue Hour: Which Is Better?
The answer depends on what you want the image to communicate.
Golden hour is usually better when you want:
dramatic landscapes
visible texture
warm colors
strong depth
Blue hour is usually better when you want:
mood
simplicity
reflections
softer compositions
A professional landscape photographer does not choose one over the other.
They use both depending on the scene.
When to Use Golden Hour
Golden hour is one of the best lighting conditions for photographers who want to emphasize detail, texture, and depth.
The warm directional light works especially well when the landscape itself has interesting shapes, layers, or surfaces that benefit from stronger contrast.
Golden hour is ideal for:
mountain landscapes
coastal scenes
forests
architecture
travel photography
Mountain Landscape Photography During Golden Hour
Mountains are one of the best subjects for golden hour photography.
The low-angle sunlight helps reveal:
ridgelines
valleys
rock formations
layers of distant terrain
Side lighting can create dramatic separation between foreground, middle ground, and background.
This is especially useful when photographing:
mountain ranges
overlooks
scenic viewpoints
elevated landscapes
The combination of warm light and long shadows often creates a stronger sense of depth.
Coastal Photography During Golden Hour
Golden hour works extremely well for beaches and coastal landscapes.
The warm light can enhance:
reflections on water
textures in rocks
waves and shoreline details
Sunrise golden hour is especially useful for locations where you want softer conditions and fewer distractions.
Forest and Nature Photography During Golden Hour
Forests can become flat and dark during harsh daylight.
Golden hour adds:
warmer tones
directional rays
separation between trees
Backlighting can also create:
glowing leaves
atmospheric haze
stronger visual depth
When to Use Blue Hour
Blue hour is ideal when you want a more atmospheric or minimalist style.
Instead of emphasizing texture and contrast, blue hour often simplifies a scene and allows shapes, colors, and reflections to become the focus.
Blue hour works especially well for:
cityscapes
calm water scenes
minimalist landscapes
coastal photography
mountain silhouettes
Water Reflections and Blue Hour
Blue hour is one of the best times for photographing reflections.
The softer light creates balanced exposures between:
sky
water
surrounding landscape
This works especially well with:
lakes
calm oceans
ponds
rivers
The cooler tones can create a peaceful, almost surreal appearance.
Cityscapes and Blue Hour Photography
Although this guide focuses on landscapes, many of the same principles apply to city photography.
Blue hour is popular for cityscapes because:
the sky still has color
artificial lights begin appearing
contrast remains manageable
This creates a balance between natural and artificial light.
The same approach works for:
waterfront skylines
bridges
buildings
urban landscapes
Minimalist Landscape Photography During Blue Hour
Blue hour is excellent for simplifying compositions.
The reduced contrast can help emphasize:
shapes
silhouettes
negative space
color relationships
Scenes that may feel cluttered during daylight can become much cleaner during blue hour.
Landscape Photography Examples: Same Location, Different Light
One of the most important concepts to understand:
The location does not create the image. The light does.
A familiar location can produce completely different photographs depending on when you shoot.
Golden Hour Example
A mountain overlook during golden hour may emphasize:
warm sunlight across the landscape
textured ridges
long shadows
layers of terrain
The image feels:
energetic
dramatic
detailed
Blue Hour Example
The same overlook during blue hour may emphasize:
cooler colors
softer transitions
atmospheric distance
quiet mood
The image feels:
peaceful
cinematic
understated
Neither version is better.
They simply tell a different story.
Using Long Exposure During Blue Hour
Blue hour is one of the best times for long exposure photography.
As the available light decreases, shutter speeds naturally become longer, creating opportunities to capture motion in a creative way.
Long exposure during blue hour can be used for:
waterfalls
ocean waves
moving clouds
reflections
rivers
Why Blue Hour Works Well for Long Exposure
Lower light levels allow you to use:
slower shutter speeds
lower ISO settings
longer exposures
This can create:
smooth water
softened movement
cleaner images
A tripod becomes especially important because exposure times can easily reach several seconds or longer.
Long Exposure Blue Hour Workflow
A typical workflow:
Arrive before the light disappears
Compose your image while you still have visibility
Set up your tripod
Capture test exposures
Adjust shutter speed as the light changes
Continue shooting as the sky transitions darker
The best blue hour images often happen during the transition period rather than at one exact moment.
👉 See full technique:
Long Exposure Landscape Photography
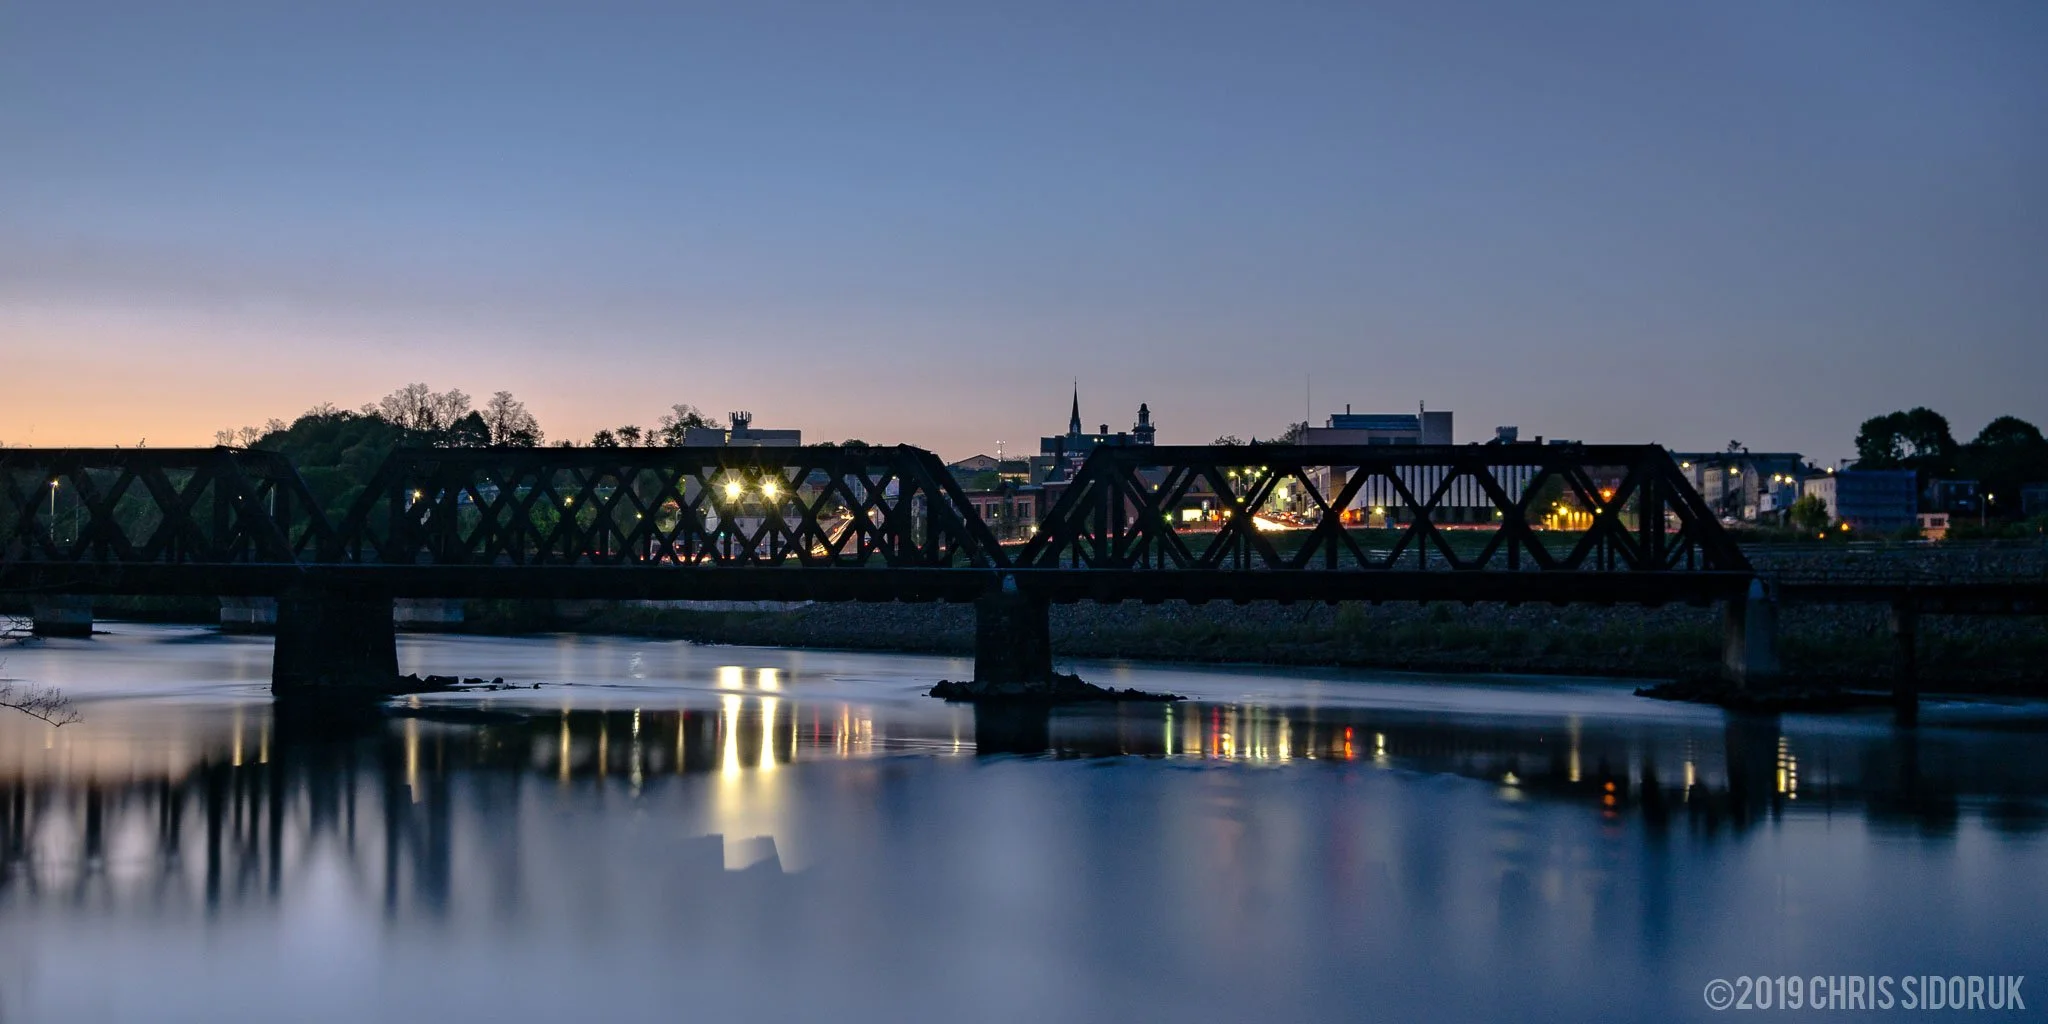
blue hour long exposure water smooth landscape
Composition Differences: Golden Hour vs Blue Hour
The lighting you choose affects how you compose your image.
Golden Hour Composition
Golden hour often works well with compositions that emphasize:
texture
depth
layers
direction
Strong techniques include:
Leading Lines
Warm directional light can emphasize:
roads
shorelines
trails
rivers
Foreground Interest
Golden hour benefits from including:
rocks
trees
flowers
textures
These elements catch light and create depth.
Layered Landscapes
Mountain scenes often benefit from:
foreground
middle ground
background
The shadows help separate each layer.
Blue Hour Composition
Blue hour often works better with simpler compositions.
Strong techniques include:
Silhouettes
The reduced contrast can emphasize:
outlines
shapes
structure
Negative Space
The simpler color palette works well with:
open skies
calm water
minimalist scenes
Reflections
Blue hour naturally encourages balanced compositions using:
symmetry
mirrored surfaces
still water
👉 Improve composition:
Landscape Photography Composition Guide
Camera Settings for Golden Hour vs Blue Hour
The best settings depend on the scene, but there are some useful starting points.
Golden Hour Camera Settings
Typical starting point:
ISO:
100–200
Aperture:
f/8–f/11
Shutter Speed:
Adjust based on available light
Tripod:
Recommended but not always required
Golden hour often provides enough light for handheld shooting, but a tripod allows:
maximum sharpness
lower ISO
longer exposures
Blue Hour Camera Settings
Typical starting point:
ISO:
100–400
Aperture:
f/8–f/11
Shutter Speed:
Often several seconds
Tripod:
Highly recommended
Blue hour photography usually benefits from stability because slower shutter speeds become necessary.
White Balance Considerations
Both lighting conditions can be affected by automatic white balance.
For more consistent results:
Golden hour:
consider a warmer white balance
Blue hour:
avoid allowing the camera to remove the natural cool tones
Shooting RAW gives you much more flexibility during editing.
Do You Need a Tripod?
A tripod is useful during both golden hour and blue hour, but it becomes much more important during blue hour.
Golden Hour Without a Tripod
Handheld shooting may work when:
light levels are still strong
shutter speeds remain high enough
you are traveling light
This is common for:
hiking photography
travel photography
quick landscape sessions
Blue Hour With a Tripod
A tripod is often essential because it allows:
lower ISO
longer exposures
maximum image quality
For landscape photographers focused on detail and large prints, a tripod is one of the most valuable investments.
Related Guide: Best Tripods for Landscape Photography
Shooting Both Golden Hour and Blue Hour in One Session
One of the best landscape photography strategies is not choosing between golden hour and blue hour.
Shoot both.
A complete session often follows this pattern:
Arrive Before Blue Hour
Use this time to:
scout compositions
set up equipment
plan your framing
Capture Blue Hour First
Focus on:
reflections
atmospheric images
long exposures
minimalist compositions
Transition Into Golden Hour
As the light changes, adjust your approach.
Look for:
warm highlights
changing shadows
increased texture
Why Shooting Both Works
Capturing both gives you:
more variety
more creative options
stronger coverage of a location
A single location can produce completely different images within a short period of time.
Common Mistakes Photographers Make With Golden Hour and Blue Hour
Golden hour and blue hour can create incredible images, but many photographers miss opportunities because they underestimate how quickly conditions change.
Here are some of the most common mistakes.
Arriving Too Late for Golden Hour
One of the biggest mistakes is arriving right when the sun reaches the ideal position.
By the time you:
find parking
hike to the location
set up your tripod
compose your image
the best light may already be gone.
A better approach:
Arrive early enough to:
scout compositions
set up equipment
test exposures
be ready before the light peaks
The best images are often captured before the exact moment photographers think of as “golden hour.”
Leaving Too Early After Sunset
Many photographers pack up as soon as the sun disappears.
This misses one of the best parts of the day:
blue hour.
After sunset, the sky can continue changing for a significant period of time.
The transition can create:
richer colors
better reflections
softer contrast
more balanced exposures
Staying an extra 20–30 minutes can completely change your results.
Ignoring the Direction of Light
Golden hour is not automatically good light.
The direction of the sun matters.
Before shooting, consider:
where the light is coming from
how it hits the subject
where shadows fall
A beautiful location facing the wrong direction may not produce the image you expect.
Planning your composition before arriving can make a huge difference.
Shooting Only One Exposure
Landscape scenes often contain more dynamic range than your camera can capture in a single frame.
During golden hour especially, you may have:
bright highlights
darker foreground areas
strong contrast
Consider:
shooting RAW
using exposure bracketing when needed
using filters when appropriate
This gives you more flexibility during editing.
Forgetting to Adjust Settings as Light Changes
Golden hour and blue hour are constantly changing.
A setting that works five minutes earlier may no longer be ideal.
As the light changes, monitor:
shutter speed
ISO
exposure
white balance
Blue hour especially requires frequent adjustments because light levels drop quickly.
How Weather Affects Golden Hour and Blue Hour
Weather plays a major role in how these lighting conditions appear.
The best photographers do not simply chase clear skies.
Different weather creates different opportunities.
Clouds During Golden Hour
Clouds can make golden hour even better.
Light passing through clouds can create:
dramatic skies
stronger color
interesting patterns
Partly cloudy conditions are often ideal because clouds catch warm sunlight while adding texture to the sky.
Clouds During Blue Hour
Blue hour works especially well with:
thin clouds
fog
atmospheric conditions
These conditions can create:
softer transitions
more depth
moodier images
Fog during blue hour can transform an ordinary scene into something much more dramatic.
Clear Skies
Clear skies are not always the best.
While they can create beautiful colors, they may lack:
texture
depth
visual interest
A completely empty sky often requires stronger composition or foreground elements.
Wind Conditions
Wind matters especially when shooting during blue hour.
Movement can affect:
reflections
long exposures
sharpness
For water photography, calm conditions often produce the cleanest results.
Planning Golden Hour and Blue Hour Timing
Successful landscape photography often happens before you arrive at the location.
Preparation is part of the process.
Check Sunrise and Sunset Times
Before every shoot, check:
sunrise time
sunset time
golden hour duration
blue hour duration
The timing changes throughout the year.
A location that works perfectly in summer may require a completely different approach in winter.
Use Photography Planning Apps
Several tools can help photographers plan lighting conditions.
Useful features include:
sun direction tracking
sunrise and sunset timing
location scouting
elevation information
Popular planning tools include:
PhotoPills
The Photographer’s Ephemeris
weather apps
mapping tools
These tools help answer important questions:
Where will the sun be?
What direction will shadows fall?
When should I arrive?
Is the location worth shooting at that time?
Scout Locations Before the Shoot
If possible, visit locations before the actual photography session.
Look for:
foreground elements
possible compositions
parking access
hiking requirements
obstacles
Knowing the location ahead of time allows you to focus on photography when the light arrives.
Editing Differences: Golden Hour vs Blue Hour
The editing approach is often different because the mood and color palette are different.
Editing Golden Hour Photos
Golden hour images often benefit from emphasizing:
warmth
contrast
texture
depth
Common adjustments:
slightly enhance warm tones
recover highlights
improve shadow detail
increase local contrast
The goal is usually to preserve the natural feeling of the light.
Avoid pushing warmth too far.
Golden hour already provides strong color.
Editing Blue Hour Photos
Blue hour editing often focuses on maintaining atmosphere.
Useful adjustments:
preserve cool tones
balance exposure
enhance subtle contrast
control noise
Because blue hour images often involve higher ISO or longer exposures, noise reduction can become more important.
The goal is not to remove the mood.
The cool tones are part of the image.
My Landscape Photography Workflow
For most landscape photography sessions, I approach golden hour and blue hour as part of the same process.
Before the Shoot
I focus on:
checking weather
planning the location
deciding possible compositions
preparing gear
The goal is to remove as many unknowns as possible.
Arriving Early
I prefer arriving before the ideal light.
This gives time to:
explore compositions
set up equipment
adjust camera settings
Rushing usually leads to missed opportunities.
Shooting Through Changing Light
Instead of treating golden hour and blue hour separately, I watch how the scene changes.
I look for:
changing shadows
color shifts
reflections
new compositions
A location can continue improving even after the sun disappears.
Capturing Multiple Interpretations
I rarely rely on one single image.
I try to capture:
wide compositions
detailed compositions
different focal lengths
different lighting moments
This creates a stronger collection from one location.
Final Thoughts
Golden hour and blue hour are not competitors.
They are two different creative tools.
Golden hour gives you:
warmth
texture
depth
dramatic light
Blue hour gives you:
mood
simplicity
atmosphere
softer compositions
The best landscape photographers understand how to use both.
A location is not finished when the sun goes down.
Some of the most memorable images happen during the transition between day and night.
Learning to recognize these moments will improve your landscape photography more than simply buying new gear.
Frequently Asked Questions
Which is better for landscape photography: golden hour or blue hour?
Neither is better. Golden hour creates warm, dramatic images with stronger texture and depth, while blue hour creates cooler, more atmospheric photographs. The best choice depends on the mood you want to create.
Is golden hour better for beginners?
Golden hour is often easier for beginners because there is usually more available light and the results are immediately noticeable. The warm colors and shadows can make landscapes look more dramatic with less editing.
Is blue hour good for landscape photography?
Yes. Blue hour is excellent for landscapes, especially scenes involving water, reflections, mountains, fog, and minimalist compositions.
Do I need a tripod for blue hour photography?
A tripod is highly recommended because lower light levels often require slower shutter speeds. A tripod allows you to keep ISO lower and capture sharper images.
What camera settings should I use during golden hour?
A common starting point is ISO 100–200, aperture around f/8–f/11, and a shutter speed adjusted for the available light. Shooting RAW provides the most editing flexibility.
What camera settings should I use during blue hour?
Blue hour typically requires a tripod, ISO 100–400, aperture around f/8–f/11, and slower shutter speeds. Adjust settings as the light changes.
Can I photograph both golden hour and blue hour in one session?
Yes. In fact, many landscape photographers intentionally shoot both. Arrive before sunset, capture golden hour, and continue shooting through blue hour for a wider variety of images.
What weather is best for golden hour photography?
Partly cloudy conditions are often ideal because clouds can catch warm sunlight and add texture to the sky. Completely clear skies can also work but may produce less dramatic backgrounds.
What weather is best for blue hour photography?
Blue hour works well with calm conditions, fog, thin clouds, and reflections. These conditions can add atmosphere and depth to the final image.
==========
All photographs © Chris Sidoruk. Images are protected by copyright and may not be used, copied, modified, or redistributed without written permission.
Related Resources
Continue improving your landscape photography:
