

Editing Live Music Photos: A Real-World Workflow (2026)
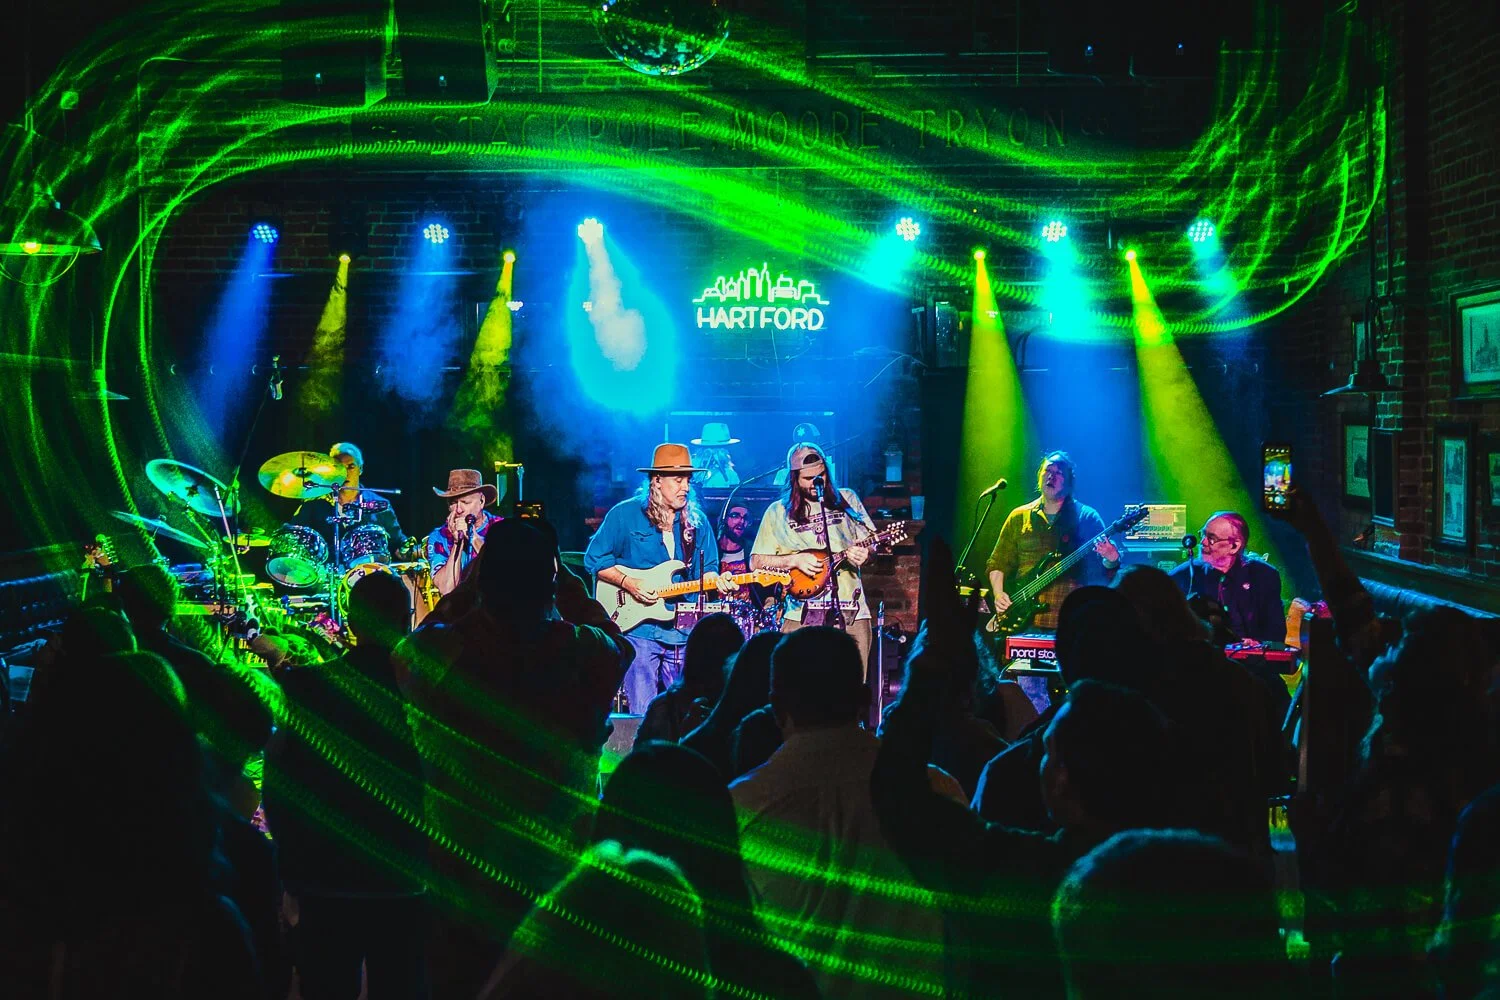
Creamery Station performing live at Arch Street Tavern in Hartford, CT. ©2023 Chris Sidoruk
Editing live music photos is where your images actually come together.
You can have great timing, strong composition, and sharp focus, but without good editing, concert photos often look flat, muddy, or inconsistent. The goal is not to over-process your images. The goal is to bring them back to what the moment actually felt like.
This guide is not a generic Lightroom walkthrough. It is a practical, real-world workflow for editing concert photography efficiently and consistently.
Editing can enhance a photo—but it can’t fix weak composition.
👉 Start with stronger images here:
Concert Photography Composition Guide
My Real Editing Workflow (Start to Finish)
After a show, the goal is simple:
👉 move fast without sacrificing quality
A typical workflow looks like this:
Import and cull quickly
Fix exposure and white balance
Adjust contrast and tones
Dial in color (carefully)
Apply sharpening and noise reduction
Export consistently
The biggest mistake is overthinking each image individually. Consistency matters more than perfection.
Step 1: Cull Aggressively
Before editing anything, narrow down your selects.
Remove:
missed focus shots
awkward expressions
duplicates
You want a tight set of strong images, not hundreds of similar frames.
Step 2: Fix Exposure First
Concert lighting is unpredictable. Start by correcting exposure.
Focus on:
lifting shadows slightly
protecting highlights
avoiding blown stage lights
👉 Editing starts with what you captured. If exposure is off in camera:
→ Best Camera Settings for Concert Photography

Creamery Station at Park City Music Hall in Bridgeport, CT. ©2024 Chris Sidoruk
Step 3: Correct White Balance (Carefully)
Concert lighting can be:
mixed colors
extreme LEDs
deep reds and blues
Do not try to “neutralize everything.”
Instead:
keep the mood
avoid unnatural skin tones
adjust temperature slightly, not aggressively
Step 4: Add Contrast and Depth
This is where your images start to pop.
Use:
contrast
blacks
clarity (lightly)
Avoid:
crushing shadows completely
overdoing clarity
The goal is depth, not harshness.

Max Creek performing live at The Range in Mason, NH. ©2022 Chris Sidoruk
Step 5: Control Color (This Is Where Most People Mess Up)
Concert photos are easy to over-edit.
Common mistakes:
oversaturating colors
pushing reds too far
making skin tones look unnatural
Instead:
reduce overly dominant colors slightly
use HSL adjustments carefully
aim for balance, not intensity
Step 6: Noise Reduction and Sharpness
Low light means noise. That is normal.
Use:
moderate noise reduction
careful sharpening
Do not try to remove all noise. A little grain often feels natural in concert photography.
👉 If noise is a constant issue, fix it at the source:
→ Concert Photography Low Light Tips
Step 7: Batch Editing (Speed Matters)
You should not edit every image from scratch.
Instead:
edit one strong image
sync settings across similar shots
make small adjustments per image
This is how you scale your workflow without losing consistency.
How to Fix Bad Concert Lighting
This is one of the most important skills.
When lighting is difficult:
reduce extreme color casts
lower highlights on harsh lights
bring back detail in faces
embrace shadows instead of fighting them
Sometimes the best edit is not perfect. It is believable.
Editing for Different Looks
Different shows call for different edits.
Clean and Natural
balanced colors
minimal contrast
true-to-life feel
Dark and Moody
deeper blacks
controlled highlights
more dramatic tone
High Energy
stronger contrast
punchier colors
more intensity
Choose a direction and stay consistent across the set.
Common Editing Mistakes
Avoid these:
over-sharpening
oversaturated colors
unnatural skin tones
crushing shadows too hard
inconsistent edits across a gallery
Consistency matters more than pushing every image to the extreme.
Editing vs Gear (Important Reality Check)
Editing helps, but it cannot fix everything.
If your images are:
consistently soft
heavily noisy
lacking detail
the issue may be gear or settings.
👉 See: Best Cameras for Concert Photography
👉 And: Best Lenses for Concert Photography
Real-World Workflow Tip
After editing a full set:
👉 step away for a few minutes
👉 come back and review quickly
You will catch:
over-edits
inconsistent tones
images that do not fit
This small step makes a big difference.
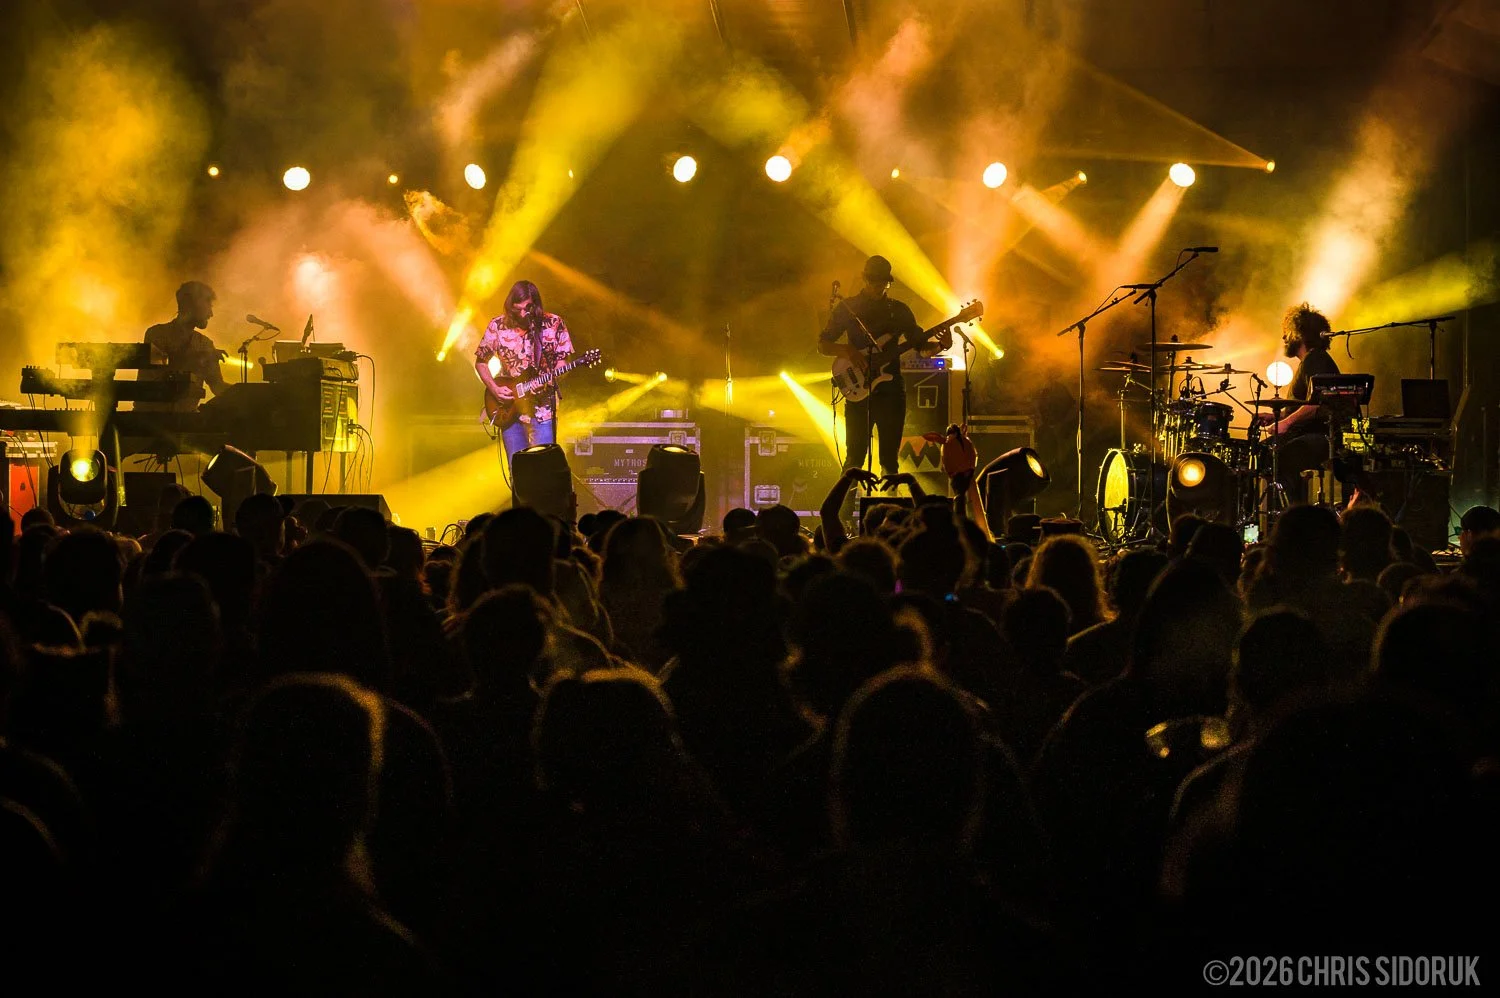
Dopapod at Wormtown Music Festival. ©2026 Chris Sidoruk
Final Thoughts
Editing live music photos is about balance.
You are not trying to make the scene perfect. You are trying to make it feel right.
If you:
keep your edits consistent
avoid overprocessing
work efficiently
you will end up with stronger images and a much smoother workflow.
Frequently Asked Questions
Q: What software should I use to edit concert photos?
A: Adobe Lightroom is the most common choice, but any software that allows RAW editing and batch processing will work.
Q: Why do my concert photos look too dark or too bright?
A: This usually comes from exposure issues in camera or overcorrecting during editing.
Q: How do I fix harsh concert lighting?
A: Reduce highlights, adjust white balance carefully, and avoid overcorrecting colors.
Q: Should I remove all noise from concert photos?
A: No. Some noise is natural in low-light photography and removing too much can make images look soft.
==========
All images © Chris Sidoruk. No use, copying, or redistribution without license.
Explore more: