

How to Create Panoramas from Portrait-Oriented Photos
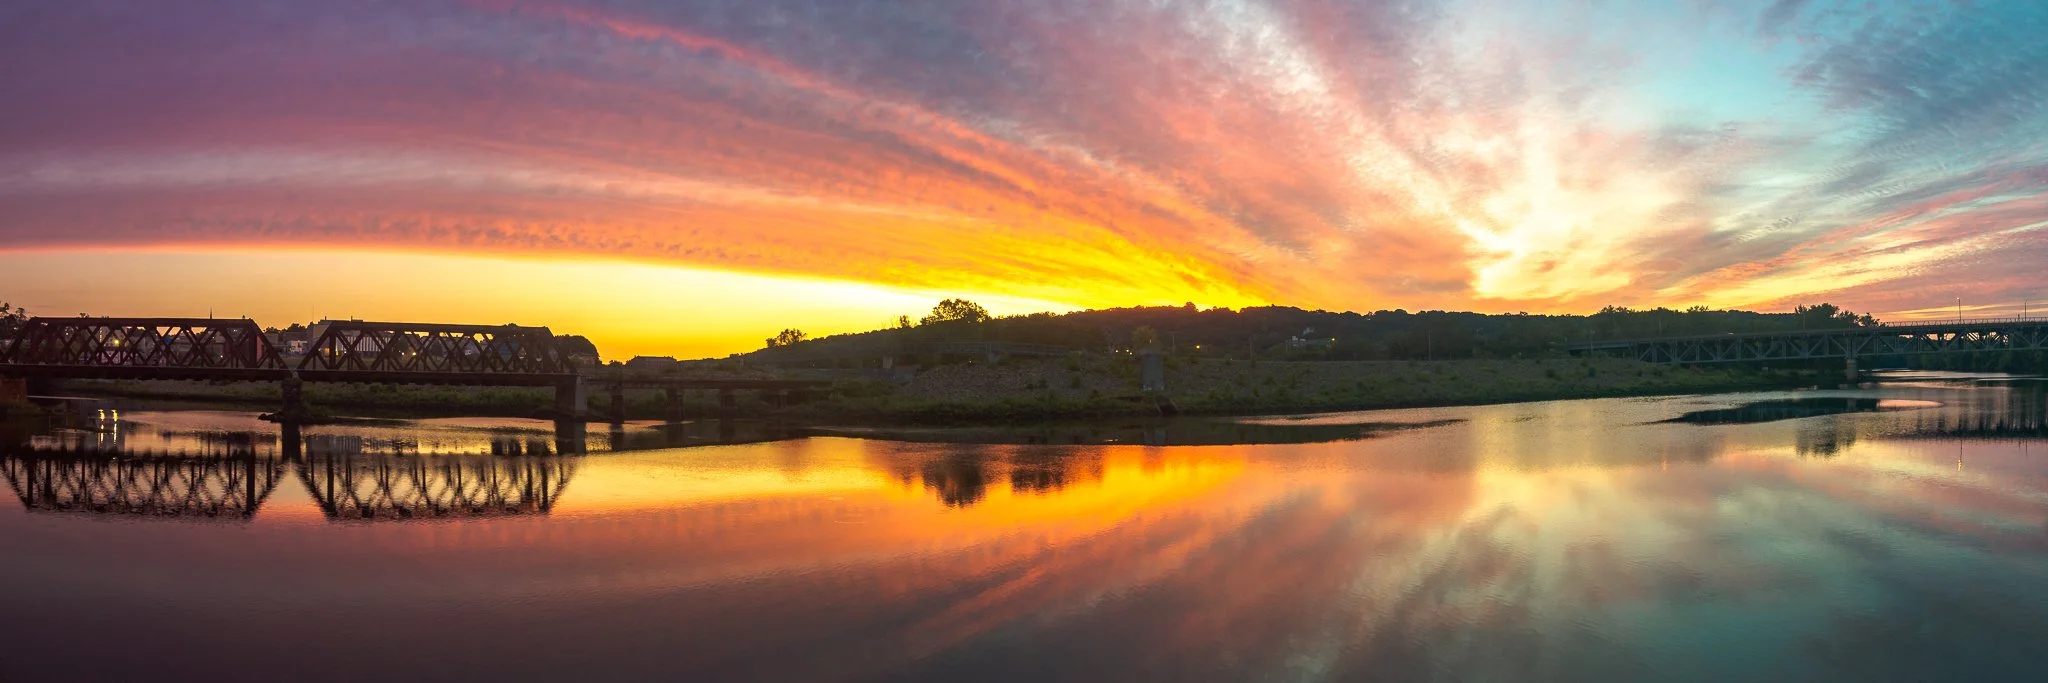
Sunrise over the Housatonic River in Shelton, Connecticut. ©2020 Chris Sidoruk
Have you ever wanted to capture a stunning landscape in a single photo, but your camera's field of view falls short? Panoramas are the perfect solution to this problem.
In this article, we will guide you through the process of creating panoramas from portrait-oriented photos. With the right tools and techniques, you'll be able to stitch together multiple images and create breathtaking panoramic shots.
Understanding Panoramas
Before we dive into the process, let's first understand what panoramas are. A panorama is an image that captures a wide-angle view of a scene, allowing you to see a broader perspective than what a standard photo can offer.
Panoramas are created by combining multiple photos taken from the same location and stitching them together seamlessly.
Choosing the Right Software
To create panoramas from portrait-oriented photos, you need reliable panorama software. There are several options available, both free and paid, each with its own set of features and capabilities.
Some popular choices include Adobe Photoshop, PTGui, and Microsoft Image Composite Editor (ICE). Consider your budget, desired features, and ease of use when selecting the software that best suits your needs.
Preparing Your Photos
Before you start stitching your photos together, it's essential to prepare them properly. Make sure all the photos you want to use are in portrait orientation and taken from the same spot with overlapping areas.
This overlap helps the software align the images accurately. Organize your photos in the order you want them to appear in the final panorama, and ensure they are of similar exposure and white balance settings for a consistent look.
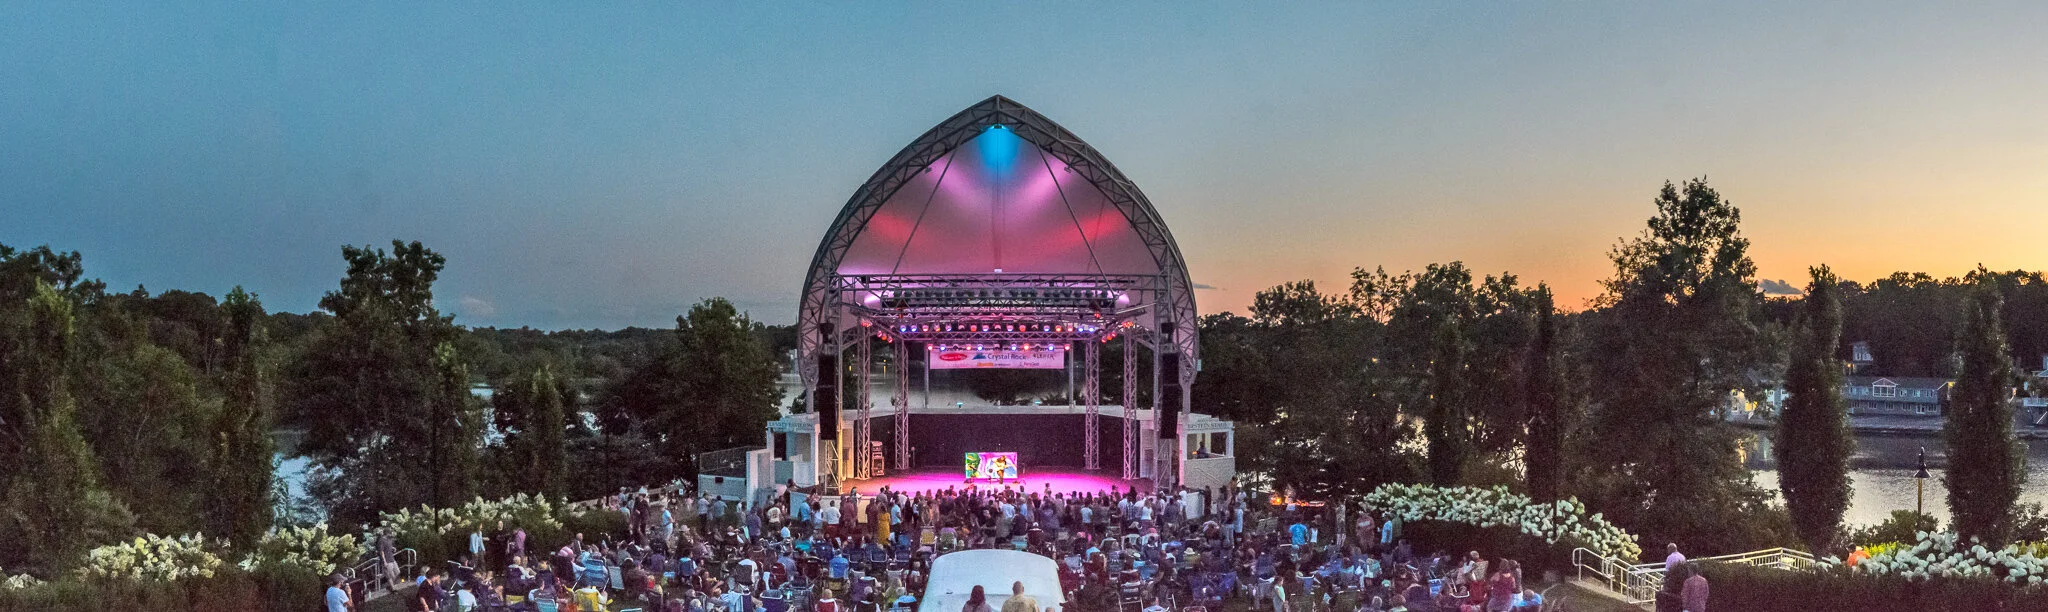
Music at sunset in Westport, CT. ©2019 Chris Sidoruk
Stitching the Panorama
Once you have your photos ready, it's time to stitch them together using the panorama software of your choice. The process may vary slightly depending on the software, but generally, you will follow these steps:
Open the software and import your photos.
Arrange the images in the correct order.
Choose the panorama stitching mode.
Adjust the alignment and blending options if necessary.
Start the stitching process and let the software do its magic.
After a few moments, you will have a panoramic image composed of your portrait-oriented photos seamlessly merged together.
Adjusting and Enhancing the Panorama
After stitching your panorama, you might need to make some adjustments and enhancements to ensure optimal results. Most panorama software provides tools for cropping, straightening, and rotating the image.
You can also apply adjustments to exposure, contrast, and color balance to fine-tune the panorama's overall appearance. Experiment with these tools to achieve the desired look for your panorama.
Saving and Sharing Your Panorama
Once you're satisfied with the final result, it's time to save and share your panorama. Save the image in a high-resolution format, such as TIFF or PNG, to preserve its quality.
You can also save a compressed version in JPEG format for easy sharing on the web. Consider using a descriptive filename and adding relevant metadata to help organize and showcase your panorama effectively.
Now that your panorama is ready, share it with the world! You can upload it to photo-sharing platforms, social media, or even print it and display it in your home. Panoramas are captivating visuals that can leave a lasting impression on viewers.
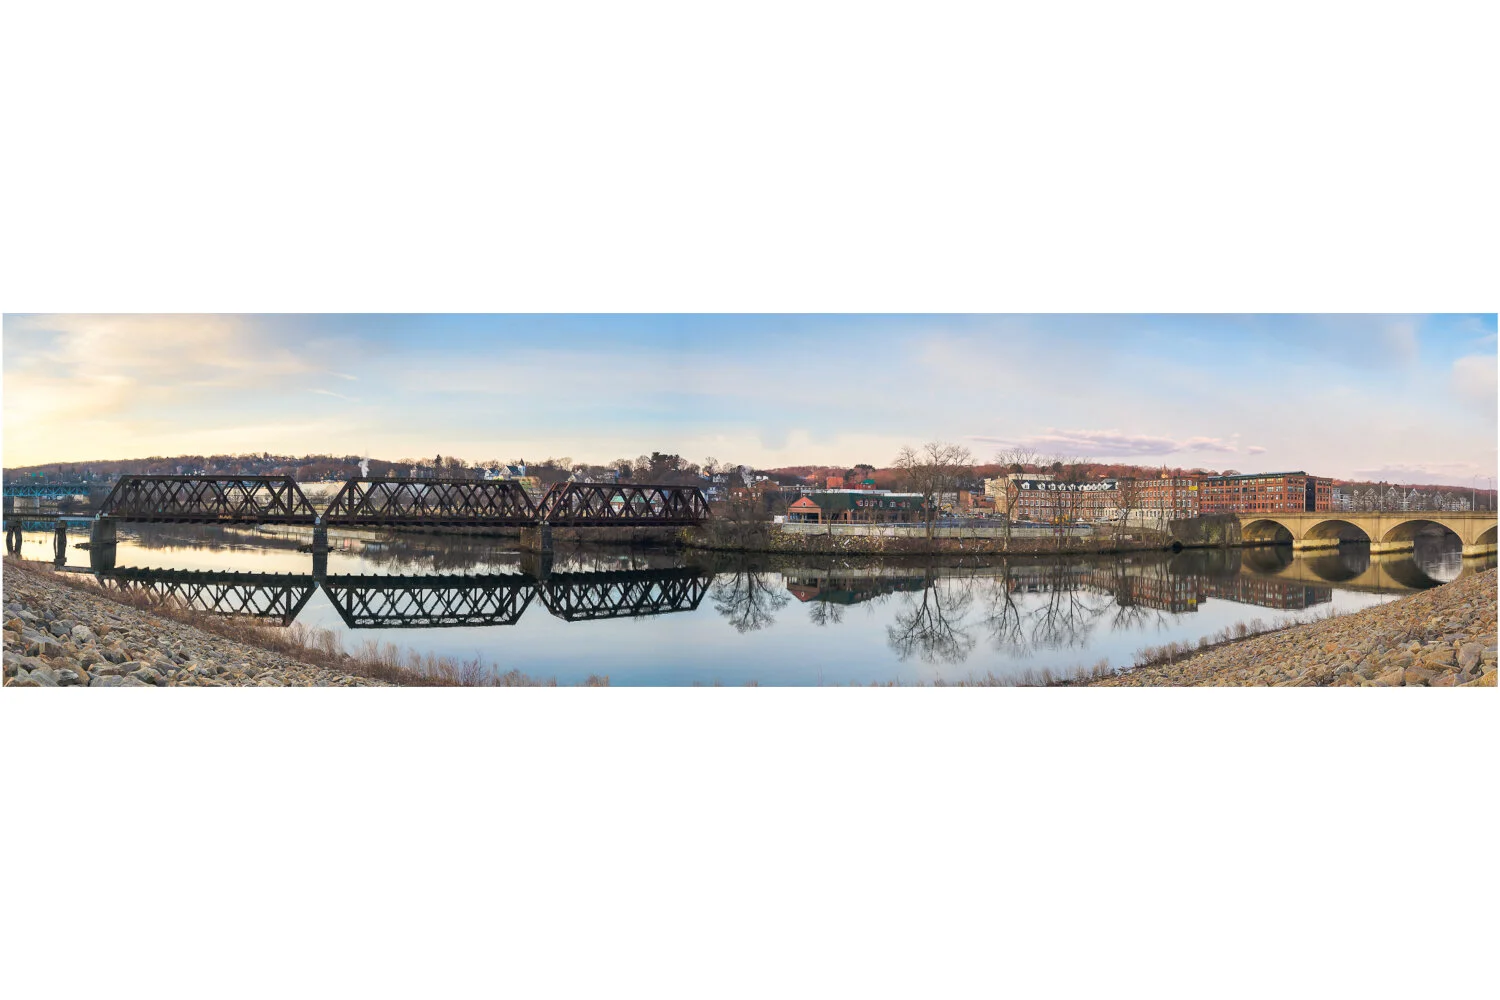
The Housatonic River and Trestle Bridge in Shelton, CT. ©2020
Conclusion
Creating panoramas from portrait-oriented photos allows you to capture expansive landscapes and breathtaking vistas that cannot be contained within a single frame. By following the steps outlined in this article, you can seamlessly stitch multiple photos together to create stunning panoramas.
Remember to choose the right software, prepare your photos, stitch them accurately, and enhance the final result to achieve the best possible outcome. Now go out there and unleash your creativity through panoramic photography!
FAQs
Q: Can I create panoramas from any portrait-oriented photos?
Yes, as long as you have overlapping areas in your photos and they were taken from the same spot, you can create panoramas regardless of the subject.
Q: Is panorama software difficult to use?
Most panorama software comes with intuitive interfaces and user-friendly features, making it accessible to beginners and professionals alike. With a bit of practice, you'll be creating panoramas effortlessly.
Q: Can I create panoramas using my smartphone?
Yes, many smartphone cameras have built-in panorama modes that automatically stitch together photos as you pan the device. However, for more control and advanced features, dedicated panorama software is recommended.
Q: How many photos do I need to create a panorama?
The number of photos required depends on the scene you want to capture and the field of view you desire. Generally, three to five photos are sufficient, but you can use more if needed.
Q: Are there any limitations to creating panoramas?
While panoramas are a fantastic way to capture wide-angle scenes, they may not be suitable for capturing fast-moving subjects or scenes with extreme lighting variations. It's important to experiment and understand the limitations of the technique.
==========
All images © Chris Sidoruk. No use, copying, or redistribution without license.
Explore more: